Tool SWAPPING with the WhamBam MUTANT V2 - Review
The company WhamBam from Florida isn’t new to the market and you’ve probably seen their flex plates for filament and resin 3D printing in the past or their HotBox printer enclosures. What many might not be aware of is that more than a year back they also brought one of the first tool swapping systems onto the market with their MUTANT. Unfortunately, they quickly stopped the production of the first version due to manufacturing quality issues and decided to upgrade the design. In June last year, they sent over the MUTANT V2 at which we’ll be taking a look at today! Full disclosure, WhamBam sent the MUTANT free of charge but all thoughts in this video are my own!
Overview
The MUTANT tool swapping system might sound a bit like what for example an E3D Toolchanger does but whereas the Toolchanger can switch between different extruders during printing, the MUTANT is not meant for changing tools within a job. This makes it not suitable for multi-material or multi-color printing. What the MUTANT tool swapping system allows you though is, that you can have one 3D printer as a motion system onto which you can mount different extruders or other tools like plotters, pens or even lasers.

The MUTANT tool swapping system replaces your directly mounted hotend and replaces it a pair of mounts onto which you can swap a wide variety of tools. It consists out of a fixed plate that mounts on your x-carriage and to which you connect the whole wiring harness. Then you have the mobile plates to which you can mount all the tools and extruder combinations you can imagine. Both are injection molded from glass-fiber reinforced Nylon and different to the first revision have been designed properly and don’t show any warping anymore! But these plates aren’t just a simple piece of plastic but feature 18 terminal connectors to which you wire your complete hotend connections from the heater for which there is a dedicated 10A interface to the thermistor, fans, sensors, lights, and whatnot that connect to 3A capable terminals. The tools that you build this way simply slide onto the fixed plate using a dove-tail joint, connect electrically with a set of pogo pins and firmly lock in place with a lever. Depending on the firmware you’re running you now only start a print with a custom G-Code that contains all the lines necessary PID, length and e-steps information, or with my DUET board I run a simple macro that re-configures my machine. This way you can use a different tool on your machine within a minute.

10x microscope shot showing the fiber-reinforcement
Installation
The MUTANT system can be installed on many common 3D printers but it’s definitely the easiest to install it on the typical Creality and Creality-Clone machines that use a 20x20 extrusions on the x-axis. I first wanted to install the MUTANT on my Artillery X1 but quickly noticed that connecting the ribbon cable to the MUTANT, that the X1 uses, would be a pain. That’s why I switched over to an Ender-3 Pro. The reason why I wanted to install the MUTANT was, of course to review it for you, but way more importantly to give me a platform with which I can, in the future, easily and quickly test hotends and extruders which would be a pain on a regular 3D printer otherwise. The installation is quite straight forward but will require a bit of rewiring and firmware configuration. There is a written guide provided by WhamBam that walks you step by step through the process.

Removing the Hotend assembly
I, at first, removed the whole hotend assembly from my Ender-3 and marked all of the wires with the provided stickers. Next I snipped off all of the wires at the hotend. If you want to keep the stock hotend and use it as one of your tools, make sure you cut them at a point where the wires are still long enough to reach the terminals on the mobile plate.

X-Carriage with the Adapter Plate Installed
Attaching the fixed plate can be done in two different ways. Either you purchase a universal mounting plate with your MUTANT kit that lets you directly attach the fixed plate or, you print out one of the numerous adapter plates that go between the original carriage and the fixed plate. WhamBam did a great job providing all of the accessories you need for the mod, including heat set inserts and a new bolt for one wheel to get the necessary clearances. Still, of course I had to use our own heat set inserts that you can get over on CNCKitchen.store! I mounted the adapter to the carriage and the fixed plate onto the adapter. Then it was time for wiring and I attached the whole wiring harness to the terminals. Since I’ll mostly want to use direct extruders I had to add 4 additional wires to the harness for the stepper motor, plus another 4 wires if I ever wanted to use a touch probe on the machine. It’s a good idea to stick to the wiring layout suggested by WhamBam to not mix up connections on future tools. The kit comes with a pair of small screwdrivers for the terminals but mine were so crappy that you should definitely look for proper ones yourself because tightening the terminals is essential for reliable operation. Once everything was installed I routed the cabled to the strain relief post, attached them with some zipties and closed the cover up.

Tightening the Terminals
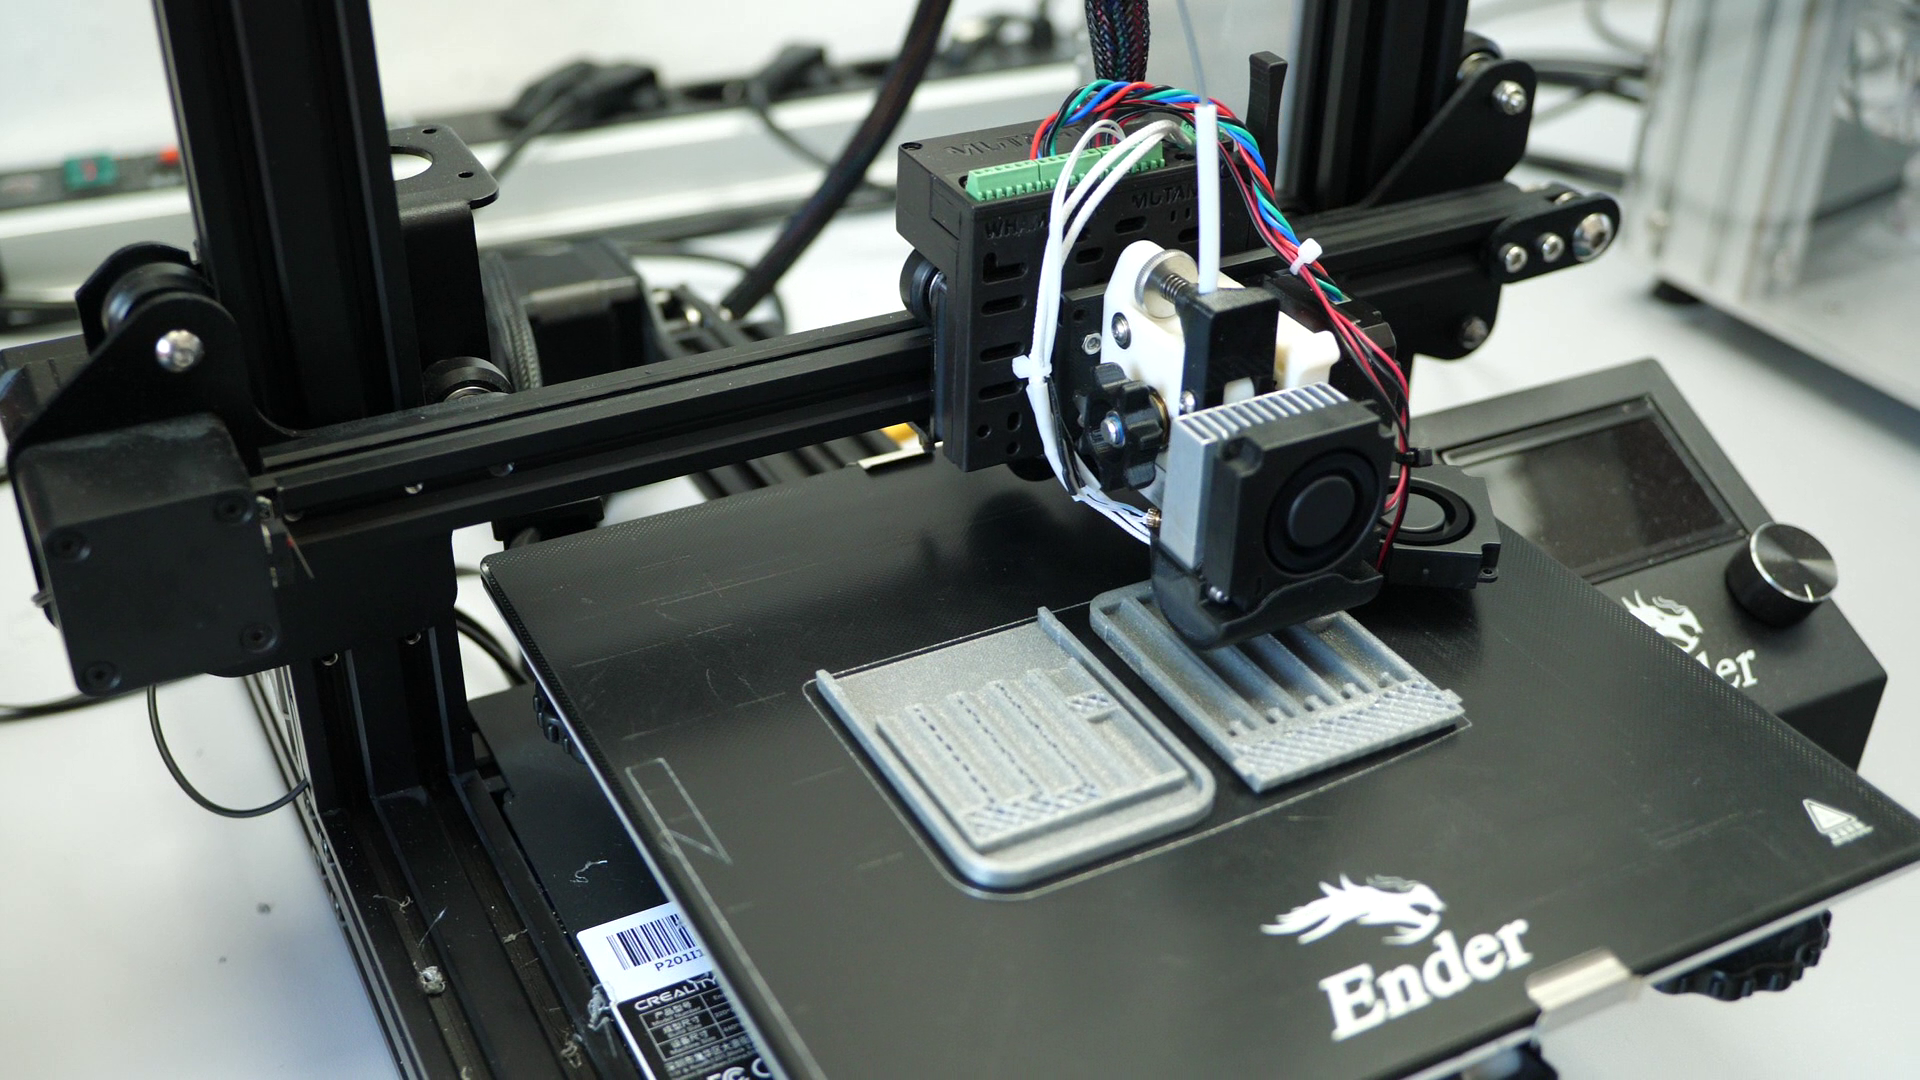
The tools themselves get installed on the mobile plate in quite a similar fashion. The part has a vast selection of holes and slots to attach extruders, hotends, fanshrouds and sensors. You either screw into the plate with the use of square nuts or you screw into your part from the back of the plate. Even though there are a ton of mounting points neither my Hemera Extruder nor my OmniaDrop directly fit onto the mobile plate because either no holes matched up or I couldn’t mount it far enough down so that the nozzle cleared the lower roller. This isn’t too bad because there is already a large selection of tool adapter plates available for download. Still every adapter plate that you utilize adds compliance, moves the weight of the extruder further away from the axis and reduces the build-area in y. Wiring is similar as before and I simply screwed all the cables to the appropriate and matching terminals. Following this procedure I made myself my universal tool with a Hemera Extruder, a tool for super flexible materials with the OmniaDrop, a high flow tool with a Bondtech LGX extruder and a Phaetus Rapido hotend and finally a Pellet Extruder with the Mahor V4. Working with the tool plate system on my bench honestly made this really convenient in comparison to directly working at a printer and this is definitely a selling point for that system. There is a growing number of tools already available online if you don’t want to design them yourself. This incudes active tools like extruders but also passive tools, that don’t need any electrical connections, like a pen plotter or vinyl cutters that can be mounted on printable mobile plates so you don’t need to buy extra ones. The system is also not limited to only direct or Bowden extruders. By using a stepper adapter cable and the provided WhamBam quick release couplers you can use them side-by-side.

My current tool selection
Depending on your setup you might need to rewire some things on your mainboard like the stepper motor cable if you switch from Bowden to direct. I want to use my mutated Ender-3 in the future for hotend and extruder testing and therefore also switched to a state-of-the-art DUET 3 Mini 5+ mainboard that runs RepRapFirmware but this is totally optional though makes some things more convenient in my opinion.

z-end stop on the top of the axis
Since I’m currently not using any bed leveling sensors on my machine I also moved the z-axis endstop from the bottom to the top simply because all of my tools have a different length. If I would leave the endstop on the bottom I would need to adjust its position for any of the tools. Having the sensor on the top avoids that and I can simply set the homing offset for each nozzle separately via g-code to make tool swapping as easy as possible.
Firmware
Hardware and electronics are just one part of converting your printer to a tool swapping system. The other part is telling your machines which tool you’re using which involves e-steps, PID values, thermistor type, offsets, stepper currents and even movement properties. If you want to use the MUTANT system just for swapping out toolheads with spares to avoid downtime you don’t need to do anything but if you want to use dissimilar tools, especially with different thermistors, you probably will have to modify and install a custom firmware.
WhamBam provides a guide on how to setup tool swapping in Marlin. Many of the parameters can be set by simple G-Code commands that you’d add to your start G-Code for every tool but especially when using different thermistors you will need to re-flash a custom firmware to activate the thermistor 1000 option which allows you to change thermistor types on the fly using M305.
I went the RapRapFirmware route that my DUET 3 Mini 5+ runs on. RepRapFirmware can completely be configured via G-Code and the integrated Web interface so no recompiling or flashing of firmware is necessary. Here I have macro files with the configuration parameters for each of my toolheads that even load the Bed Leveling grid for each configuration. So when switching a tool, I simply run the macro, which re-names the printer and sets everything up. These values will be kept until I run another macro file, so no custom start G-Codes are necessary which is really convenient. If you are interested in my configuration, here is an example makro:
;Write to SD
M28 /sys/tool.g

;Change Printer name
M550 P"LGX-Rapido-HF E-3 Mutant"

;Set Extruder
M569 P0.3 S1 D2
;Set Currents
M906 E600
;Set Steps/mm
M92 E416

;Set Thermistor
M308 S1 P"temp1" Y"thermistor" T100000 B4725 C7.06e-8

;Set PID
;M307 H1 R4.355 K5.010:0.000 D3.66 E1.35 S1.00 B0 V24.0
;M307 H1 R4.355 K5.010:0.000 D3.66 E1.35 S1.00 B0 V24.0
M307 H1 R3.091 K1.053:0.629 D5.03 E1.35 S1.00 B0 V24.0 ; From Hemera

;Pressure Advance
M572 D0 S0.1

; Axis Limits
M208 X-15 Y-10 Z0 S1                                      ; set axis minima
M208 X220 Y215 Z201.50 S0                                ; set axis maxima

;MBL
M558 P0 H5 F120 T6000                                 ; disable Z probe but set dive height, probe speed and travel speed
M557 X15:200 Y15:210 P3                              ; define mesh grid

;Tool offset
G10 P0 X0 Y0 Z0

;Load mesh bed leveling
G29 S1 P"LGXRapidoHF.csv"

;Stop writing to SD
M29

;Restart
M999
Thoughts on the system

3D Benchy printed with the Hemera Tool on the MUTANT
And this is now my Ender-3 with the MUTANT system installed. So does it work? I’ve been actively using it for a bit now to produce the cases for the Limited Edition Soldering Tips and regularly switched between the Hemera, the OmniaDrop, and the LGX Rapido just to see how good it works and if I encounter any problems. So far, the system has been working great. The retention lever properly pushes the tools onto the pogo pins and the end stop, so I didn’t have to adjust the initial layer height.

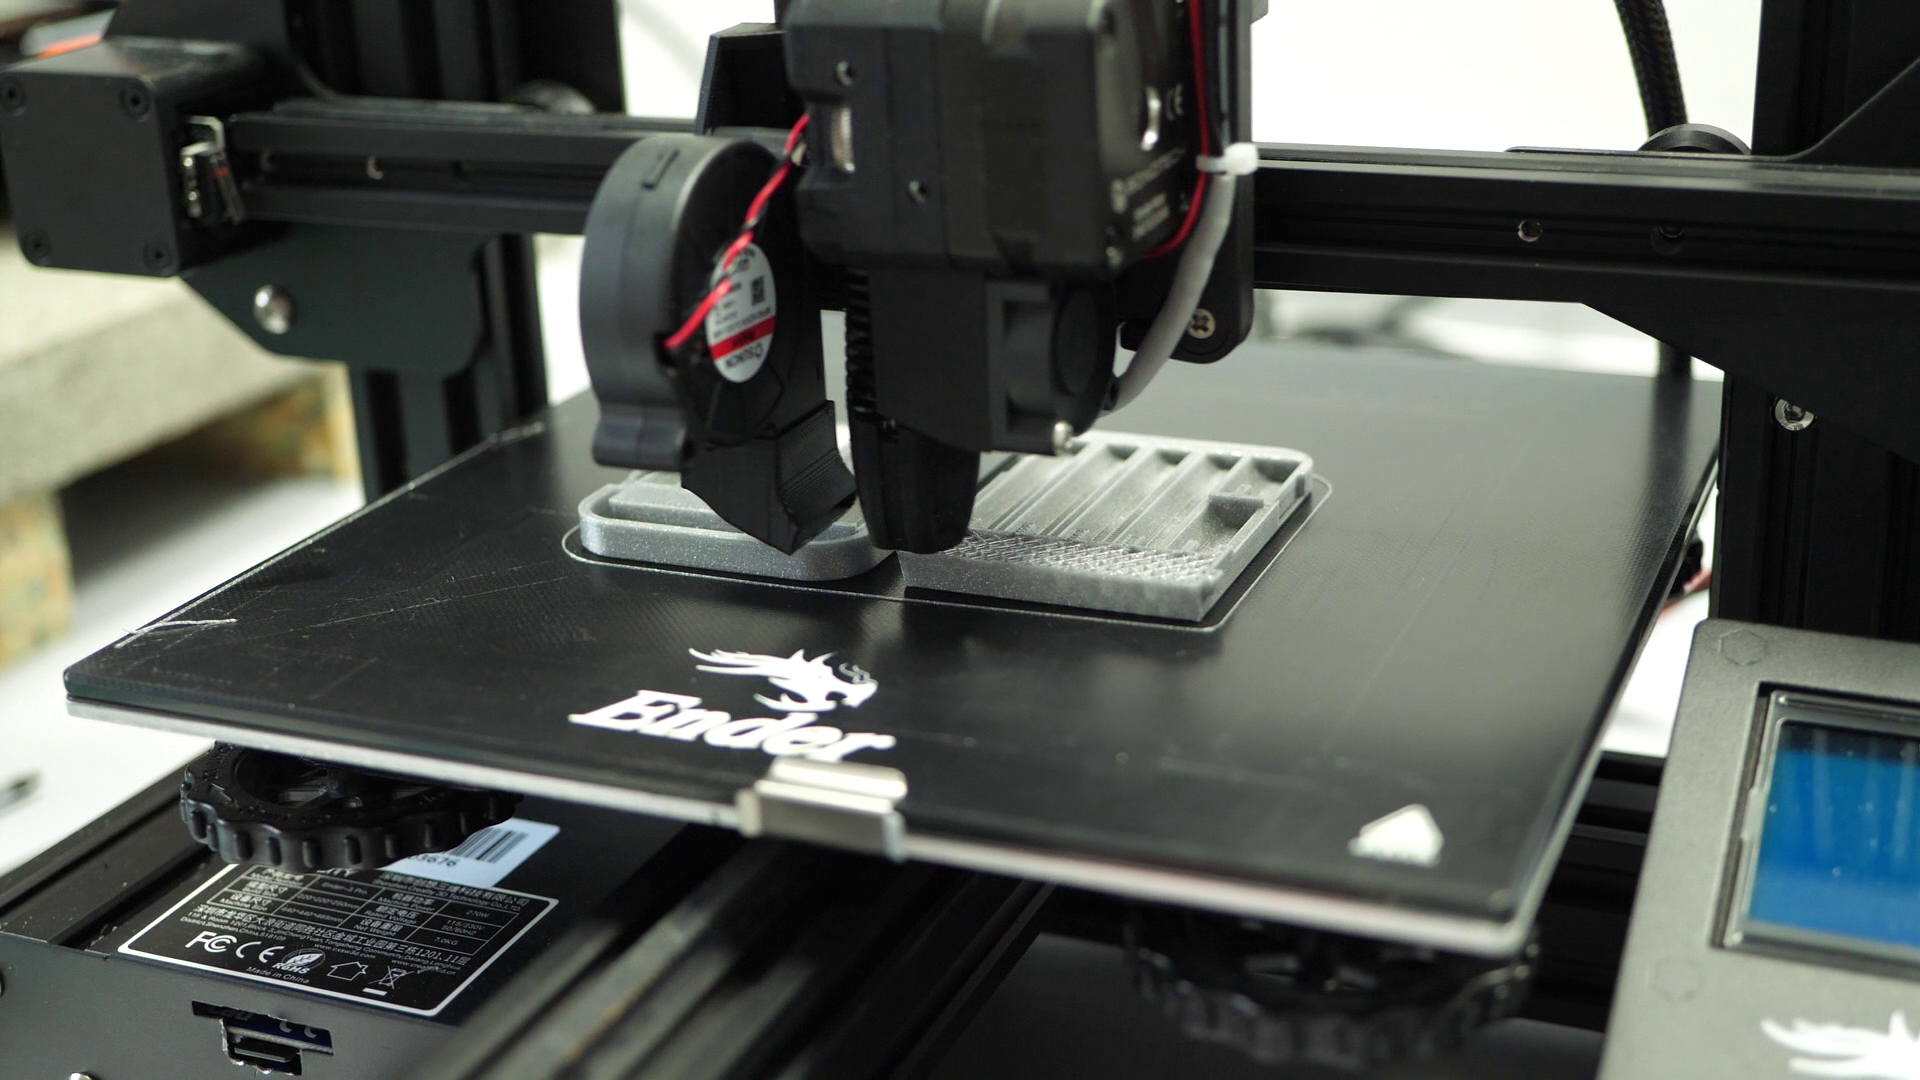
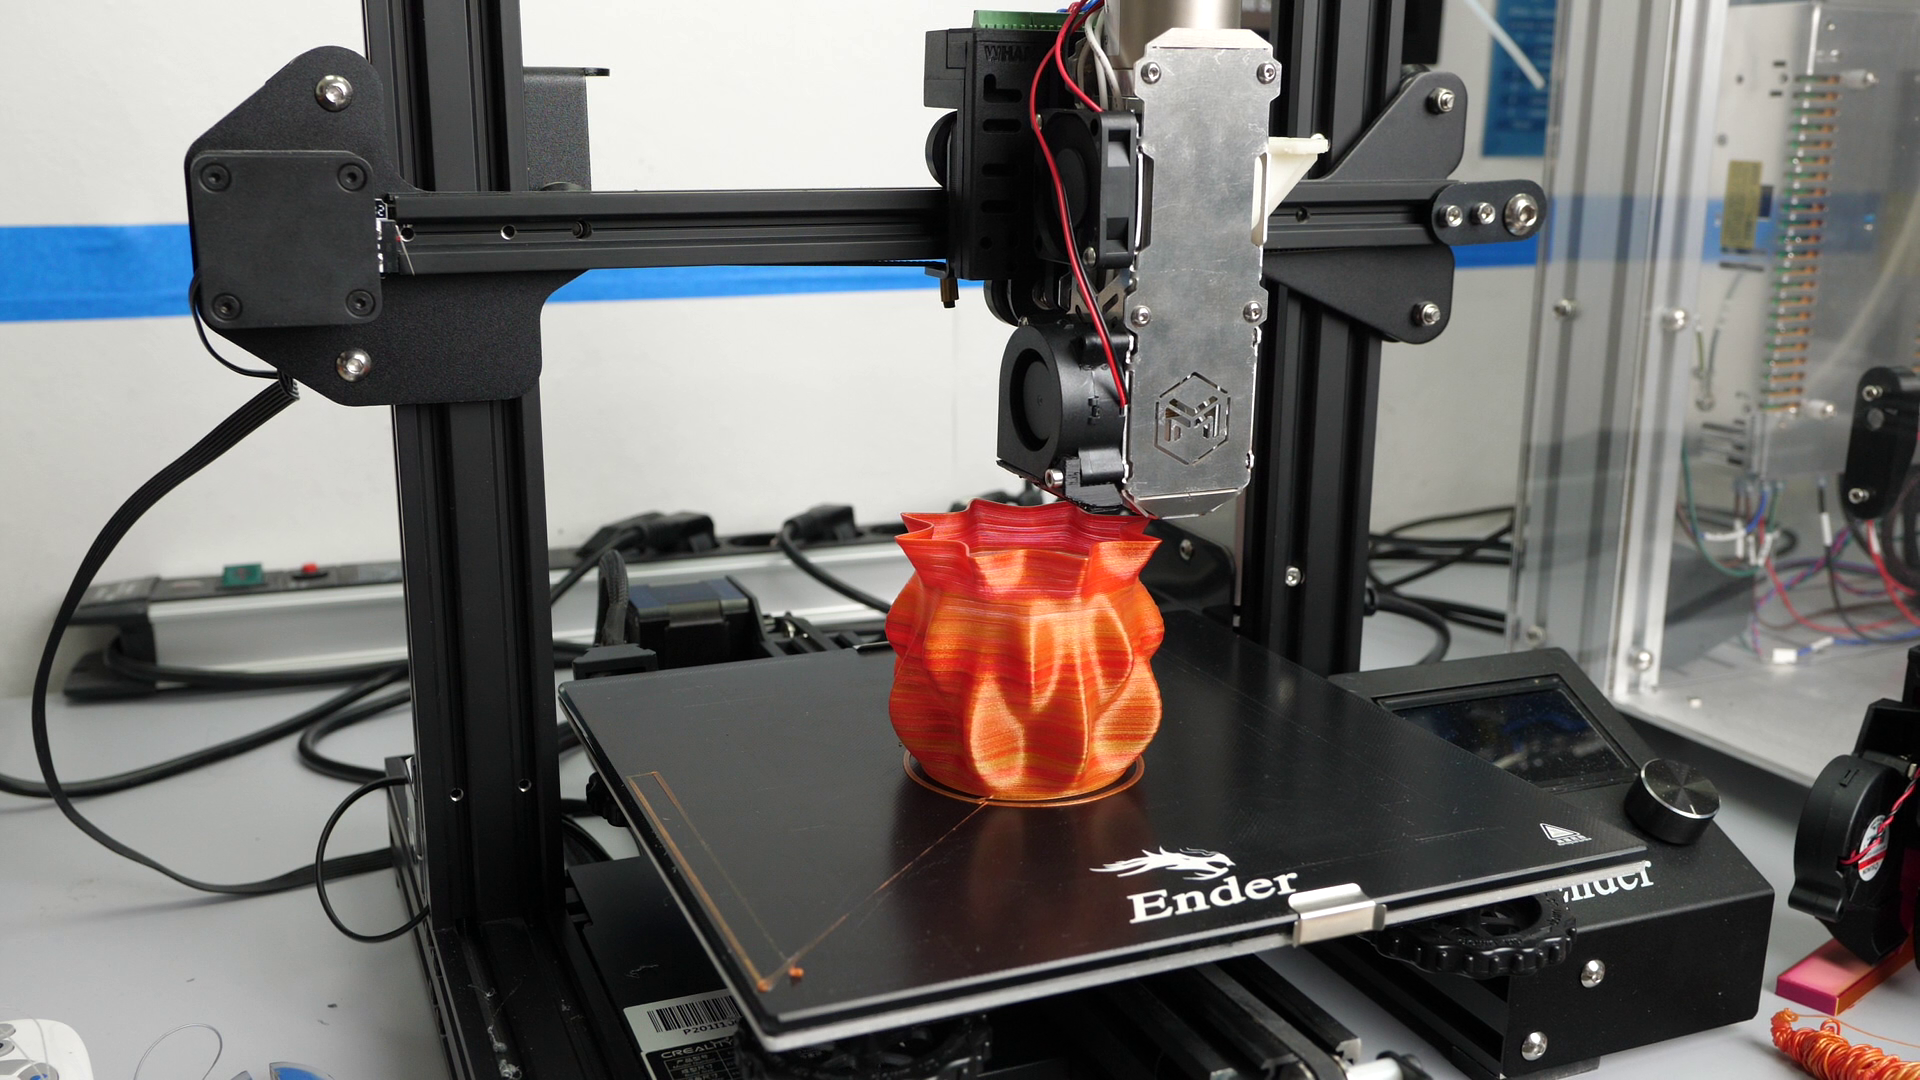

Print quality on the cases and also on the other parts I printed is flawless and I have printed one of the nicest 3DBenchys so far. Due to the thickness of the Mutant system and the adapter plates, the system protrudes out quite a bit more than before but the whole setup is sturdy enough that it doesn’t cause a significant amount of vibration artifacts on the parts. Even though many complain about the V-slot motion system, the Ender seems to handle the 107g of the MUTANT plus the weight of the direct extruders rather well but the added weight is still something you need to consider! Of course, you probably shouldn’t strap a router to your Ender-3 for CNC machining but I’m quite sure that you’d get great results if you added an engraving head and use it for PCB milling where tool loads are minimal.

The tool swapping system moves the extruder outside
What you need to consider as well is that the MUTANT system itself and the tool you’re using will reduce the available print space. On the Ender-3 using an E3D Hemera for example I lost around 30mm in print height, another 30 on x and around 15 in y.
Price
Let’s talk about the price of the MUTANT system. You can get a base kit which contains only one mobile and one fixed plate for currently $85. Though this will only give you the added benefit of servicing your extruder away from your printer or using non-powered accessories like a vinyl cutter or a pen plotter. In most cases you will probably go for a quad kit which gives you one fixed plate and three mobile plates to allow different extruders, lasers or even a routing head. This setup will set you back $149, though you can even purchase plates separately. WhamBam also isn’t the only Tool Swapping System on the market but their prices are very similar to what XChange as well as BIQUs Hermit Crab cost. So take a look at all of them to make an informed decision.
You could argue that for $150 you can get a second 3D printer instead of a tool swapping system and this is true. But increasing the print capacity isn’t what a tool swapping system is intended for. The MUTANT is well suitable if you maybe don’t have the space or you don’t need two different machines but just need one that works but can use dedicated printheads or simply perform other tasks like vinyl cutting. In such a case it reminds me quite a bit of the Snapmaker with its modular toolheads just on a DIY and maker level.
Another use case might be having two or more printers where you want the possibility to seamlessly switch tools around for certain applications. Or you have a print farm where you can quickly swap to a spare toolhead if you encounter a problem on one and fix it on your desk while the machine is printing customer parts again. The possibilities are endless but I’m certain not everyone needs a tool swapping system on their machine because it also comes at a price, adds weight, decreases print space, and adds complexity. Through if this review sparked ideas in your head what you could do with tool swapping, I can recommend the second iteration of the WhamBam MUTANT. It worked great for my tasks, they definitely improved on the flaws of the first version with the new injection molds and pogo-pin connectors and if you have a use case for it you won’t be disappointed! I’ll be using mine as a test station to benchmark different setups and when I need to work on my tools, I can conveniently do that on my desk. But what would be a use case for you? Let me know down in the comments! Thanks to DUET, E3D, DropEffect, Bondtech, Mahor and Phaetus for providing the hardware for this build!