Building a Hand Cranked Shredder for Recycling Plastics
Almost one and a half years ago I released my most popular video to date in which I recycled failed 3D prints into new filament using the Filastruder. One of the steps in this process is chopping down the material that you want to use. I tried a blender and a modified paper shredder in the past, which worked for small parts and supports, but things even only like a 3D Benchy were just a no-go. The paper shredder was overwhelmed with everything bigger than support structure and the bender, either wasn’t able to chop down material or it pulverized it. Having a consistent particle size for the subsequent processes is very important and I wasn’t able to achieve that so far. I also recently received a direct pellet extruder made by Mahor that I want to feed with recycled plastics and which is very picky with the particles you feed it. Since there is quite a lot of interest in that field in general, I thought I finally get back at it and in order to do it properly and have the possibility to also shred things like PET bottles, I bought myself a beefy plastics shredder. Since I’m lacking space, I tired to make it hand powered, which was a bit of a challenge. If you don’t want to miss that stay until the end and for more recycling projects make sure that you are subscribed to the channel and have selected the notification bell!
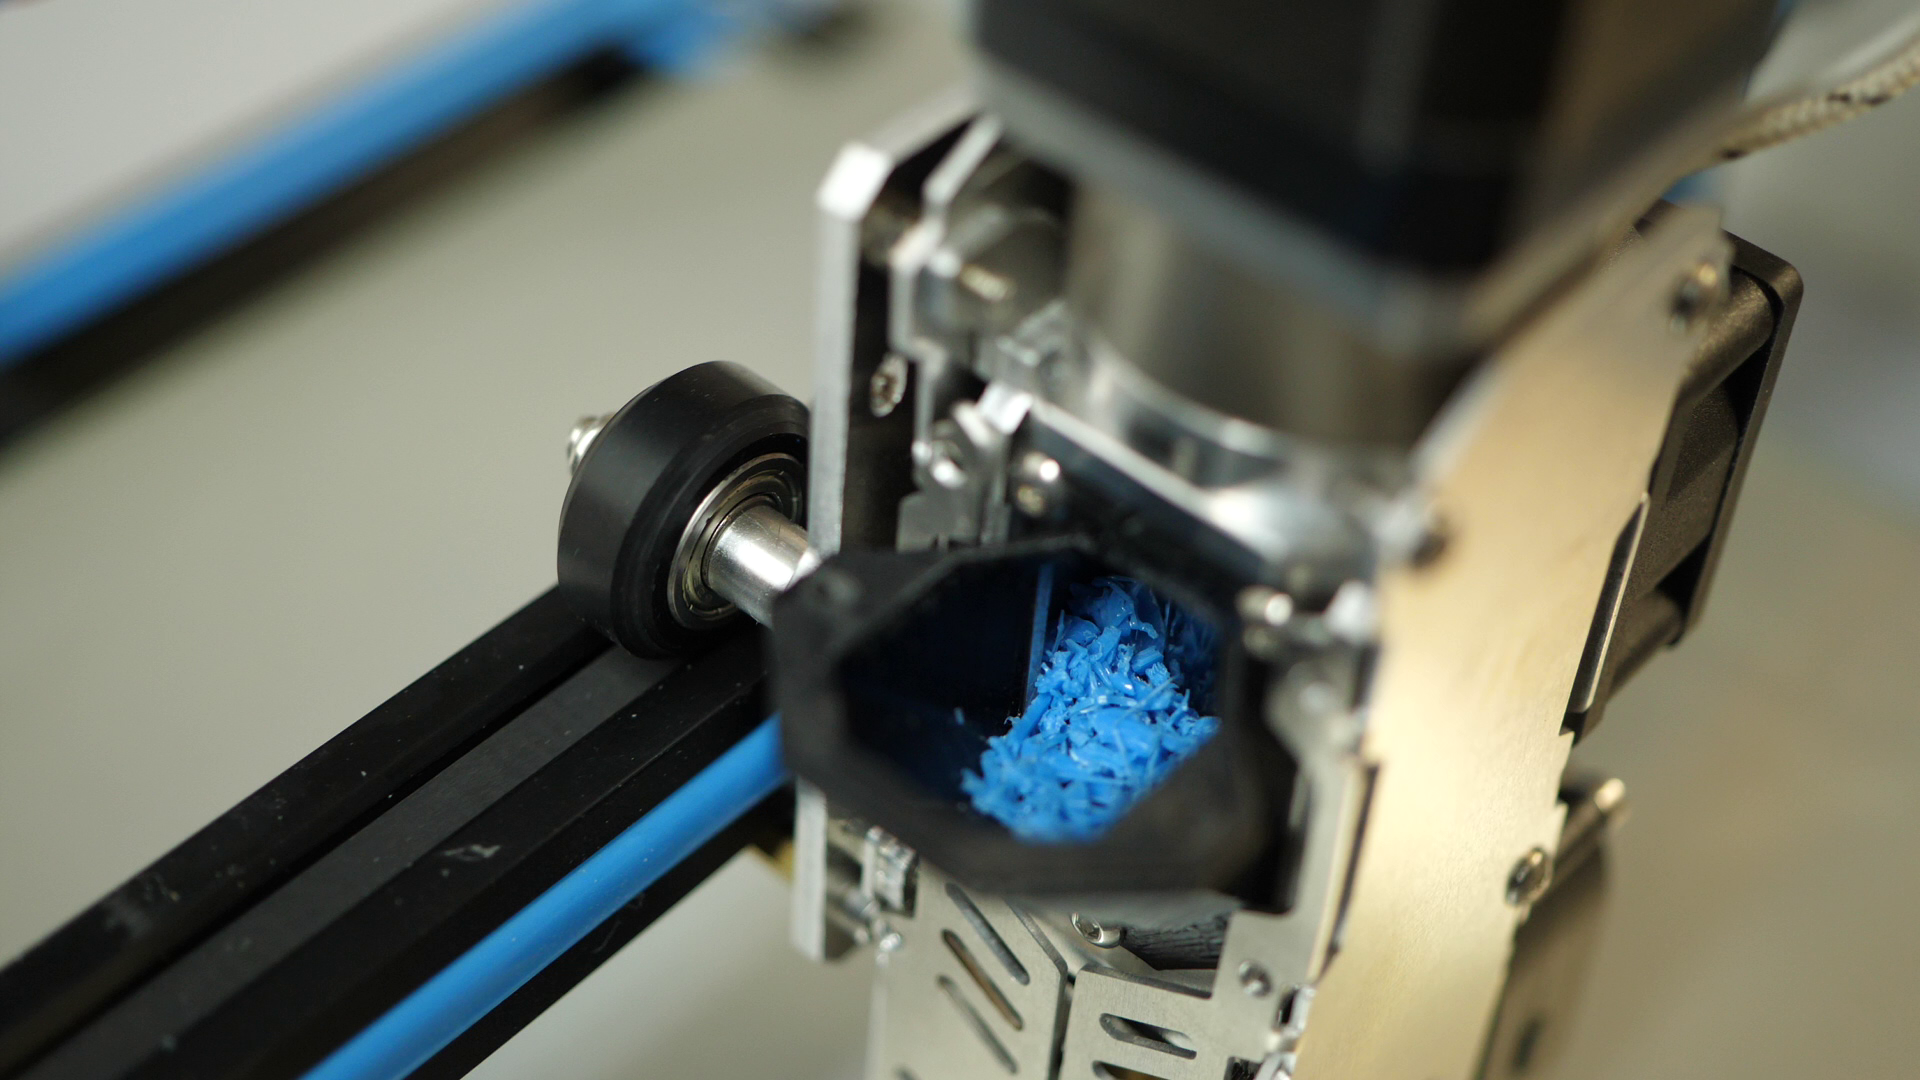
Shredded material in the Pellet Extruder
So I thought about buying a used, professional shredder but since my workshop is not the biggest, I had to find an alternative. Until the last video released, I wasn’t aware of Precious Plastics, that is an initiative with the goal to reduce plastic waste. They provide a bunch of open source tools that everyone can use to start recycling plastics. One of those machines is their shredder. It’s mostly made out of sheet metal, that can quite easily be sourced in any laser shop around the world. The even better thing is the Precious Plastics Bazar, which is a market place where you can buy parts and materials, so that you don’t need to source everything on you own. I browsed around, compared prices and decided to purchase a fully stainless steel shredder unit for 320€ plus 50 bucks of shipping that arrived within around two weeks.

All Precious Plastics Machines
I basically received a box with a bunch of laser cut parts plus the turned axle, the bearings and a couple of bolts. Most of the parts were deburred but it’s usually a good idea to check them before assembly and use a file for cleanup if necessary. Assembly was pretty much straight forward and Precious Plastics provides a nice instructional video that goes over all steps. The only slight modification I did, was to drill holes in the end of the axle and thread them to later attach a stop for my hand crank. I also learned during that process, that it’s a good idea to use the right tool for a job… Stacking the shredder blades was kind of satisfying. I followed the manual but depending on the material you run, other stack configurations could make sense as well. The good thing about this kit was that it was fully welded together so I only had to do the bolting job without the need of additional tools. A screen with specifically sized holes is placed below the blades. The part is responsible for only letting particles go through that are properly sized for the later application so that the shredding will not jam the extruder. Unfortunately, I just recently noticed that my screen has 8mm holes instead of the 5mm ones that would be better suited for the Filastruder or the Pellet extruder, so I will need to source another perforated metal plate.
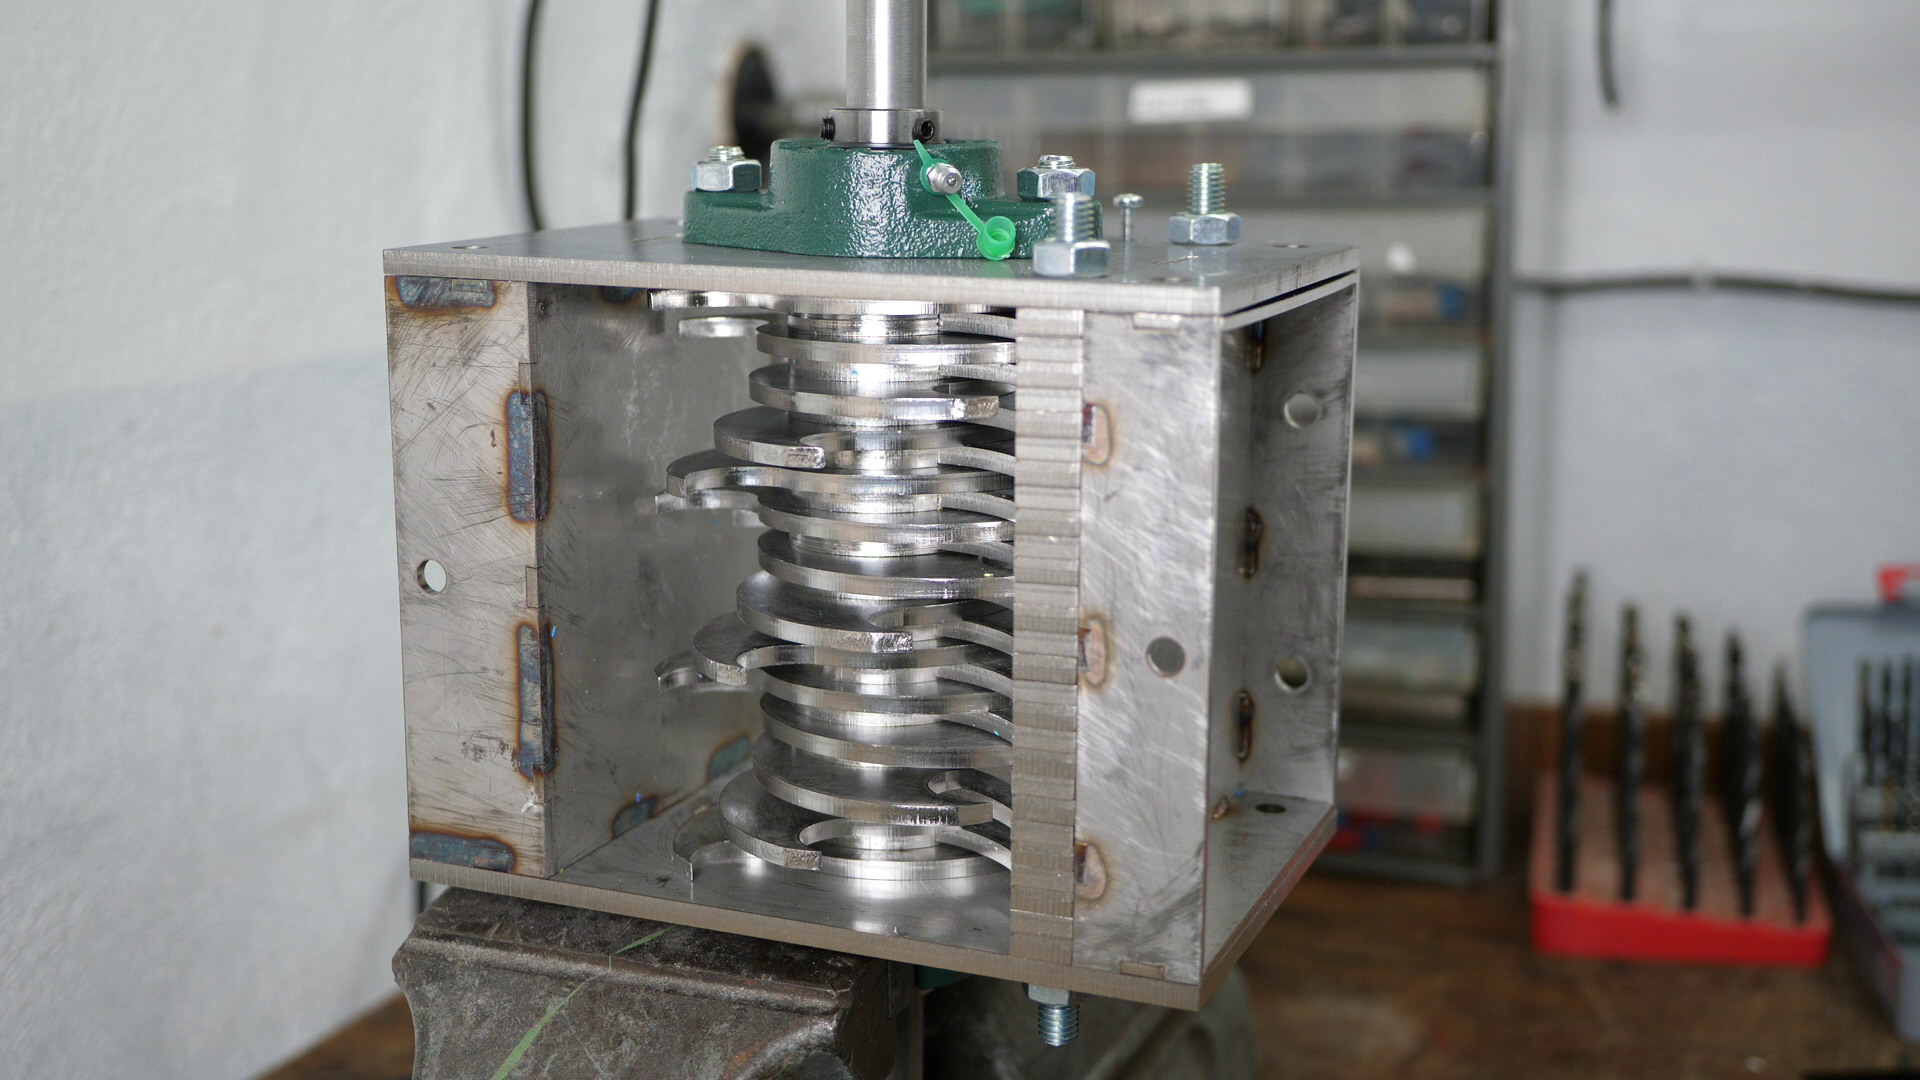
Shredder during assembly
The first run was a bit rough because some of the parts rubbed together. I used a file to remove some material at the locations where I felt that the parts binded up. The unit still doesn’t run 100% smoothly but that will change after the first couple of times when using it. And there we have it, that’s the basic shredder unit. To properly use it in a more industrial application, you would now attach it to a frame and add a really beefy, geared motor to it. And with beefy, I mean around 2kW strong because it needs a huge amount of torque to chew through materials. Since my shop is too small for the complete set and I usually only process small quantities of material, I really wanted to make it work with a hand crank. So I got an adaptor cut from steel that I then filed to the proper dimensions, to which I attached an 80cm long 25mm thick, hollow square steel pipe. And this is really the bare minimum that I need because, I tried using a 16mm pipe, that just was way too weak! I printed a handle in which I pressed two skateboard bearings and attached it with an 8mm bolt to the end of the handle. The assembly is attached to the shredder, that itself is attached to the table via vice clamps. Not a perfect solution yet, and I need to raise it a little for a material drawer below but a starting point.
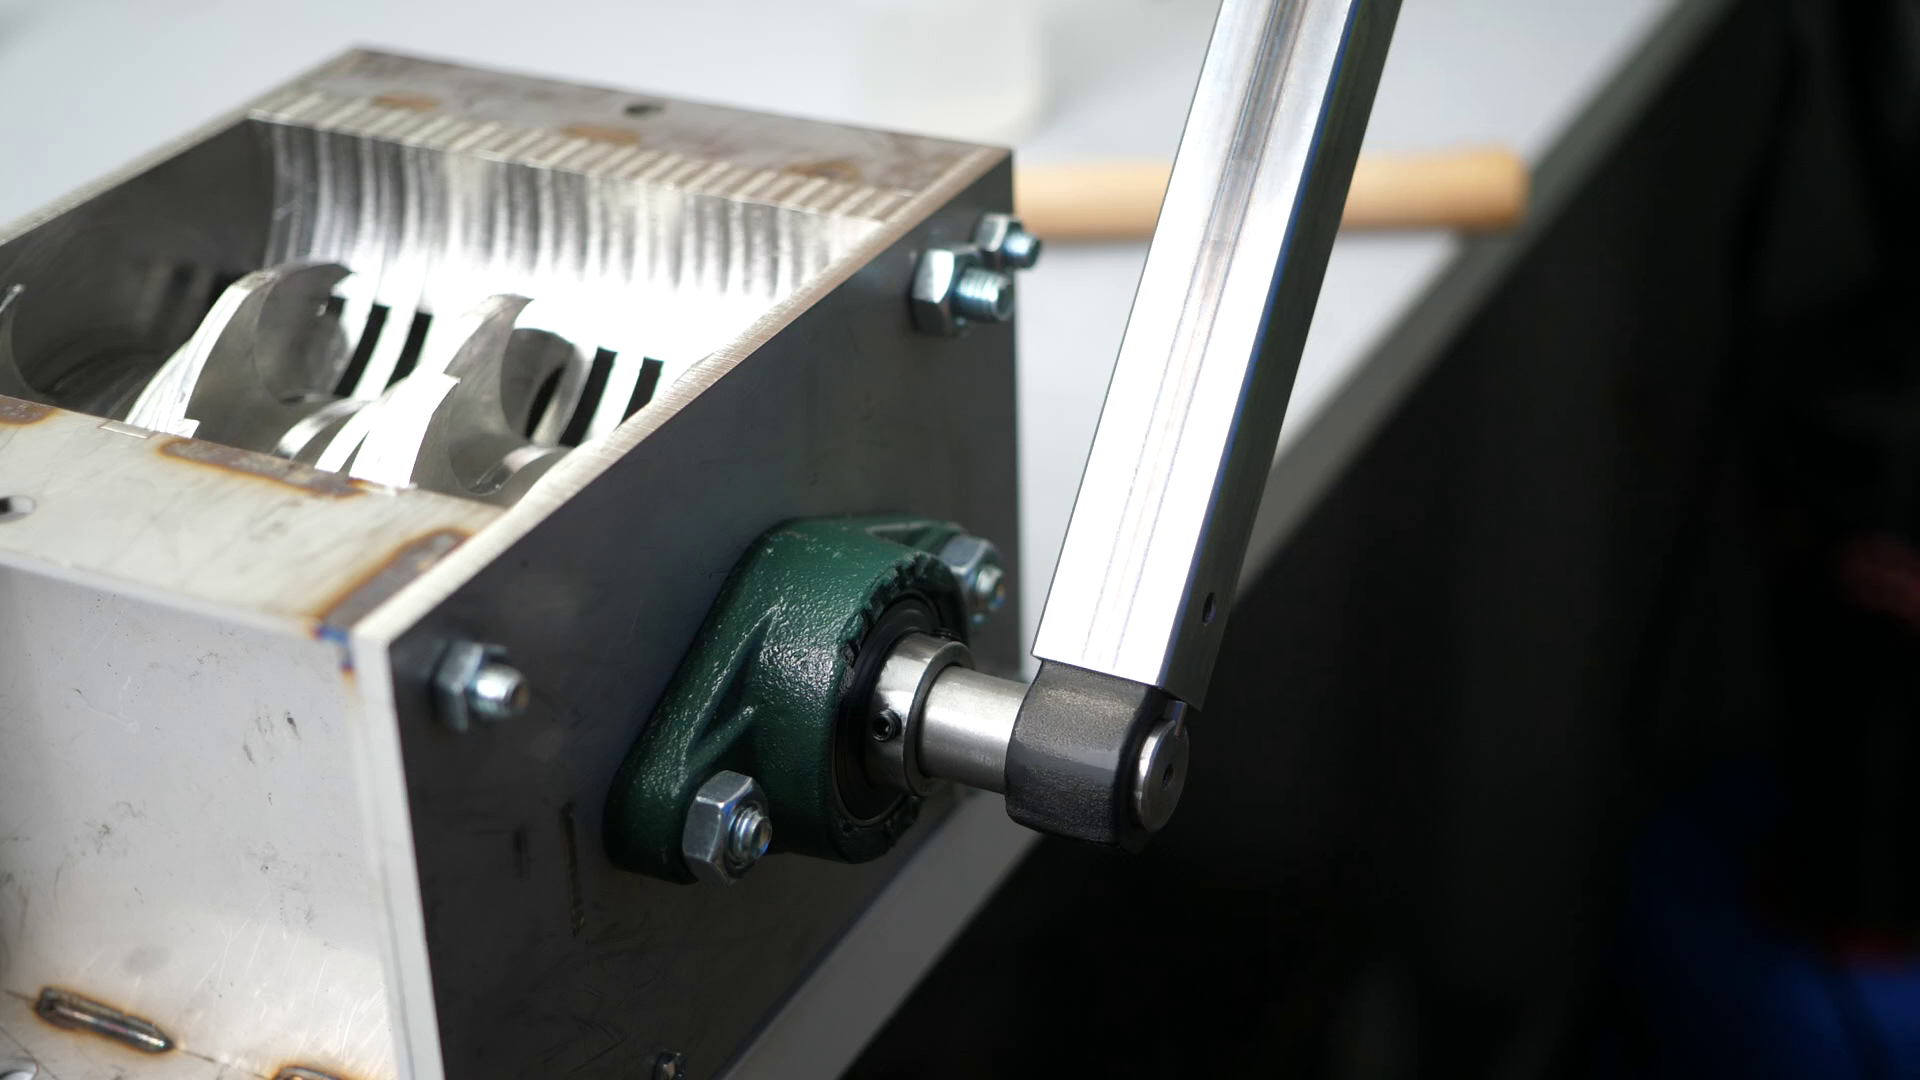
Shredder with hand-crank
It really works, sometimes requires a tremendous amount of force, but it’s now even able to chew through thick bits of material. I might get myself a decently sized flywheel cut out to add some inertia, but if I’m not going through a couple of kilos of material at a time, a workable solution at this point.
The only thing that still need fixing is, that it’s horribly dangerous and also the shredded material flies everywhere. Lacking a welder, I had to make myself a kind of funnel out of wood. I cut OSB to the proper dimensions and added a small hole for a window with my multitool. Then, I screwed everything together and here we finally have my, for the moment, finished, hand cranked shredder! And shredding it does! For the moment I mostly went though PLA but I also tried PET bottles and HDPE bottle caps which it cut down to small pieces without any major issues. Really cool. The big hand crank is definitely necessary because even with only little material in it, I sometime have to pull with my whole weight, which results in a torque of around 500Nm! If you have ideas what I could be shredding in the future and then print with it, leave a comment down below!
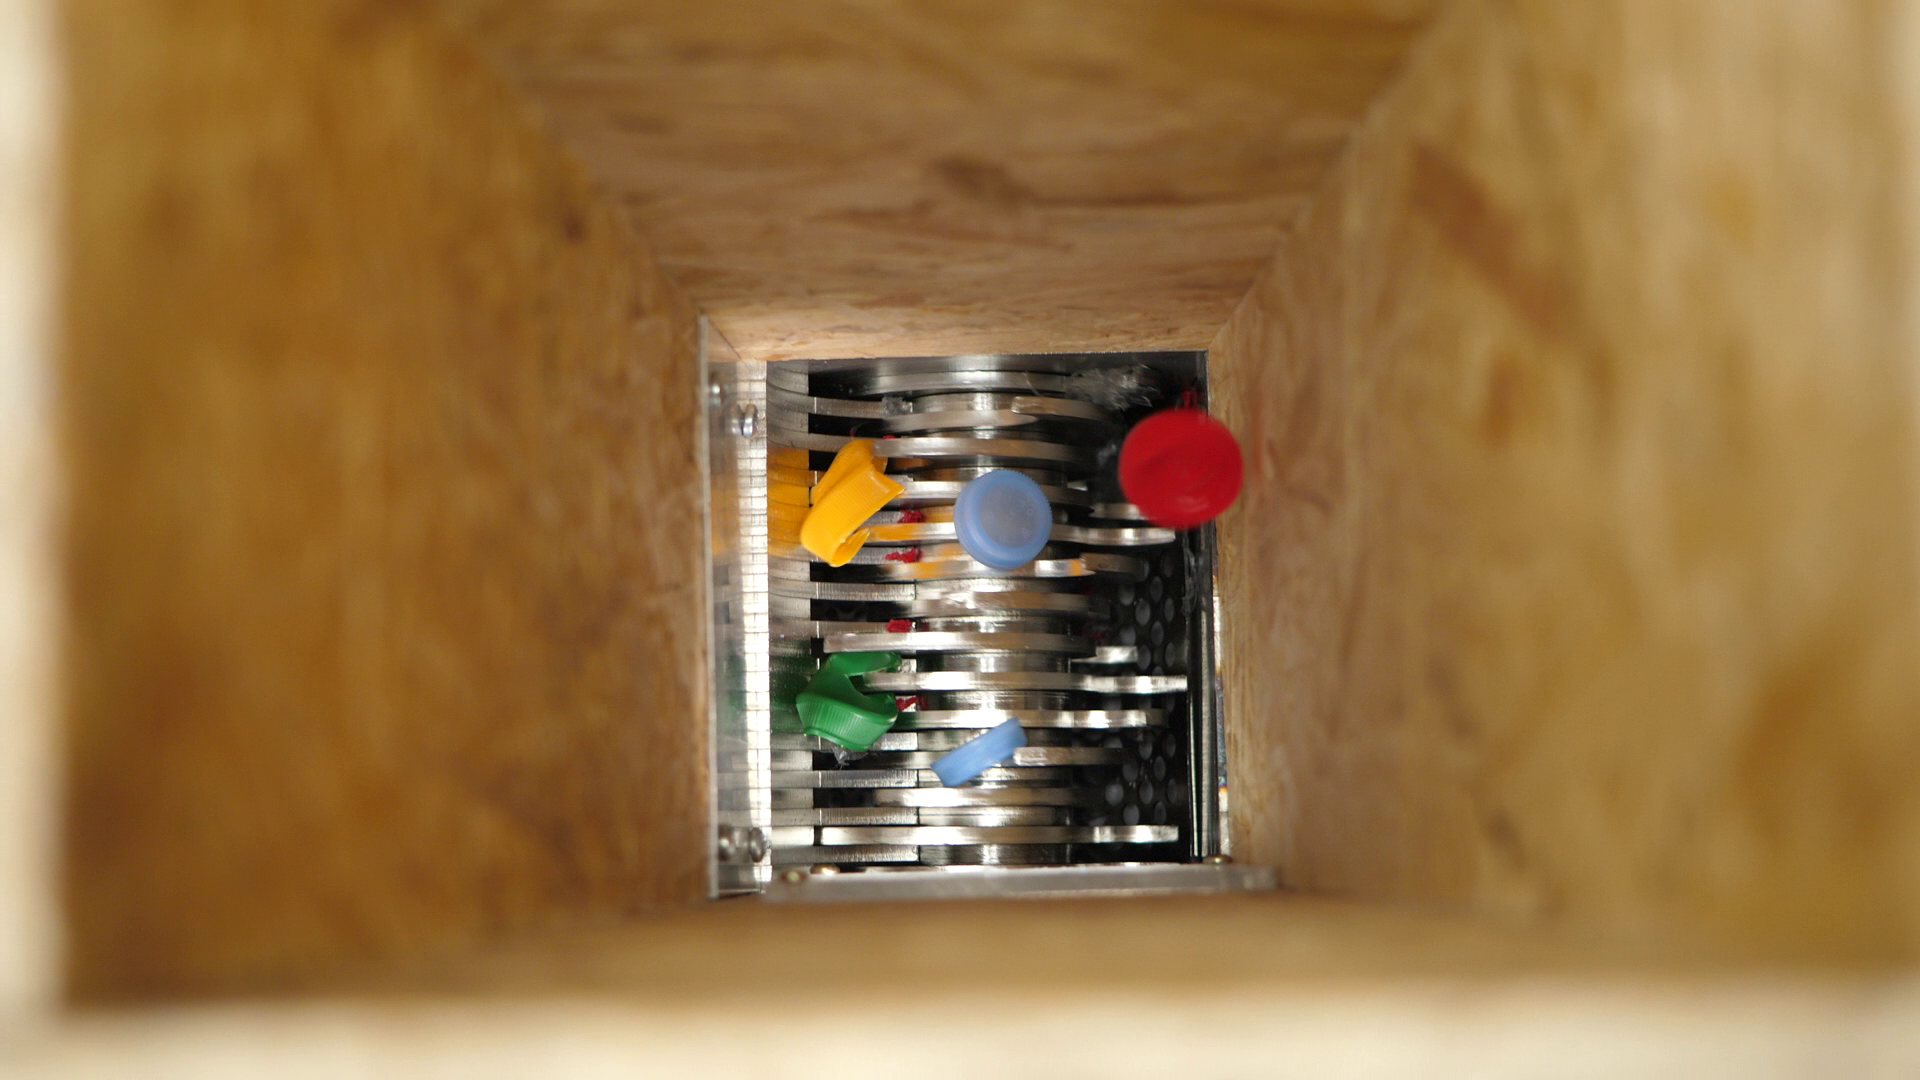
Shredding HDPE bottle caps
The shredded material is basically ready now, but both my Filastruder and the Direct Pellet extruder work the best, if the particle size is fairly similar. In order to ensure that, I designed and printed simple stackable sieves, where the sieving part is just the exposed infill and the mesh size is adjusted by changing the infill ratio. Link to those in the description by the way. I now stack them up, with the finest one on the bottom and pour the shreddings into the most upper one. Then I shake everything around and finally end up with the different particle size fractions. The most upper one is bigger than 5mm and goes back into the shredder, the smallest one, that also includes wood and metal shavings unfortunately goes into the trash for the moment. The remaining material is now ready for the Filastruder as well as the Pellet Extruder and should result in way more consistent extrusions as before! Let me know down below what you think of this project, what you would have done differently and what I can do with it in future videos.
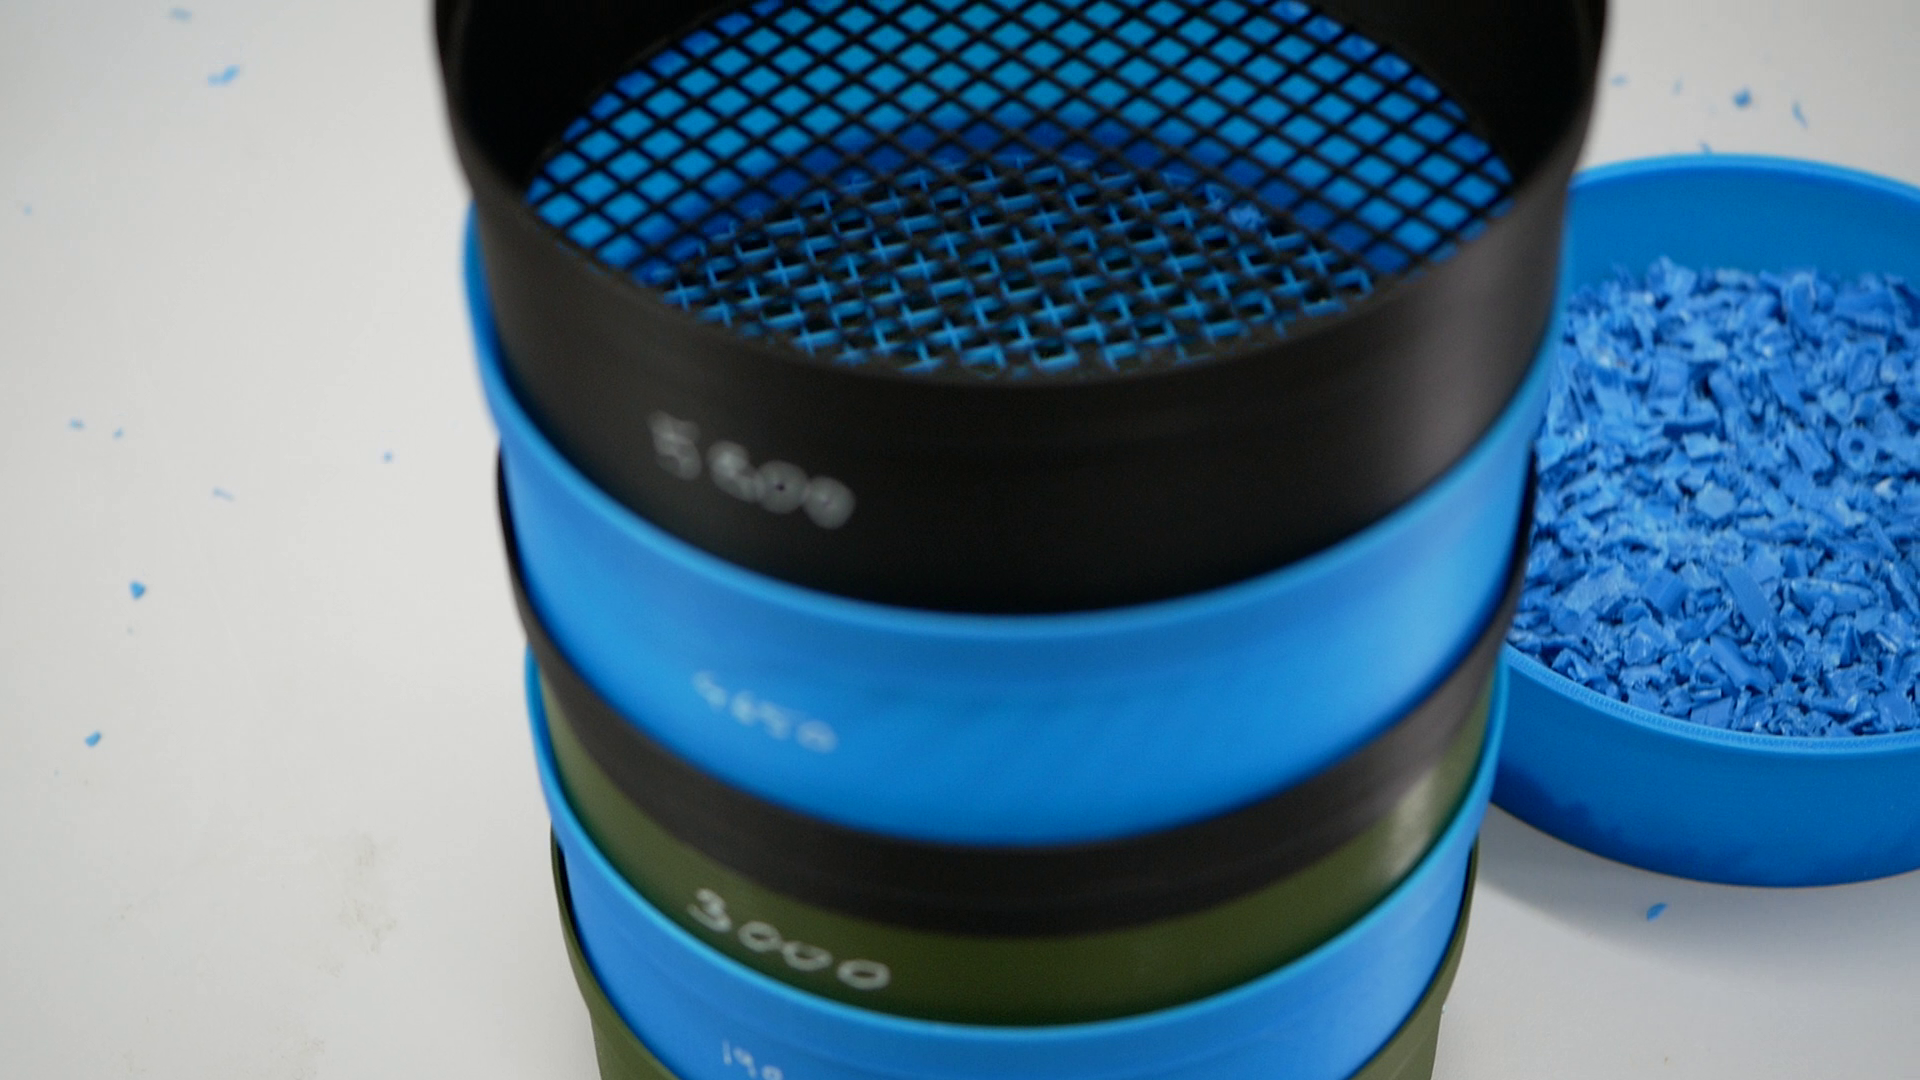
Stacked sieves
Links
Precious Plastics: https://preciousplastic.com/
Hand crank adapter: https://www.prusaprinters.org/prints/25994-hand-crank-adapter-for-plastics-shredder
Stackable Sieves: https://www.prusaprinters.org/prints/25990-stackable-sieves
Direct Pellet Extruder: https://mahor.xyz/
Filastruder: https://www.filastruder.com/