How to 3D print face shields faster
During the last weeks I wasn’t really sure what to think about 3D prints in medical and safety critical applications, because some just weren’t safe in my opinion and for others there wasn’t a lot of information around of what medical professionals and also the authorities thought about the proposed solutions. Though 3D printed face shields were becoming more and more popular especially due the great initiative that Prusa put into place. Currently there are plenty of different designs around and they have been printed in thousands the last days. I didn’t really do something in that direction because I didn’t know anyone that actively looked for them and I didn’t want to print something that landed in the trash because the professionals rejected them. This changed in the middle of this week when I got in touch with a local initiative that looked for printing capacity, had themselves already produced hundreds and were already distributing them at doctors and nursing services. So, for the first time ever, I gathered all my properly working printers that I still had, put them into my basement and started my first official small print farm. Since they were currently needing as many parts as they could get, I wanted to make sure that my print setup was as efficient as possible to crank out as many parts as I could. The design that is currently popular around here is one that is not the most efficient to print due to the big shield in the front and being hardly stackable. Though allegedly doctors liked especially that big shield in the front and I didn’t want to get involved in that discussion process.
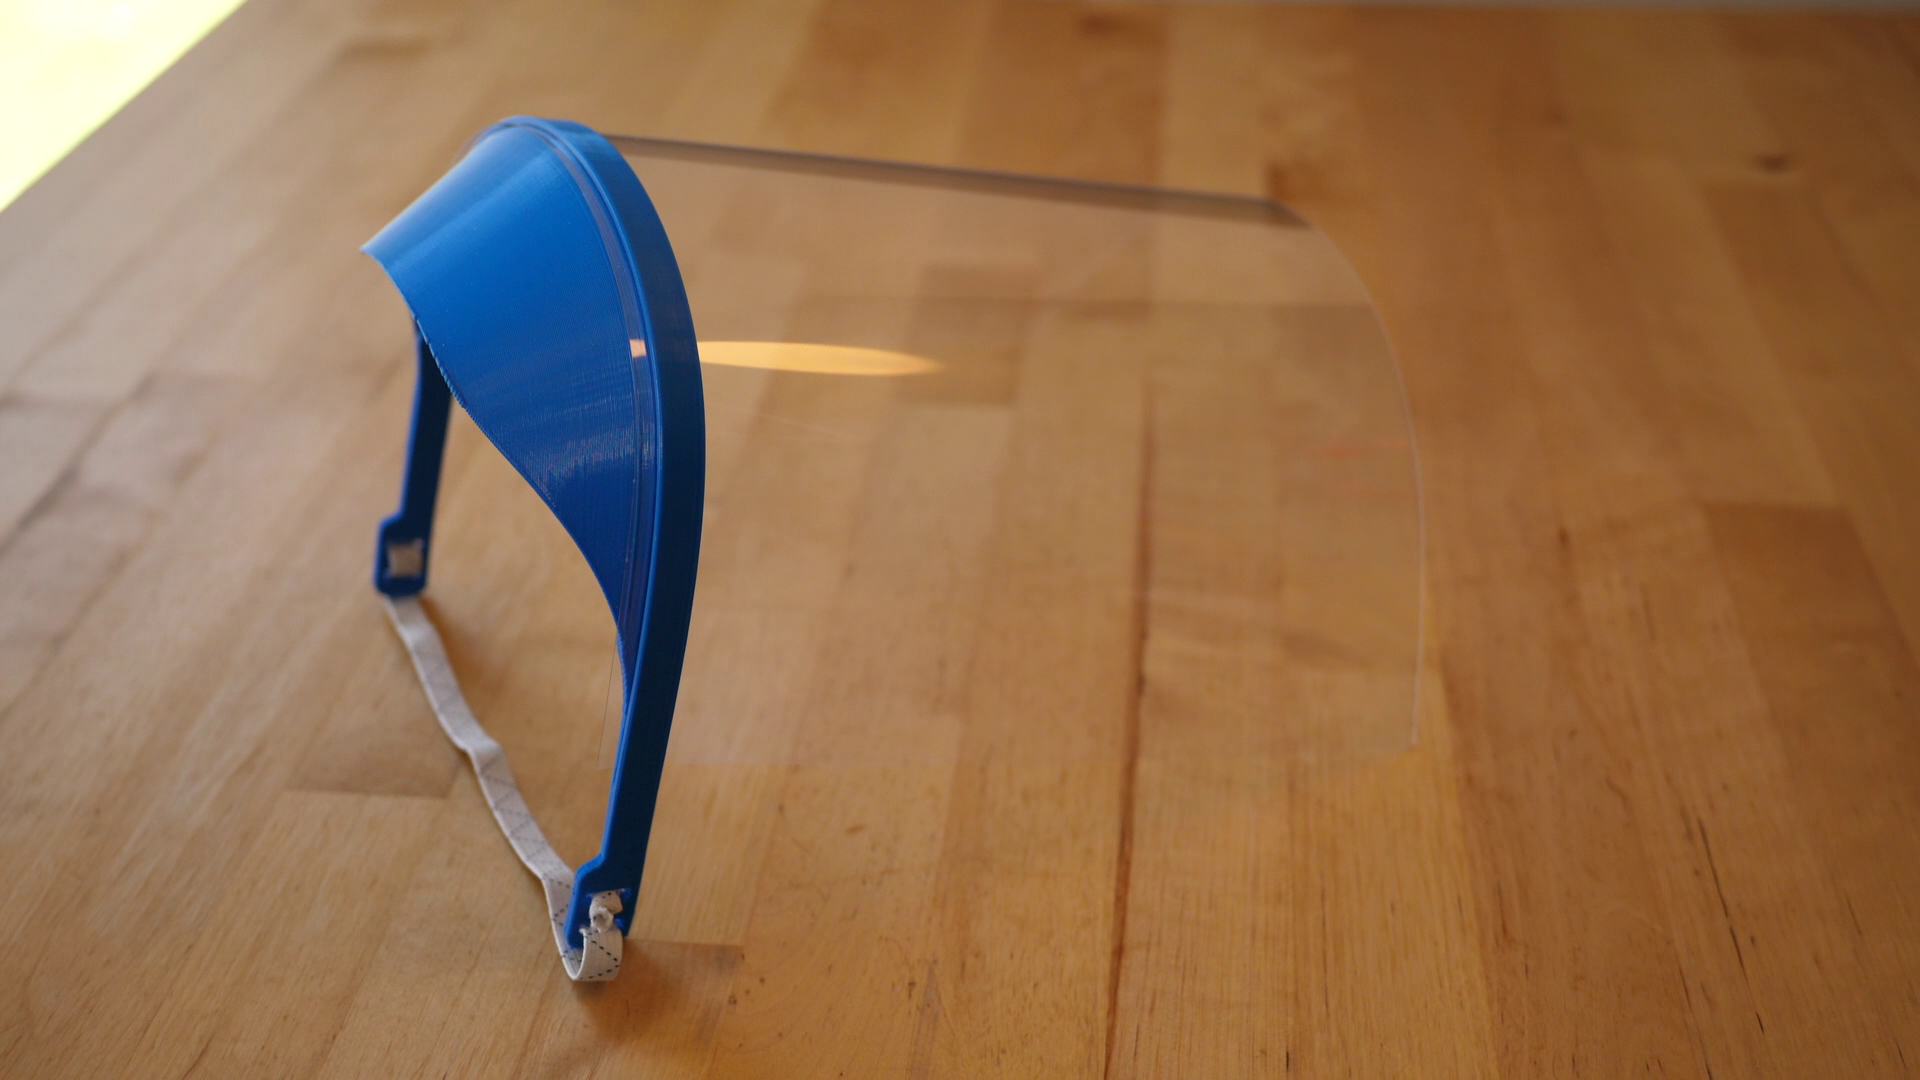
Face shield
So, after a lot of talking right now, let me walk you through the process that I used to get the print time down from 5 hours with the parameters that I usually use to less than a hour with only minor degradation in quality. If you have any further tips or want to share your experience, let us know down below in the comments! I sliced everything in PrusaSlicer 2.2 but you can follow the same process in probably most other slicers.
The first thing that I usually do to save time is to increase layer height. Changing the stock Prusa parameters from 0.15mm quality to 0.2mm speed already reduces the printing time to around 3 hours keeping the number of perimeters at 4 for structural integrity. Making the layers even higher, for example with the 0.3mm Draft setting gets us under 2 hours. Since all the printers I’m currently using, besides the Artillery X1, are using a 0.4mm nozzle, we shouldn’t probably get thicker in layers. Also if we prime the nozzle properly, a skirt around the part is not necessary, and only wastes time and produces waste. If you have watched my previous videos you know that if we want to print fast and strong, increasing the extrusion width is a very powerful parameter. So I increased this parameter to 0.6mm and decreased the number of perimeters to keep the wall thickness the same. Also there are only a couple of small sections that use a tiny amount of infill and don’t contribute to the strength significantly. I saved these moves and decreased the infill ratio to 0. Now we are at 1hour 52min per part. I think the layer view is totally underrated and you should always check it to find inconsistencies or problems. Not only did we spot the low amount of infill but looking at the speeds, we can also see that the perimeters for example are printed way slower than the rest. For visually appealing prints this is fine but in my opinion totally unnecessary in this case. So I cranked up the speeds quite a bit, maybe more than the printer is able to handle. Don’t worry about those high numbers, we’ll work on that soon. If you have linear advance in your firmware, try to turn it on for better quality but tune it properly to not end up with holes in your parts. In one of my last videos we did some analysis concerning the volumetric flow rate to benchmark what our hotend is able to handle. PrusaSlicer can visualize that property really nicely and we can see that for the moment that it’s capped at 15mm³/s. From my experience I know that this is a bit too much for the Prusa i3 MK 2 and 3 even at higher temperatures, so I reduced the value to 12mm³/s that I know is usually printing but increased the printing temperature for the PLA I use to 240°C to help melting the material. After slicing the parts once again, we can see, that the volumetric flow is now almost everywhere at the printers limit which is good for efficiency and we’re now at less than 1.5 hours. We’re now not directly controlling speeds anymore but keep the volumetric flow at the printers limits with is a good solution for that problem. Concerning speed. I basically used the same layout and settings for all the printers that I run. The Artillery is able to print a bit faster due to it’s volcano hotend, so setting the maximum flow to 15mm³/s is not a problem for it. The Ender3 Pro and the Alfawise U30 Pro are not really great in that regard and I had to reduce the flow all the way down to 5mm³/s to avoid extruder skipping. These Bowden printers have a lot of friction in the Bowden tube that limits the maximum flow with the standard feeder quite a bit. If I had more time but didn’t want to invest in new hardware, I might have moved the feeder to the top of the printer that there is almost no bend anymore in the tube and also increased the stepper current a bit just until it started grinding the filament. Also using a 0.6mm nozzle on all machines might have enabled me to print even a bit faster because that reduces back pressure. I can just recommend keeping the numbers a bit higher at the start and watching the prints in the beginning and fine tuning the settings at first at the screen and then adopting these changes in your Slicer by reducing the volumetric flow limit by the same amount you decreased the speed.
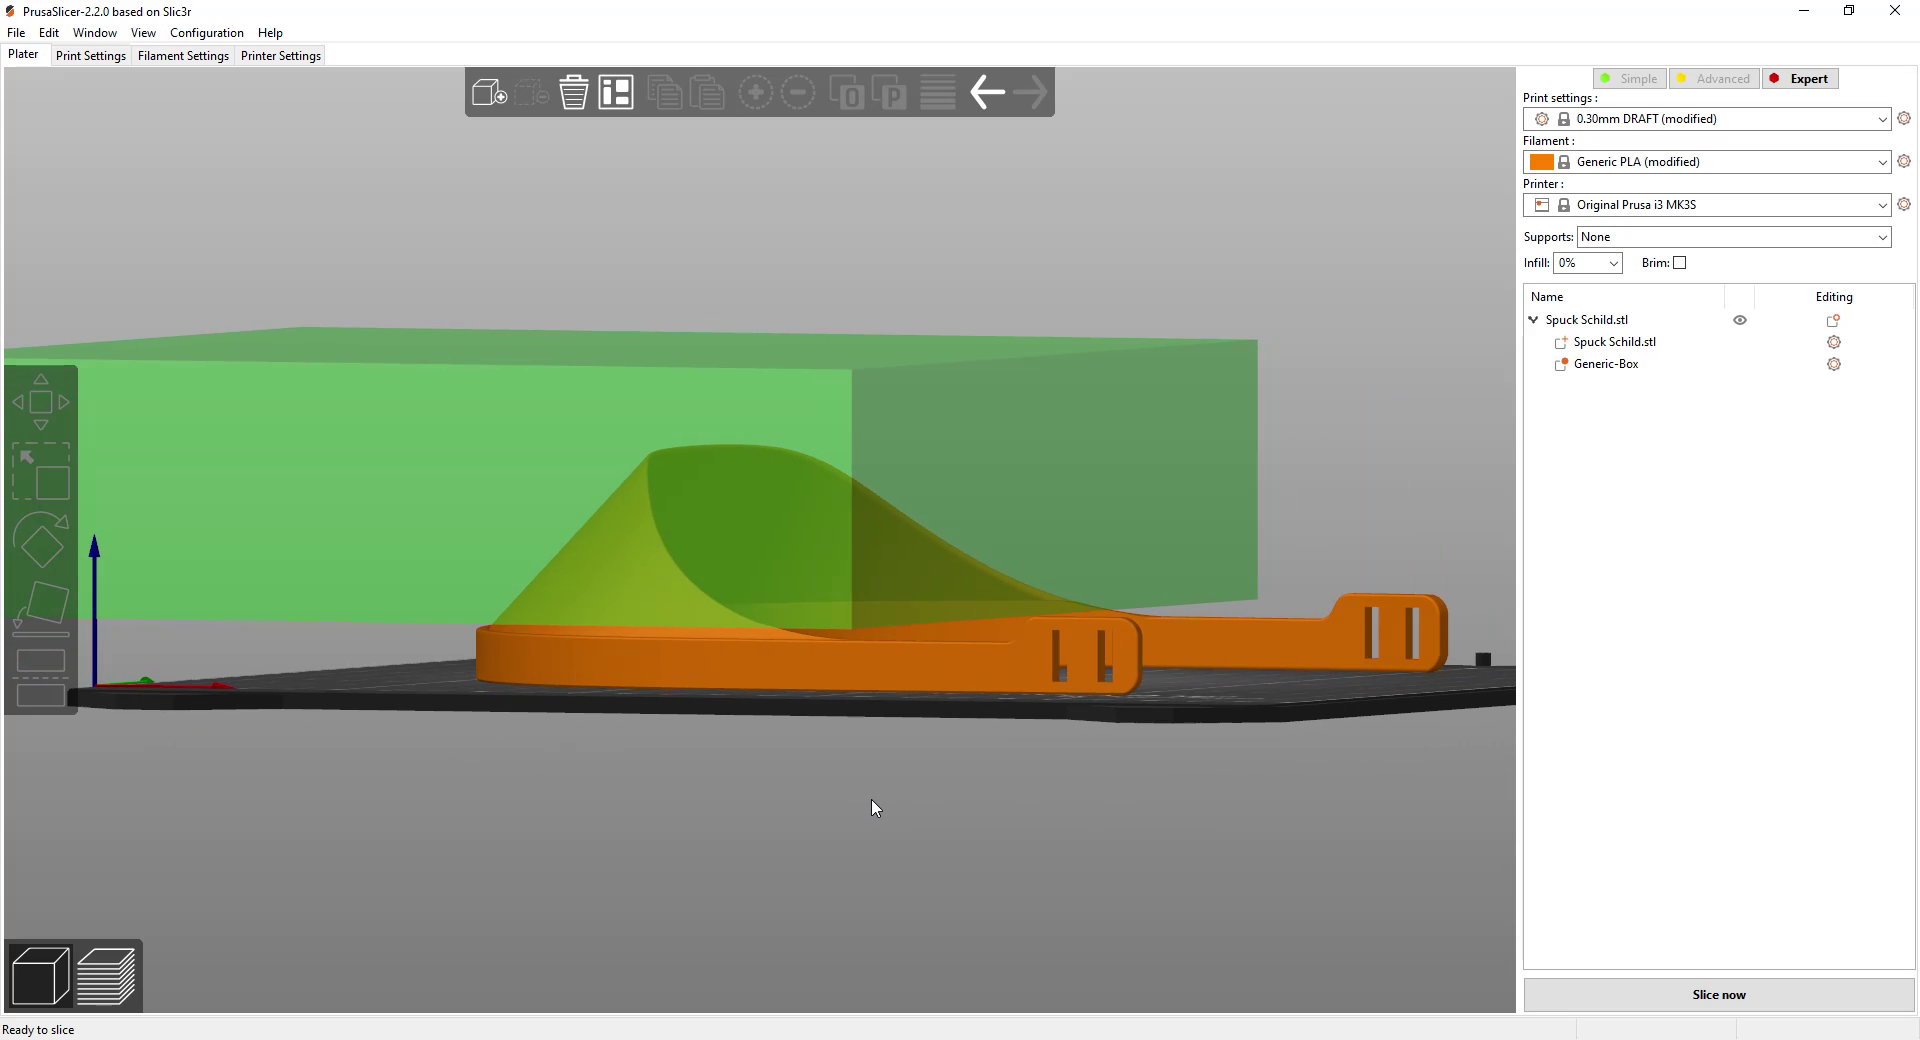
Modifier geometry
All right, so we are at 1h24min per part, but what we are still able to see is that the printing speed is significantly reduced in the shield section because layer times get shorter and therefore the slicer reduces printing speed to ensure proper cooling. Since there aren’t a lot of details that could get squished, I reduced the minimum layer time and checked the first couple of prints if quality was okay. Also consider lowering cooling as much as you can to improve part strength! That gives us another bump down to a bit over 1 hour. Not only did I notice during the first test prints that the shield didn’t look nice, I also noticed that we have a lot of small print moves in the shield itself, costing us valuable time. Since this part doesn’t need to be crazy strong and we are already extruding wider, I used another underrated tool and this is a modifier geometry, that can now very simply be added in PrusaSlicer and in CURA. I scaled it a little and positioned it where the shield was. I can now adjust slicing parameters where this modifier geometry overlaps with the part itself. So I reduced the perimeters to 1 and turned off top and bottom layers. And look at that. Another 10 minutes less getting us below the 1 hour mark, great! First test prints were mostly good, and the parts looked really well for the speed they were printed at. Unfortunately, a couple of parts lifted at the ends. Adding a brim to the part would be a solution but that would result in a lot of manual post processing and increase printing time by 6 minutes. So a smart solution are custom supports by again directly creating primitive parts in Prusaslicer, scaling them to one layer height and moving them to the critical locations. These mouse ears are now helping that the part sticks properly and they are very easy to remove with flush cutters. So this leaves us with 58 minutes per part with which I’m very happy. You should now be putting as many parts as possible on the print plate to reduce dead times and relative heating times as well and increase layer times for better cooling.

Custom Supports - “Mouse Ears”
I’ve now been printing parts for 3 days with roughly 50 parts a day that are collected by somebody else, assembled and distributed to the ones needing them. So far, the printers behaved quite well with a ton of different filament brands, only the flatflex cable of the Artillery burned trough once but coincidently they include a spare in the box.
I hope you can apply these tips for your parts as well, to produce prints faster and more reliable in the future! I really want to thank a couple of companies that provided filament over the last years which I can now use in this critical situation to help others totally free of charge! My thanks goes to Formfutura, E3D, RedLine Filamets, 3DJake, Polymaker, Prusa, ESUN and a couple of others that I might have missed.
Project Files
PLA
PrusaSlicer Project file for Prusa i3 MK2/3
PrusaSlicer Project file for Artillery X1
PrusaSlicer Project file for Ender 3 / Alfawise U30 Pro
PETG
PrusaSlicer Project file for Prusa i3 MK2/3
PrusaSlicer Project file for Artillery X1