3D Printing with a 0.1 mm nozzle
So recently, Key from Kaika sent me a message and asked me if I’d like to take a look at their 3D printing nozzles. I get a ton of these messages and usually decline them since reviewing yet another nozzle with a special coating or alloy isn’t that interesting for me and probably also for you. The thing that excited me here though was that these are Japanese-made nozzles that you can get with an orifice diameter down to 0.1 mm, which is tinier than anything I ever used. Compared to standard 0.4 mm nozzles, this enables you to add way more fine details onto prints, though comes with challenges!
0.1 mm nozzles aren’t a novelty, but I visited Japan and 2019, which had a lasting impression on me. Japanese craftsmanship is something really outstanding, and the nozzles they sent me didn’t disappoint in that regard. Instead of a plastic bag, the nozzles were shipped in a beautiful paper box with golden letters. The nozzles themselves were further protected in a micro test tube which upon opening revealed the beautifully machined parts.

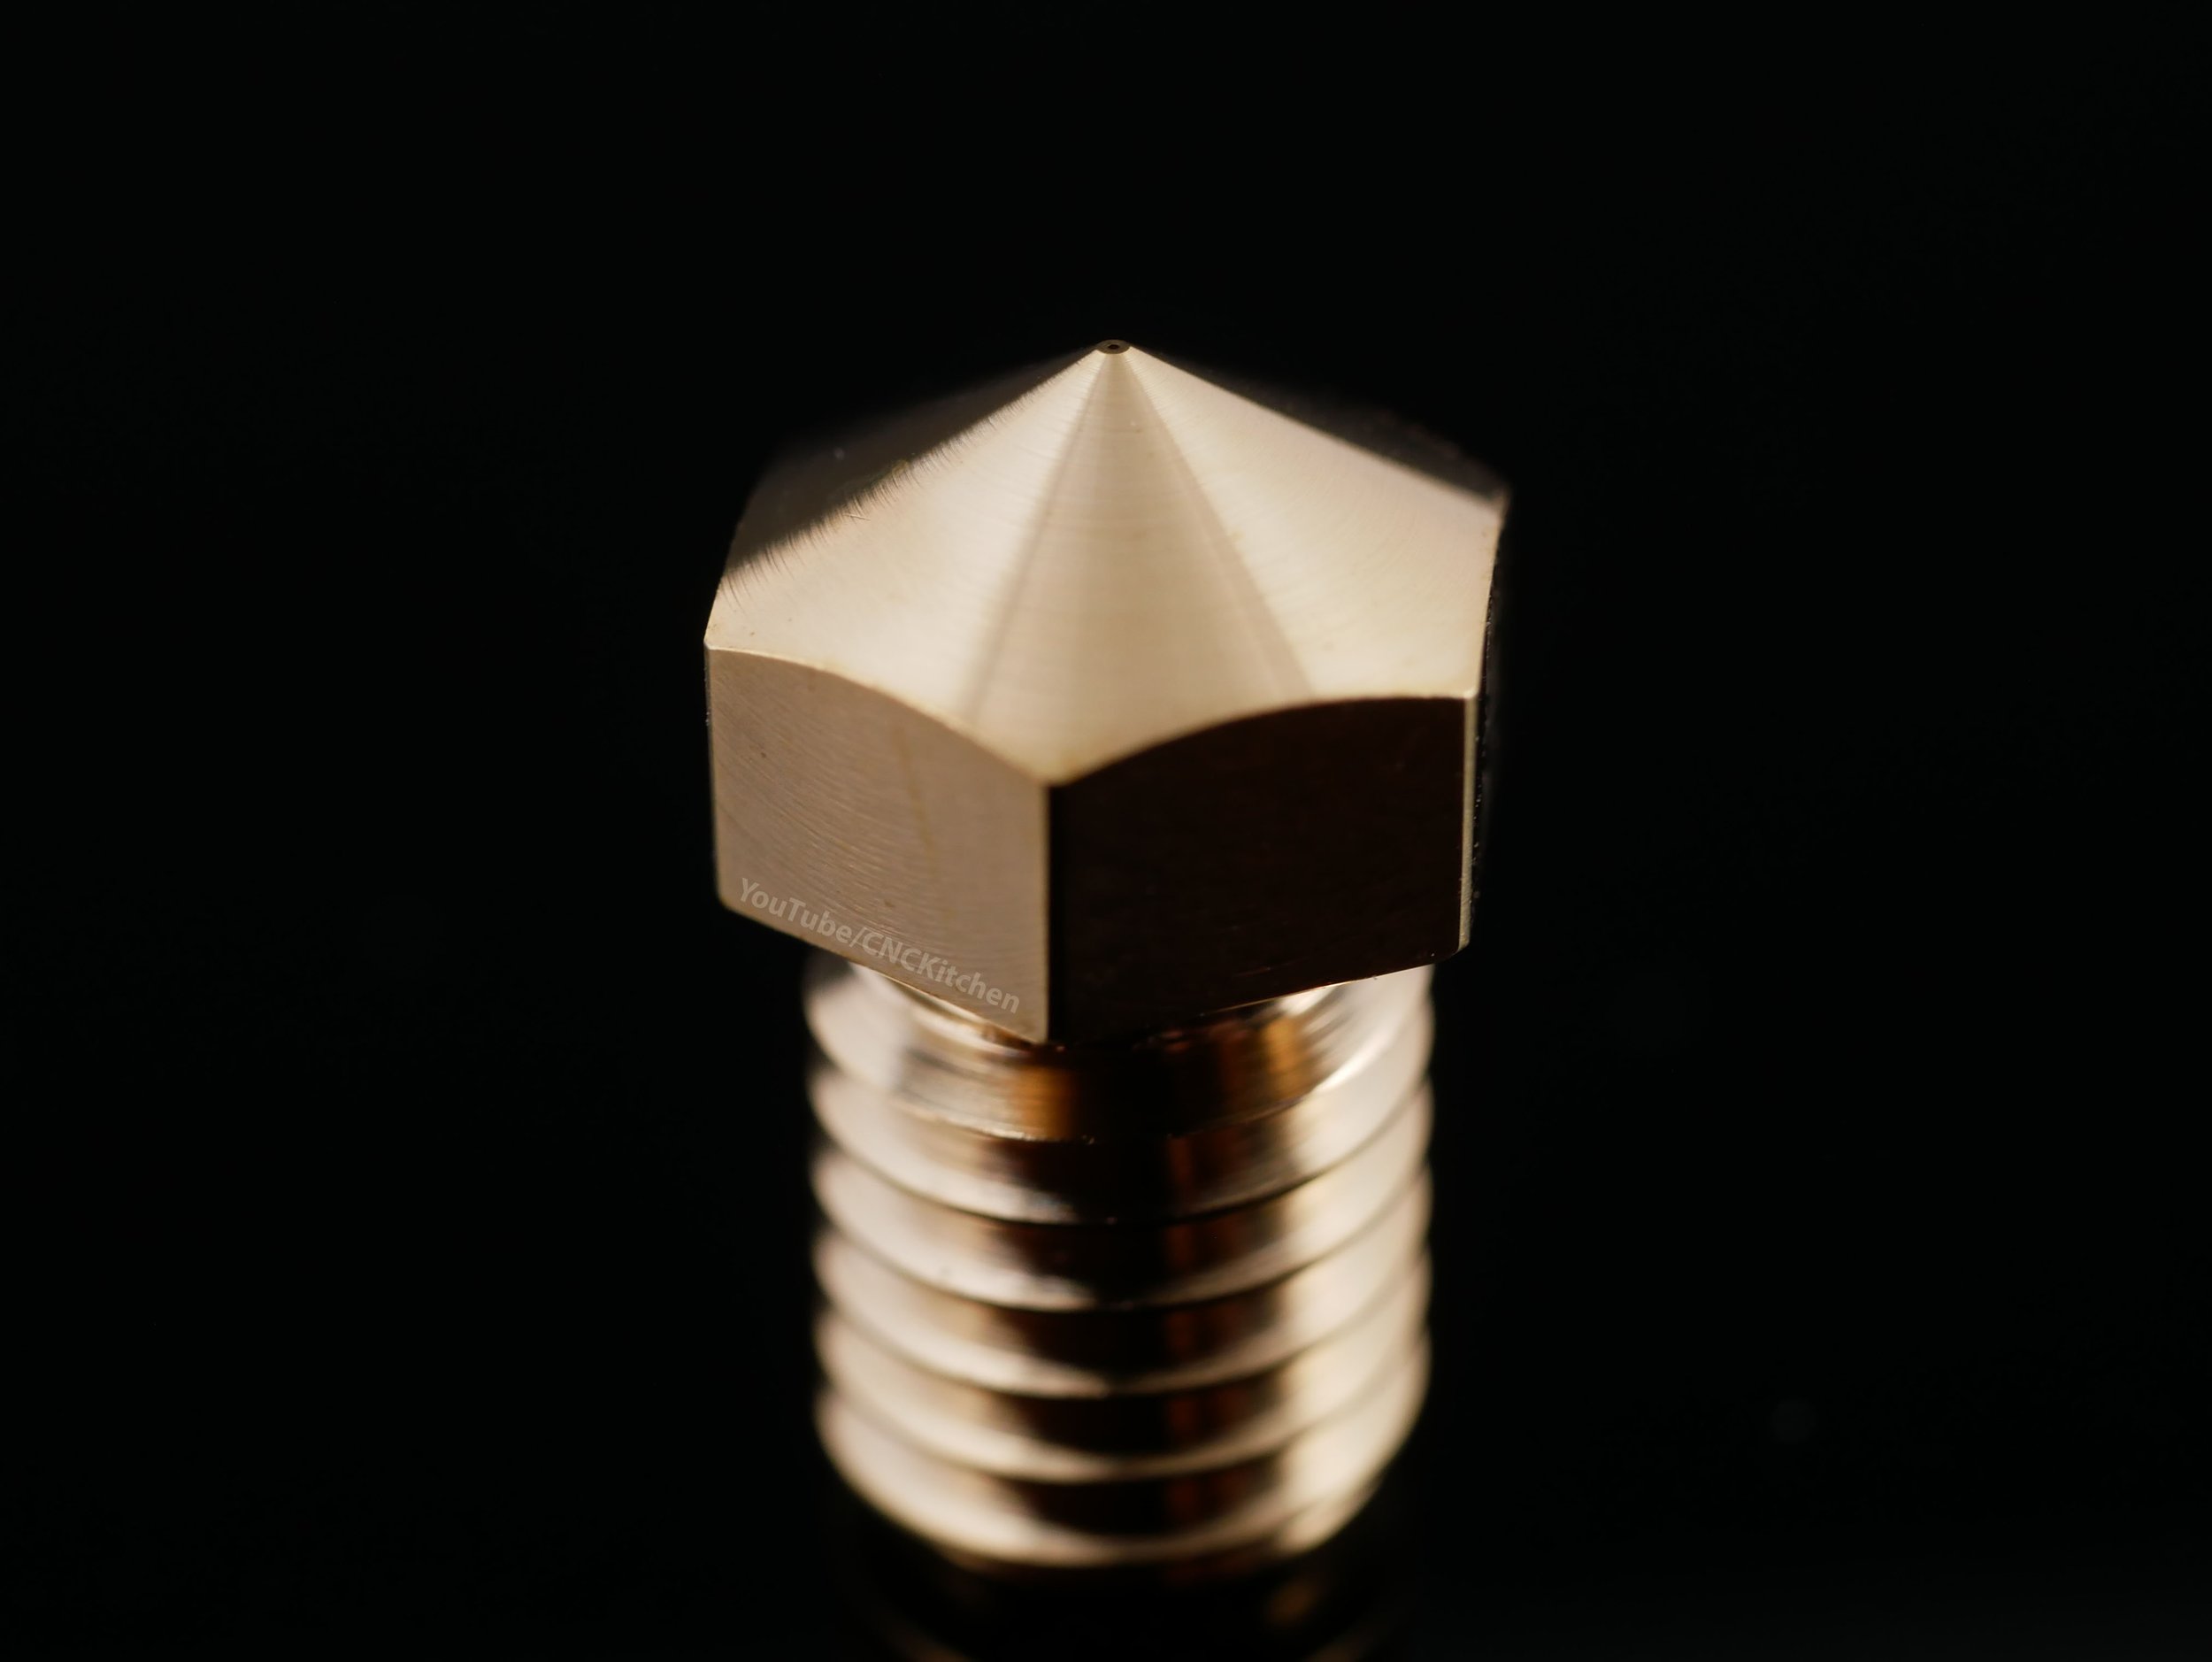
Kaika 601 nozzle
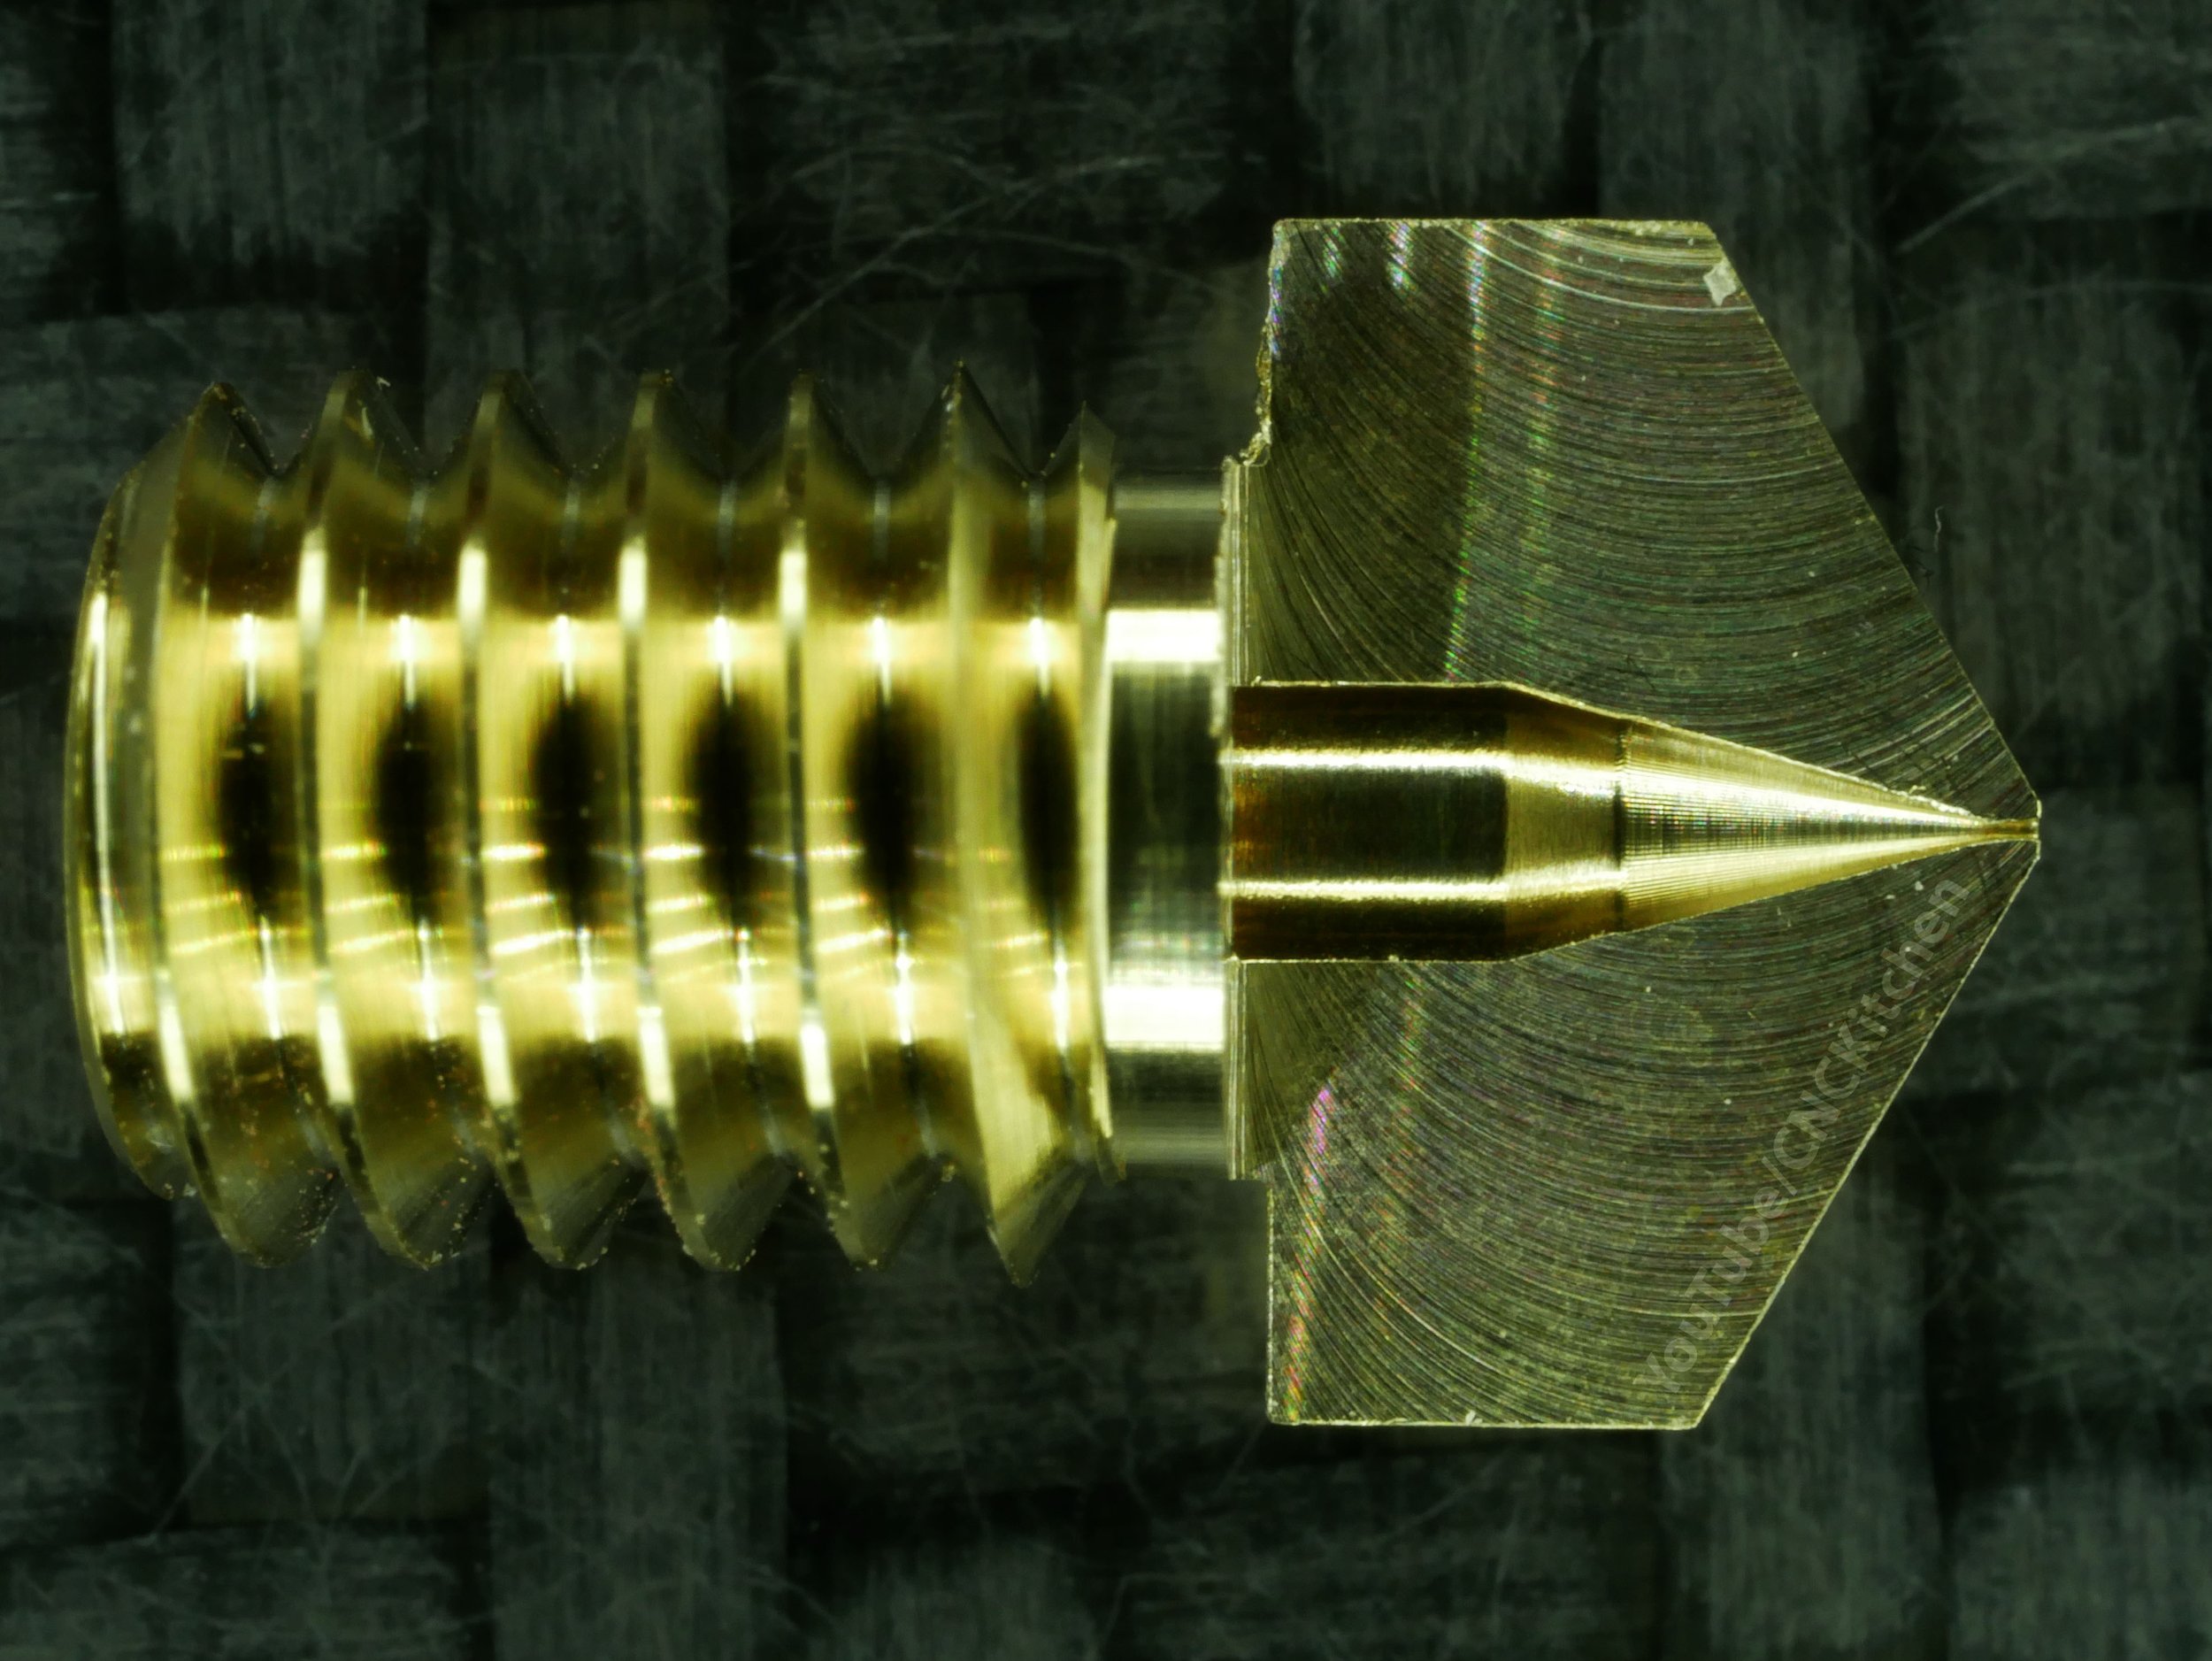
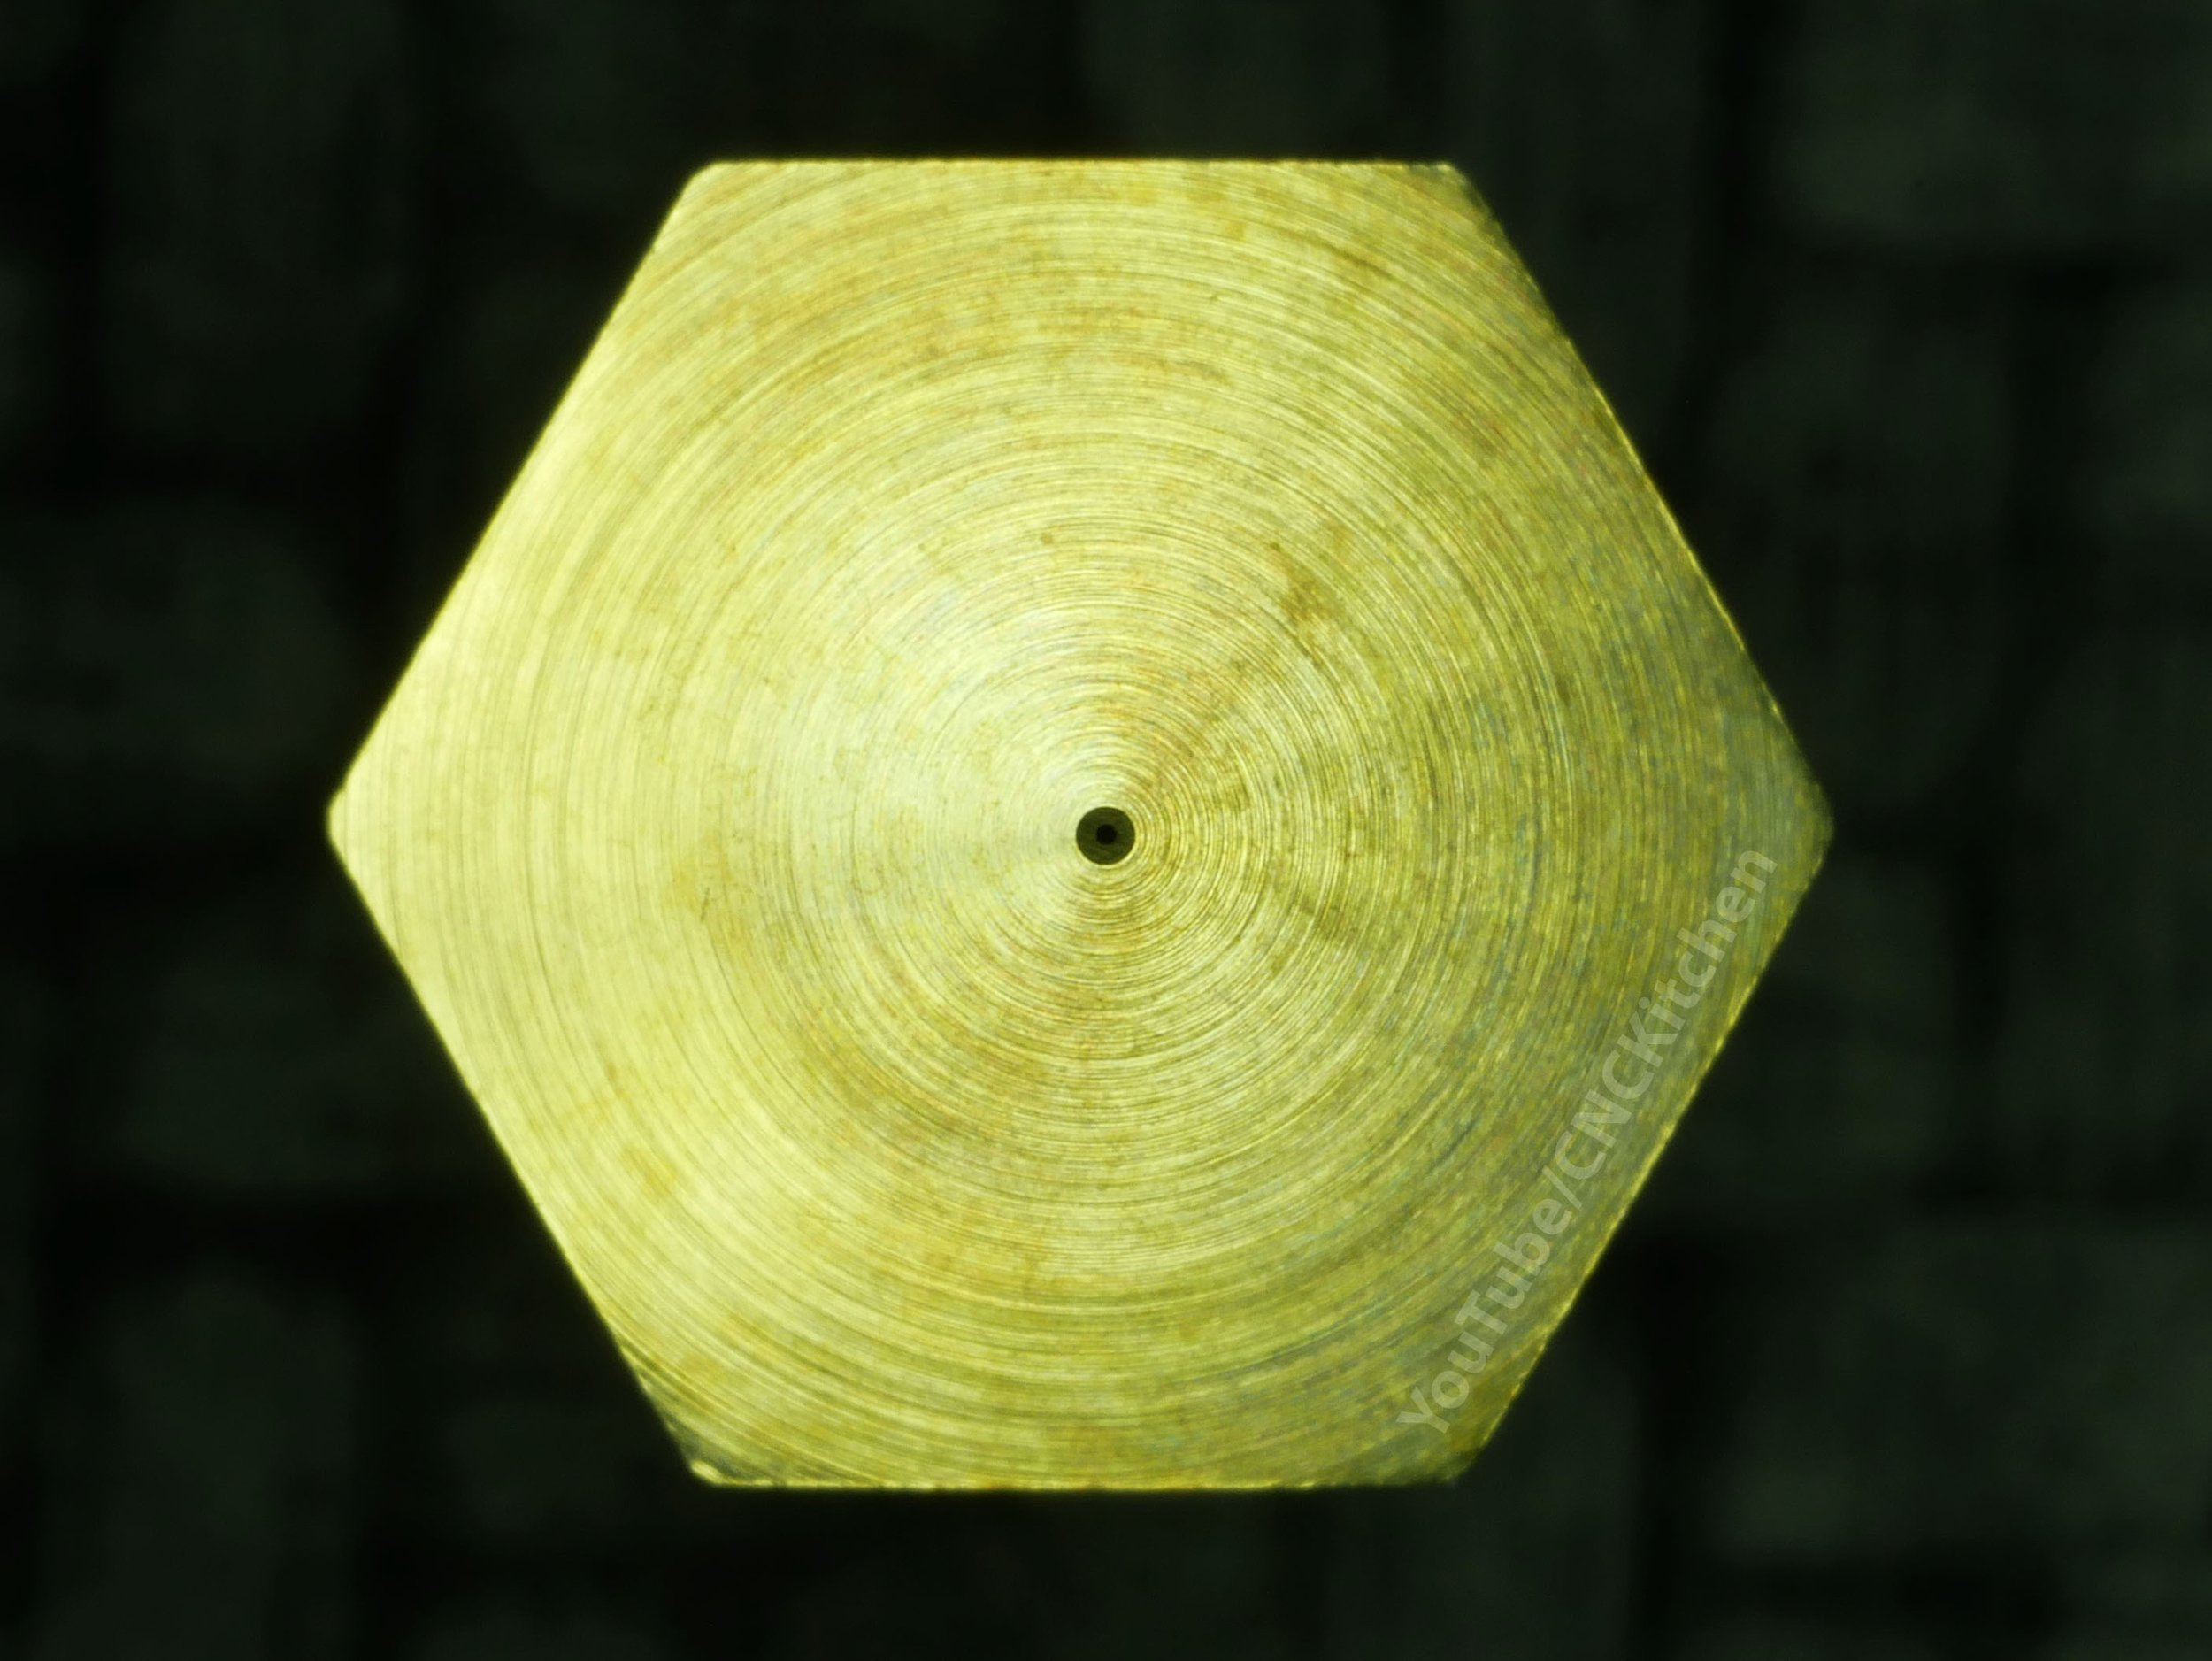
Kaika have a bunch of different shapes for various printers and applications though they come at hefty price tags of 6000 yen for the small orifice nozzles, which is around 50 USD. For the more standard 0.3 and 0.4 mm nozzles, you pay 4000 yen which is 35 USD. Seriously expensive, but just look how beautiful they are! The outer surfaces have a pristine finish. The 0.1 mm orifice is perfectly drilled in the center and different from some other nozzles the flat part of the tip has a reasonable size and is not too big to not smear out material that much. And yes, the 0.1 mm bore is conventionally drilled and not ED machined or laser drilled. Drilling at such a scale requires a perfectly set up lathe because even the tiniest runout would break the bits.
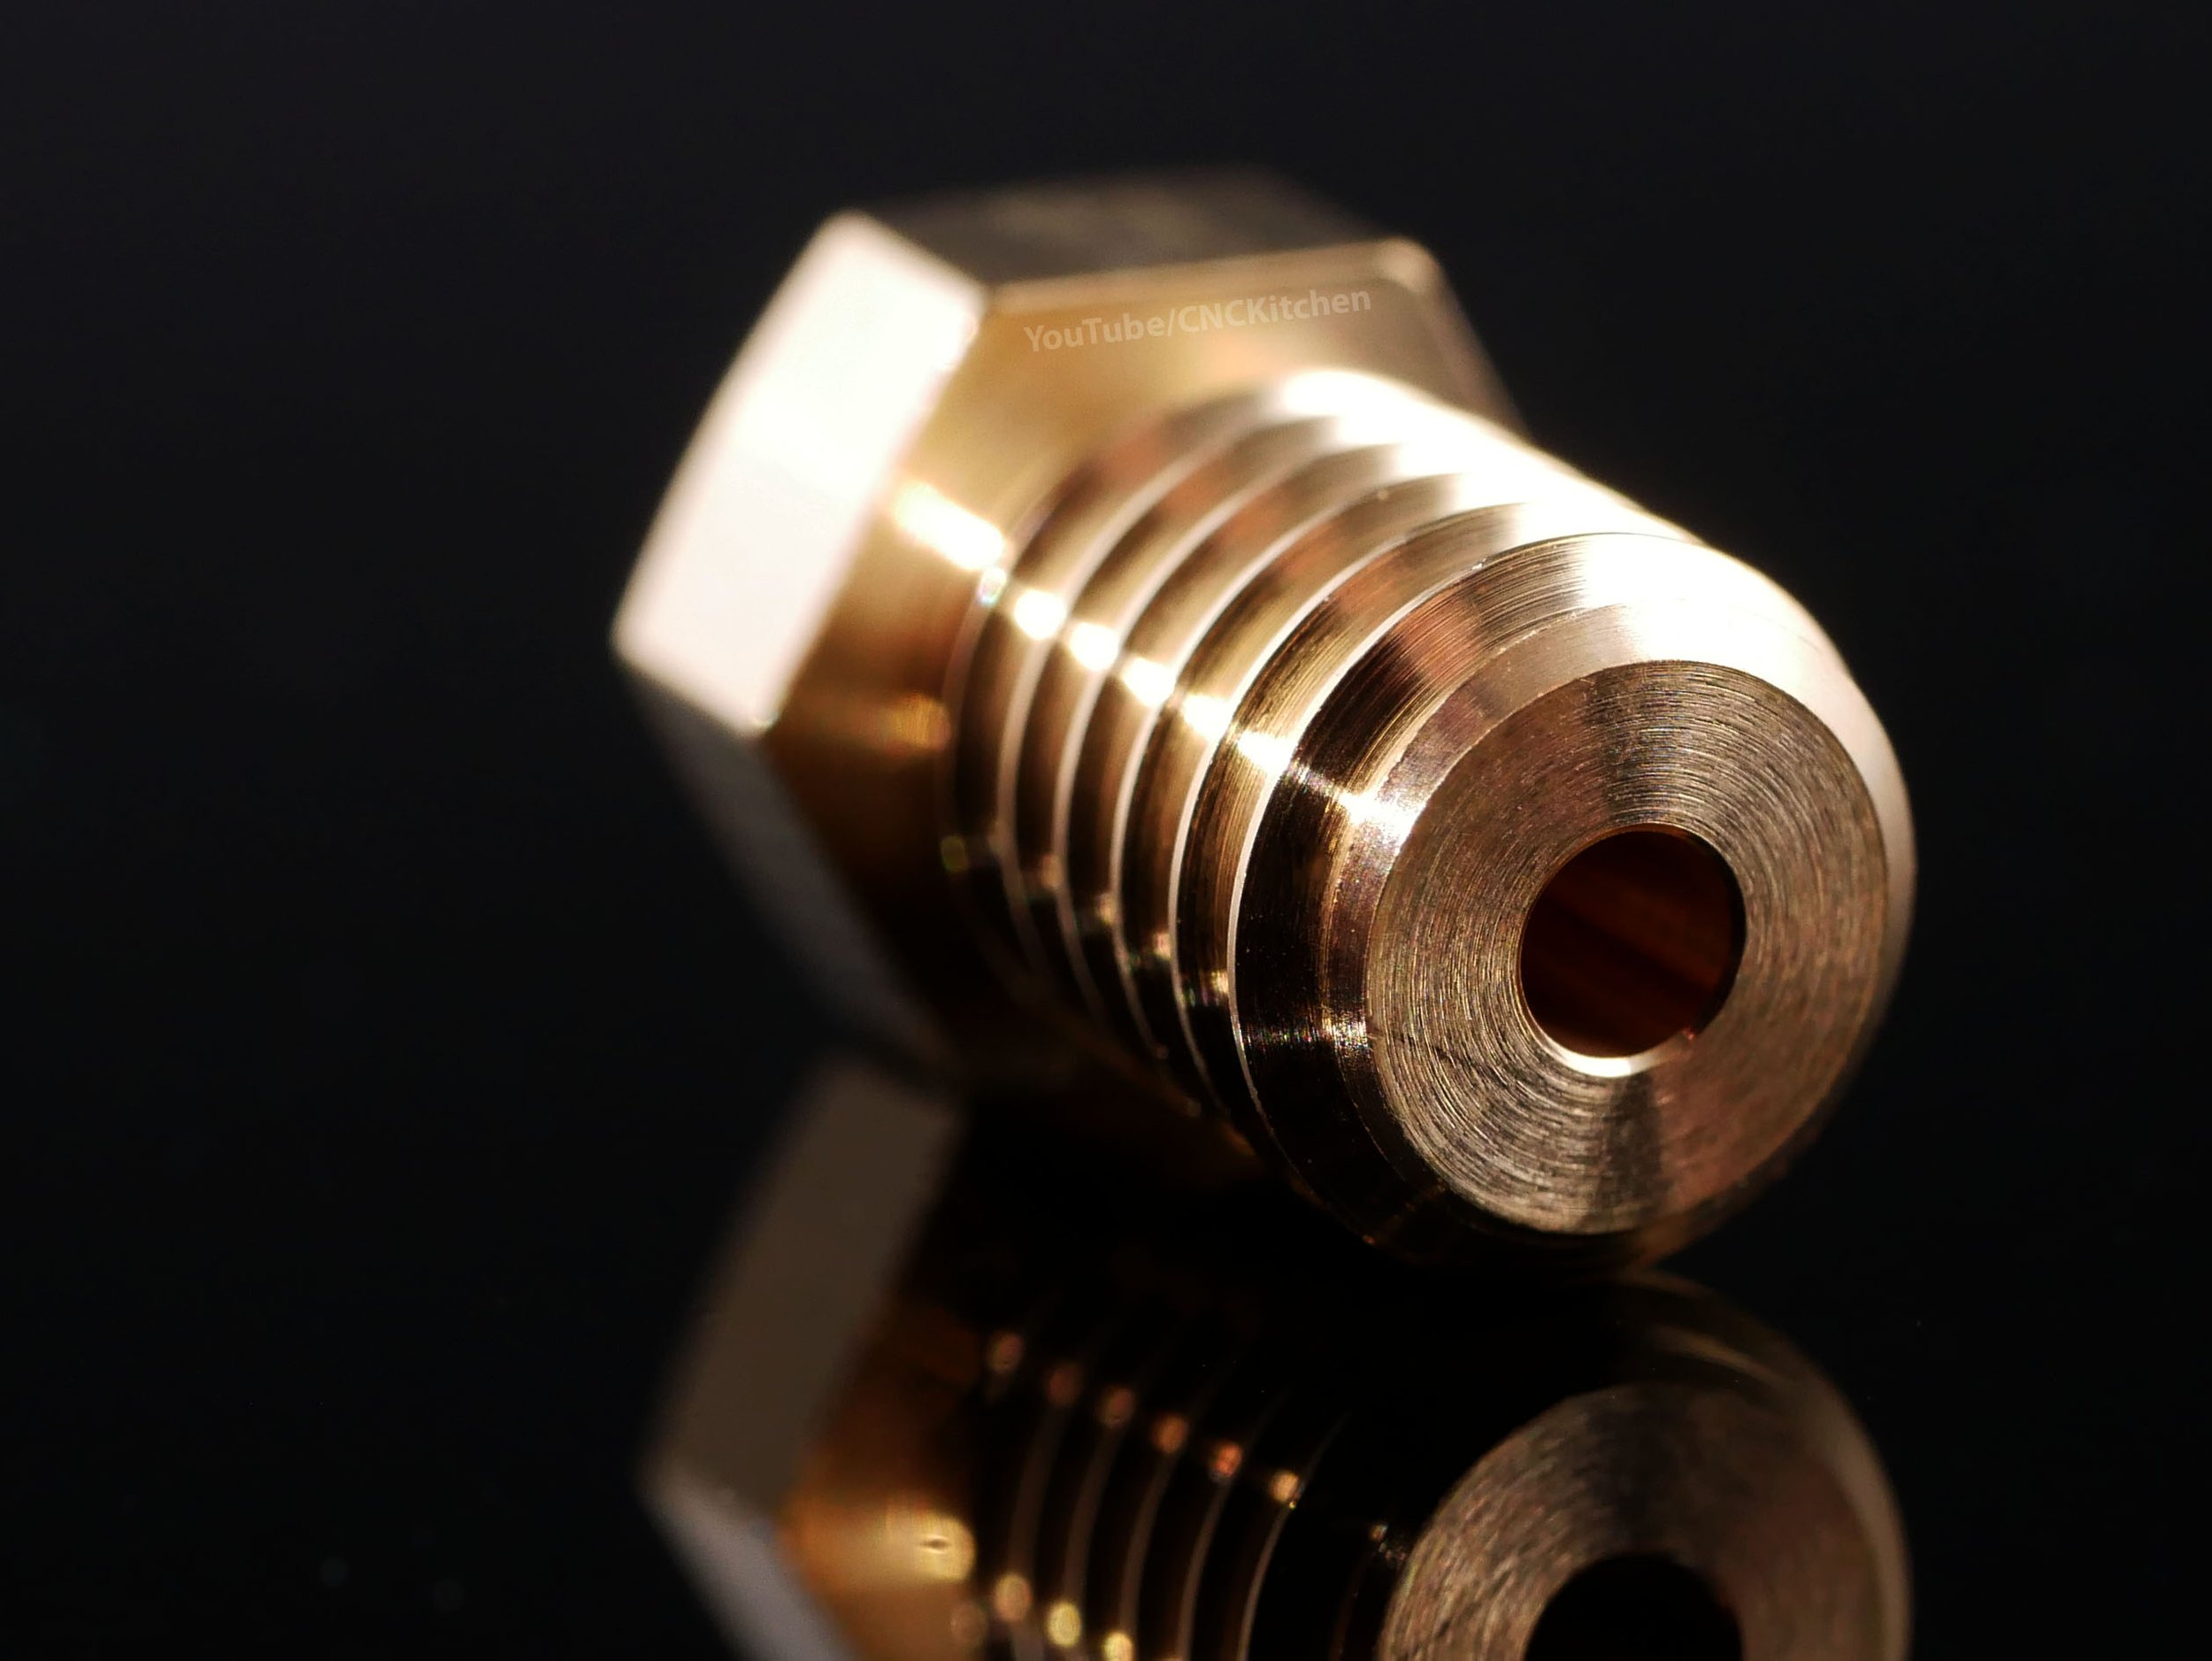
I hope the nozzle gods won’t hate me for that, but of course, I had to machine one open on my CNC router just to take a look at the internal finish as well, which I’m quite sure is significant at that scale. This one is the 0.15 mm version because I didn’t have a smaller one to spare. The thing that’s noticeable right away is that the tip angle of the drill they’re using is even pointier than what we, for example, know from E3D nozzles. Though it seems that this also takes its toll on the surface finish because I was able to spot some chatter marks in the tapered section in comparison to the superb finish of the rest.
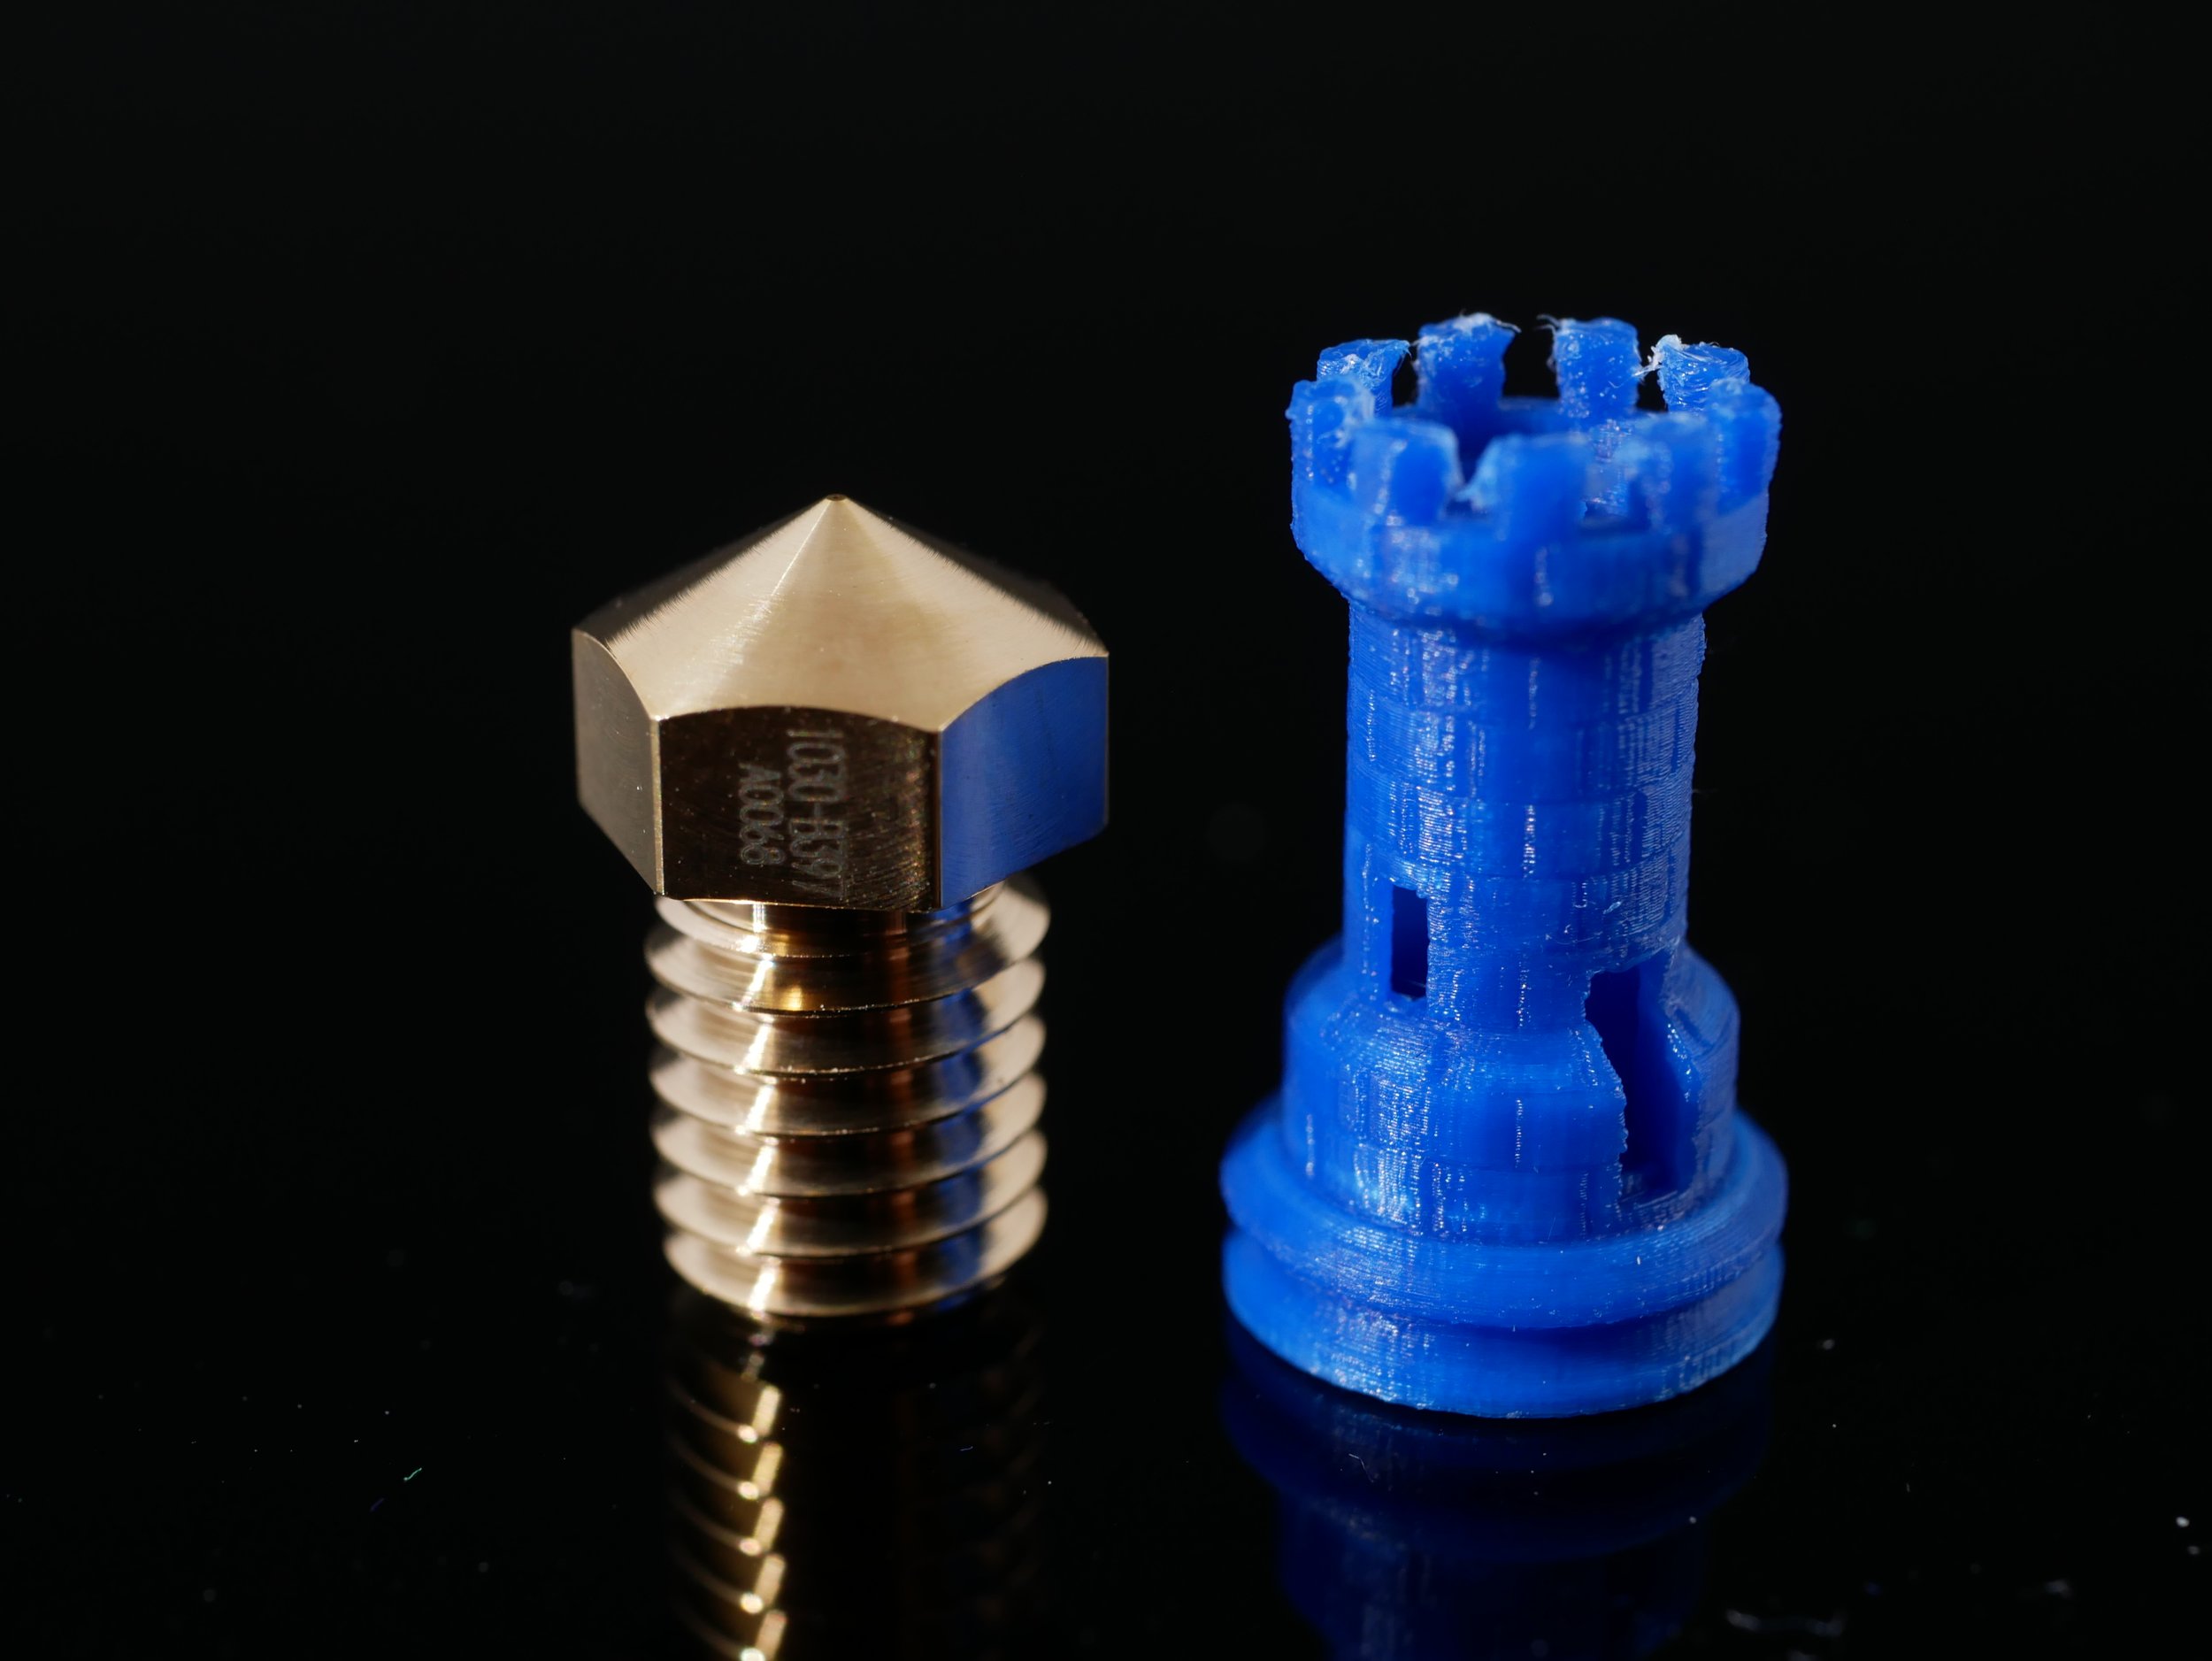
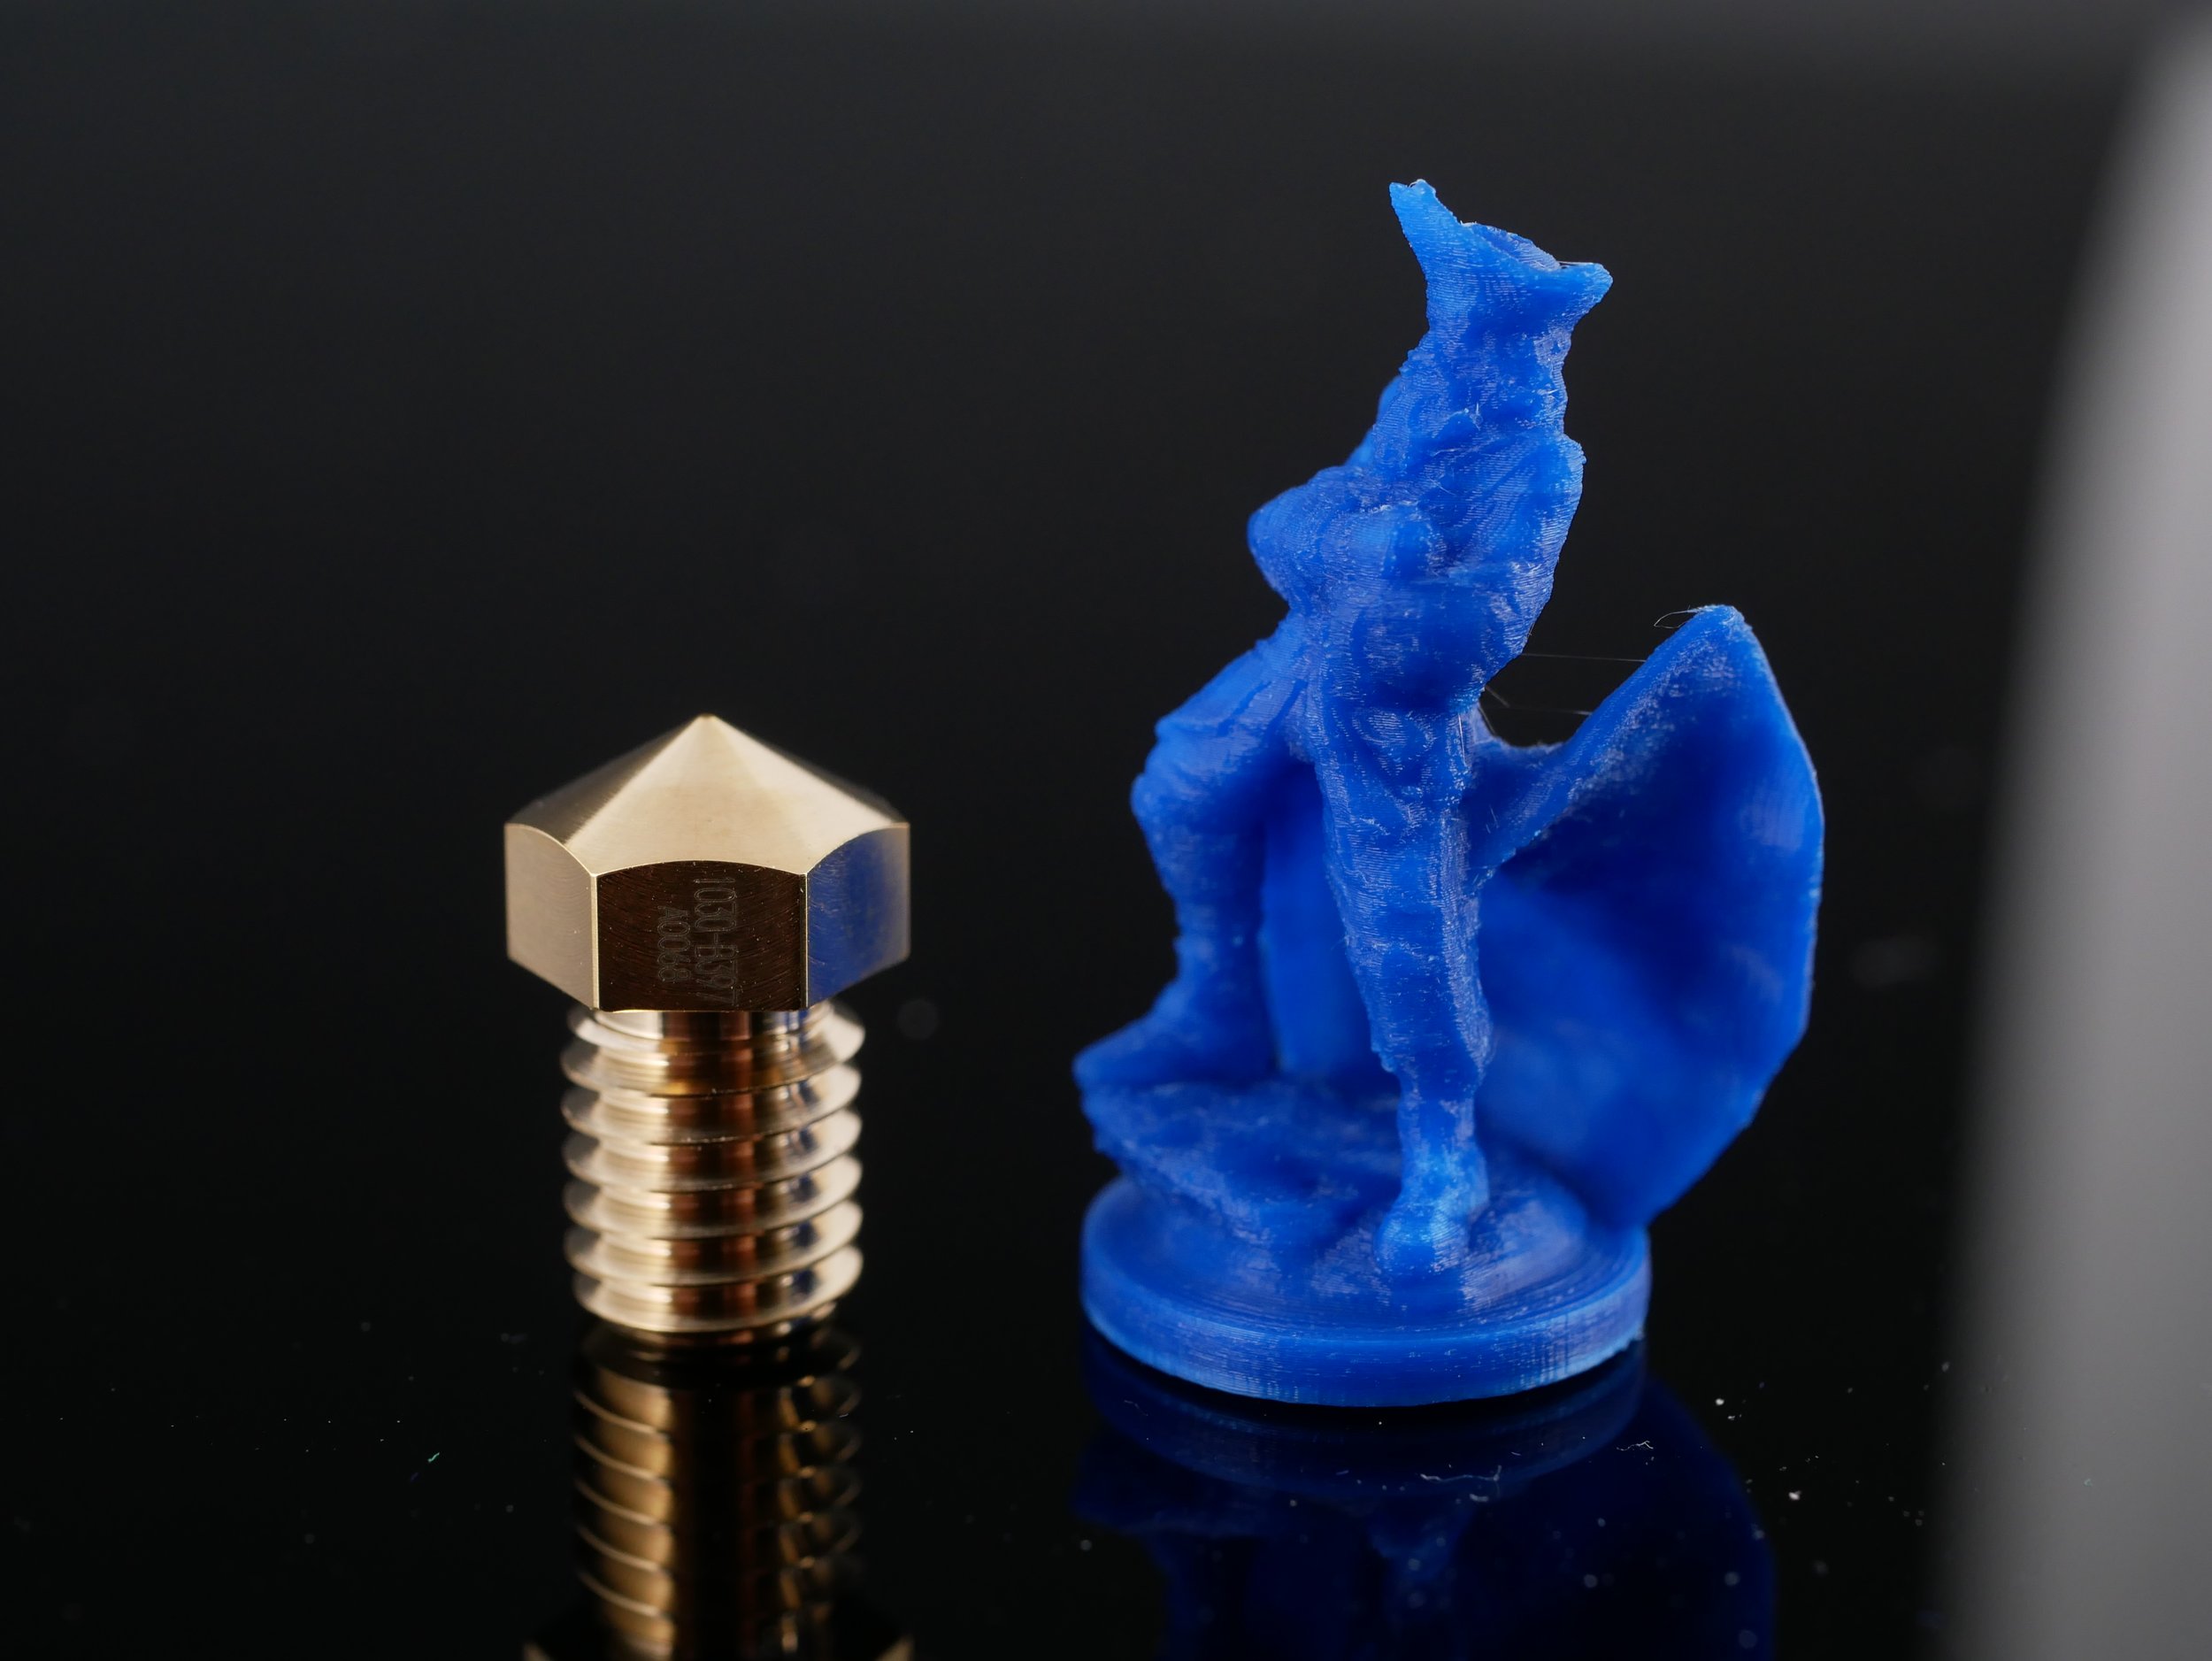
I installed mine on a Hemera extruder that’s mounted on my E3D Toolchanger. I chose this setup on purpose because since we’ll print quite a bit smaller than regular, the motion system for the axis should run smoothly, and a geared extruder allows the filament dosing precision that’s necessary. Just that you get a sense of scale; For a regular 3D Benchy printed with a 0.4 mm nozzle, we use around 4.5 m of 1.75 mm filament that we extrude in the course of 1.5 hours. A quarter-scale 3DBenchy printed with the tiny 0.1 mm nozzle only uses 7 cm of filament an a 10% Benchy only 6 mm that the extruder needs to dose finely. This needs to be so precise that you can barely see the gears moving during printing and any gearing in the system helps to increase the accuracy of the system.

E3D Toolchanger with Hemera Tool
I used Polymakers PolyMax PLA for all of my prints because Richard Horne, aka Richrap recommended it to me. He did a bunch of similar tests a while back and was so kind to share his experiences. Using the right material for these tiny nozzles is quite important. If any particles are in or on the filament that are too big, the nozzle will clog. Then the material can’t decompose too fast because we extrude so slowly, it takes around 10 minutes for the material to travel through the meltzone whereas with regular prints only take 10 seconds! If a polymer can’t handle that, it will clog up the orifice or significantly alter its properties. ABS for example has that tendency and materials like PVA can crystallize and basically turn into sand. Maybe one of the even more important things is Polymakers “Jam Free” technology, where they, I assume, somehow anneal the filament on the spool to increase the softening temperature which would otherwise be at around 50-60°C for PLA. Plastics are a bad conductor of heat but because the material is so slowly fed using these small nozzles, the heat will travel the filament upwards, softening it and therefore potentially jamming the hotend. It’s an assumption, but I didn’t have a single case of heat creep during the almost 200 hours of test printing.
When you extrude material the first time, it’s crazy to see how thin the filament is that comes out of the nozzle because with 0.1 mm it’s just as thick as a hair. I used glass as a print surface because it’s really flat and then made sure that I got the first layer thickness spot-on. Too close and the nozzle might be destroyed during contact with the glass, too far and the material won’t stick.

Thin filament strand
I first tried to use PrusaSlicer to create a printing profile but later switched to CURA. PrusaSlicer seems to have some hard-coded settings that make support structures and rafts a pain to use at this scale. CURA gave me all the options and enabled me to create a profile without real issues. I set the nozzle diameter and then adjusted extrusion width and layer height accordingly. I printed all parts at 0.05 mm layer height which is 50% of the nozzle diameter, and used an extrusion width of 0.11 mm. I reduced print speeds to only 10-15 mm/s to tackle curling on overhangs and printed my tiniest temperature tower so far. Because we print so slowly, the material stays in the meltzone for way longer than usual, so we can lower extrusion temperatures significantly because the material will always be equally heated through. I went with 180°C for my PLA. I printed on a raft and used a bed adhesion spray so that I can lower the bed temperatures to only 30°C after the first layer. If the bed is too warm it radiates heat to the part preventing it from properly solidifying and therefore decreasing print quality. Part cooling was even more important because due to the tiny parts, the nozzle and heater block is always close to the part and heats up the print. Switching the fan shroud and adding a silicone sock helped quite a bit. Due to the tiny nozzle, I was able to reduce retractions to a minimum on the Hemera and 0.5 mm was way more than enough to prevent stringing.
And that’s basically the setup. Using this profile, I was able to print a ton of really well-looking parts at a small scale. I scaled most of them down to 25%, since many were designed to be printable with a 0.4 mm nozzle and would otherwise take ages to finish. Speaking of scale and resolution. Of course, the reason why we want to print with a smaller nozzle is that we want to increase the details on our print. Even though most current 3D printers with their belt-driven systems and micro-stepped motors have a positional resolution of 0.01 mm they can’t resolve details smaller than the nozzle size. You might have seen this when trying to print a small text. So decreasing the nozzle size will enable you to print tinner walls and add more details. Of course, layer height is also a factor, but that plays more of a role at sloped surfaces and can theoretically be adjusted quite independent of the nozzle size, at least when decreasing thickness.

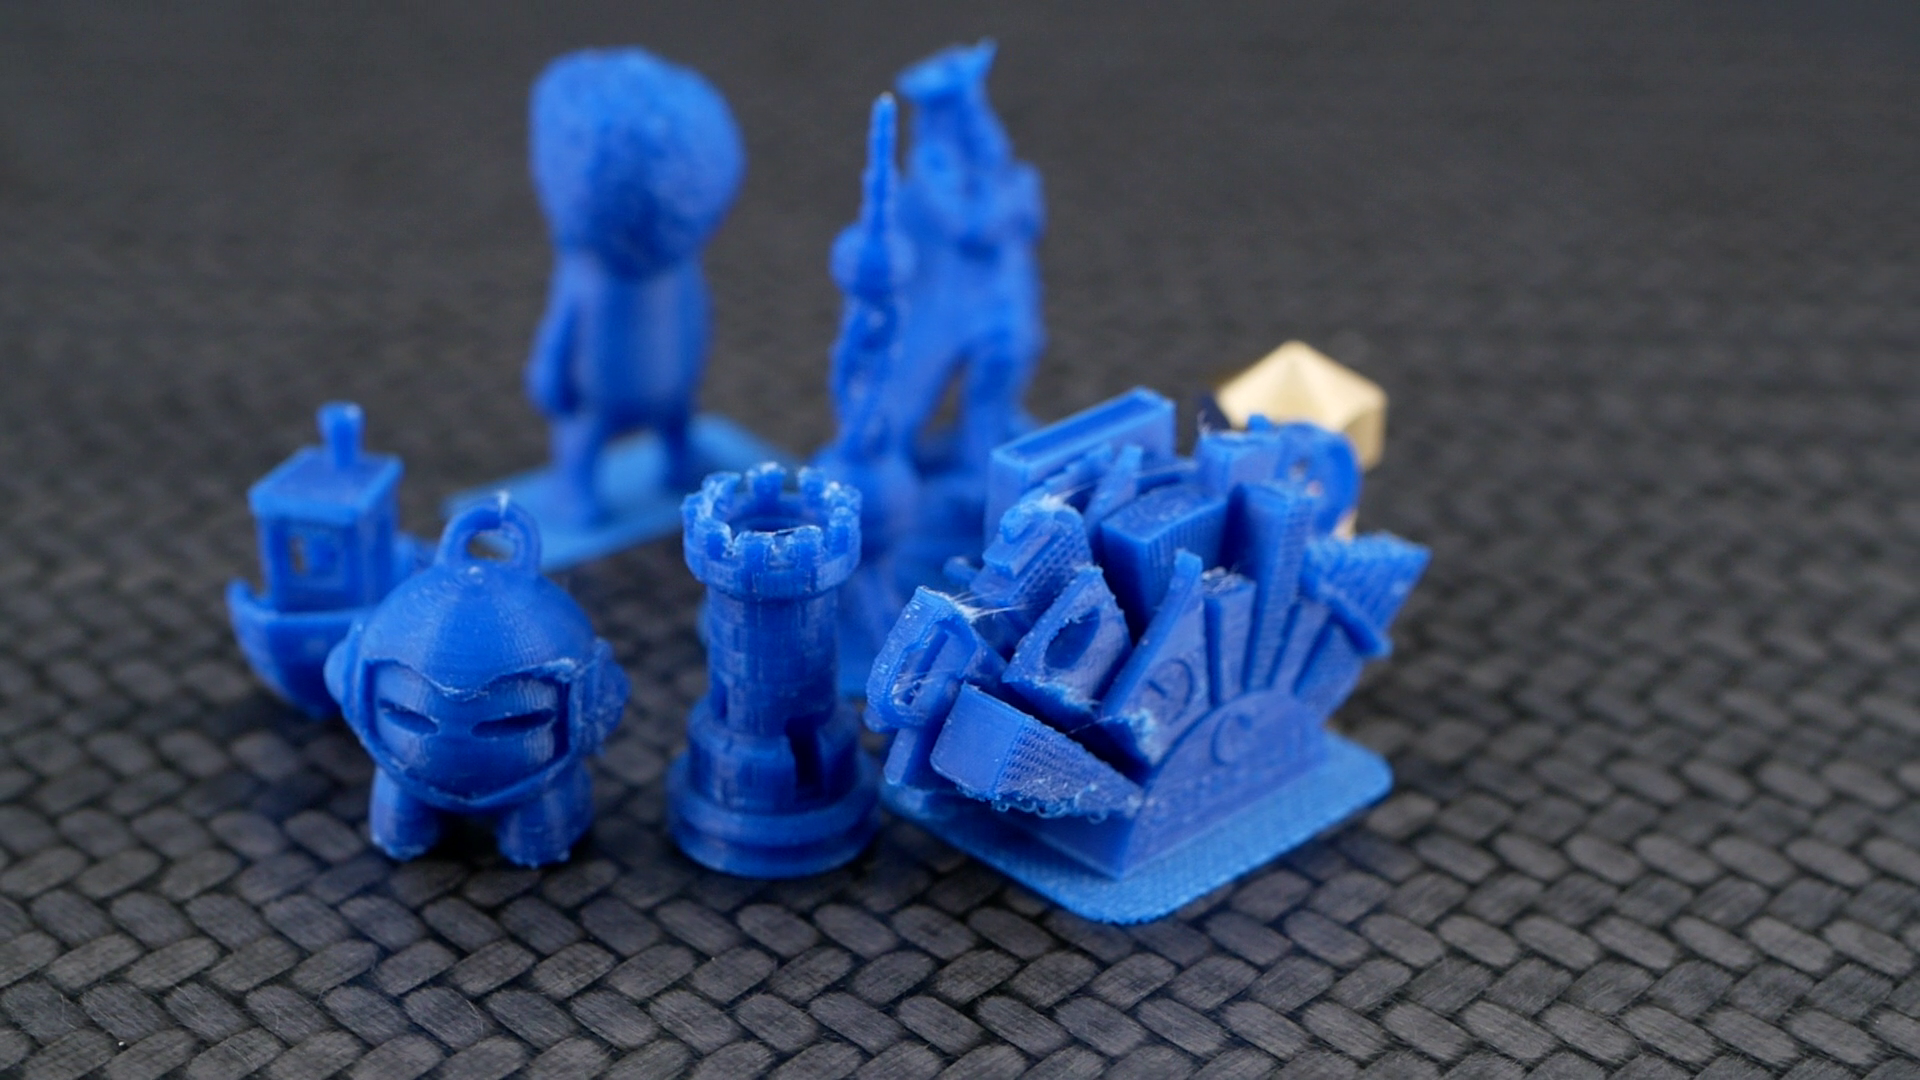
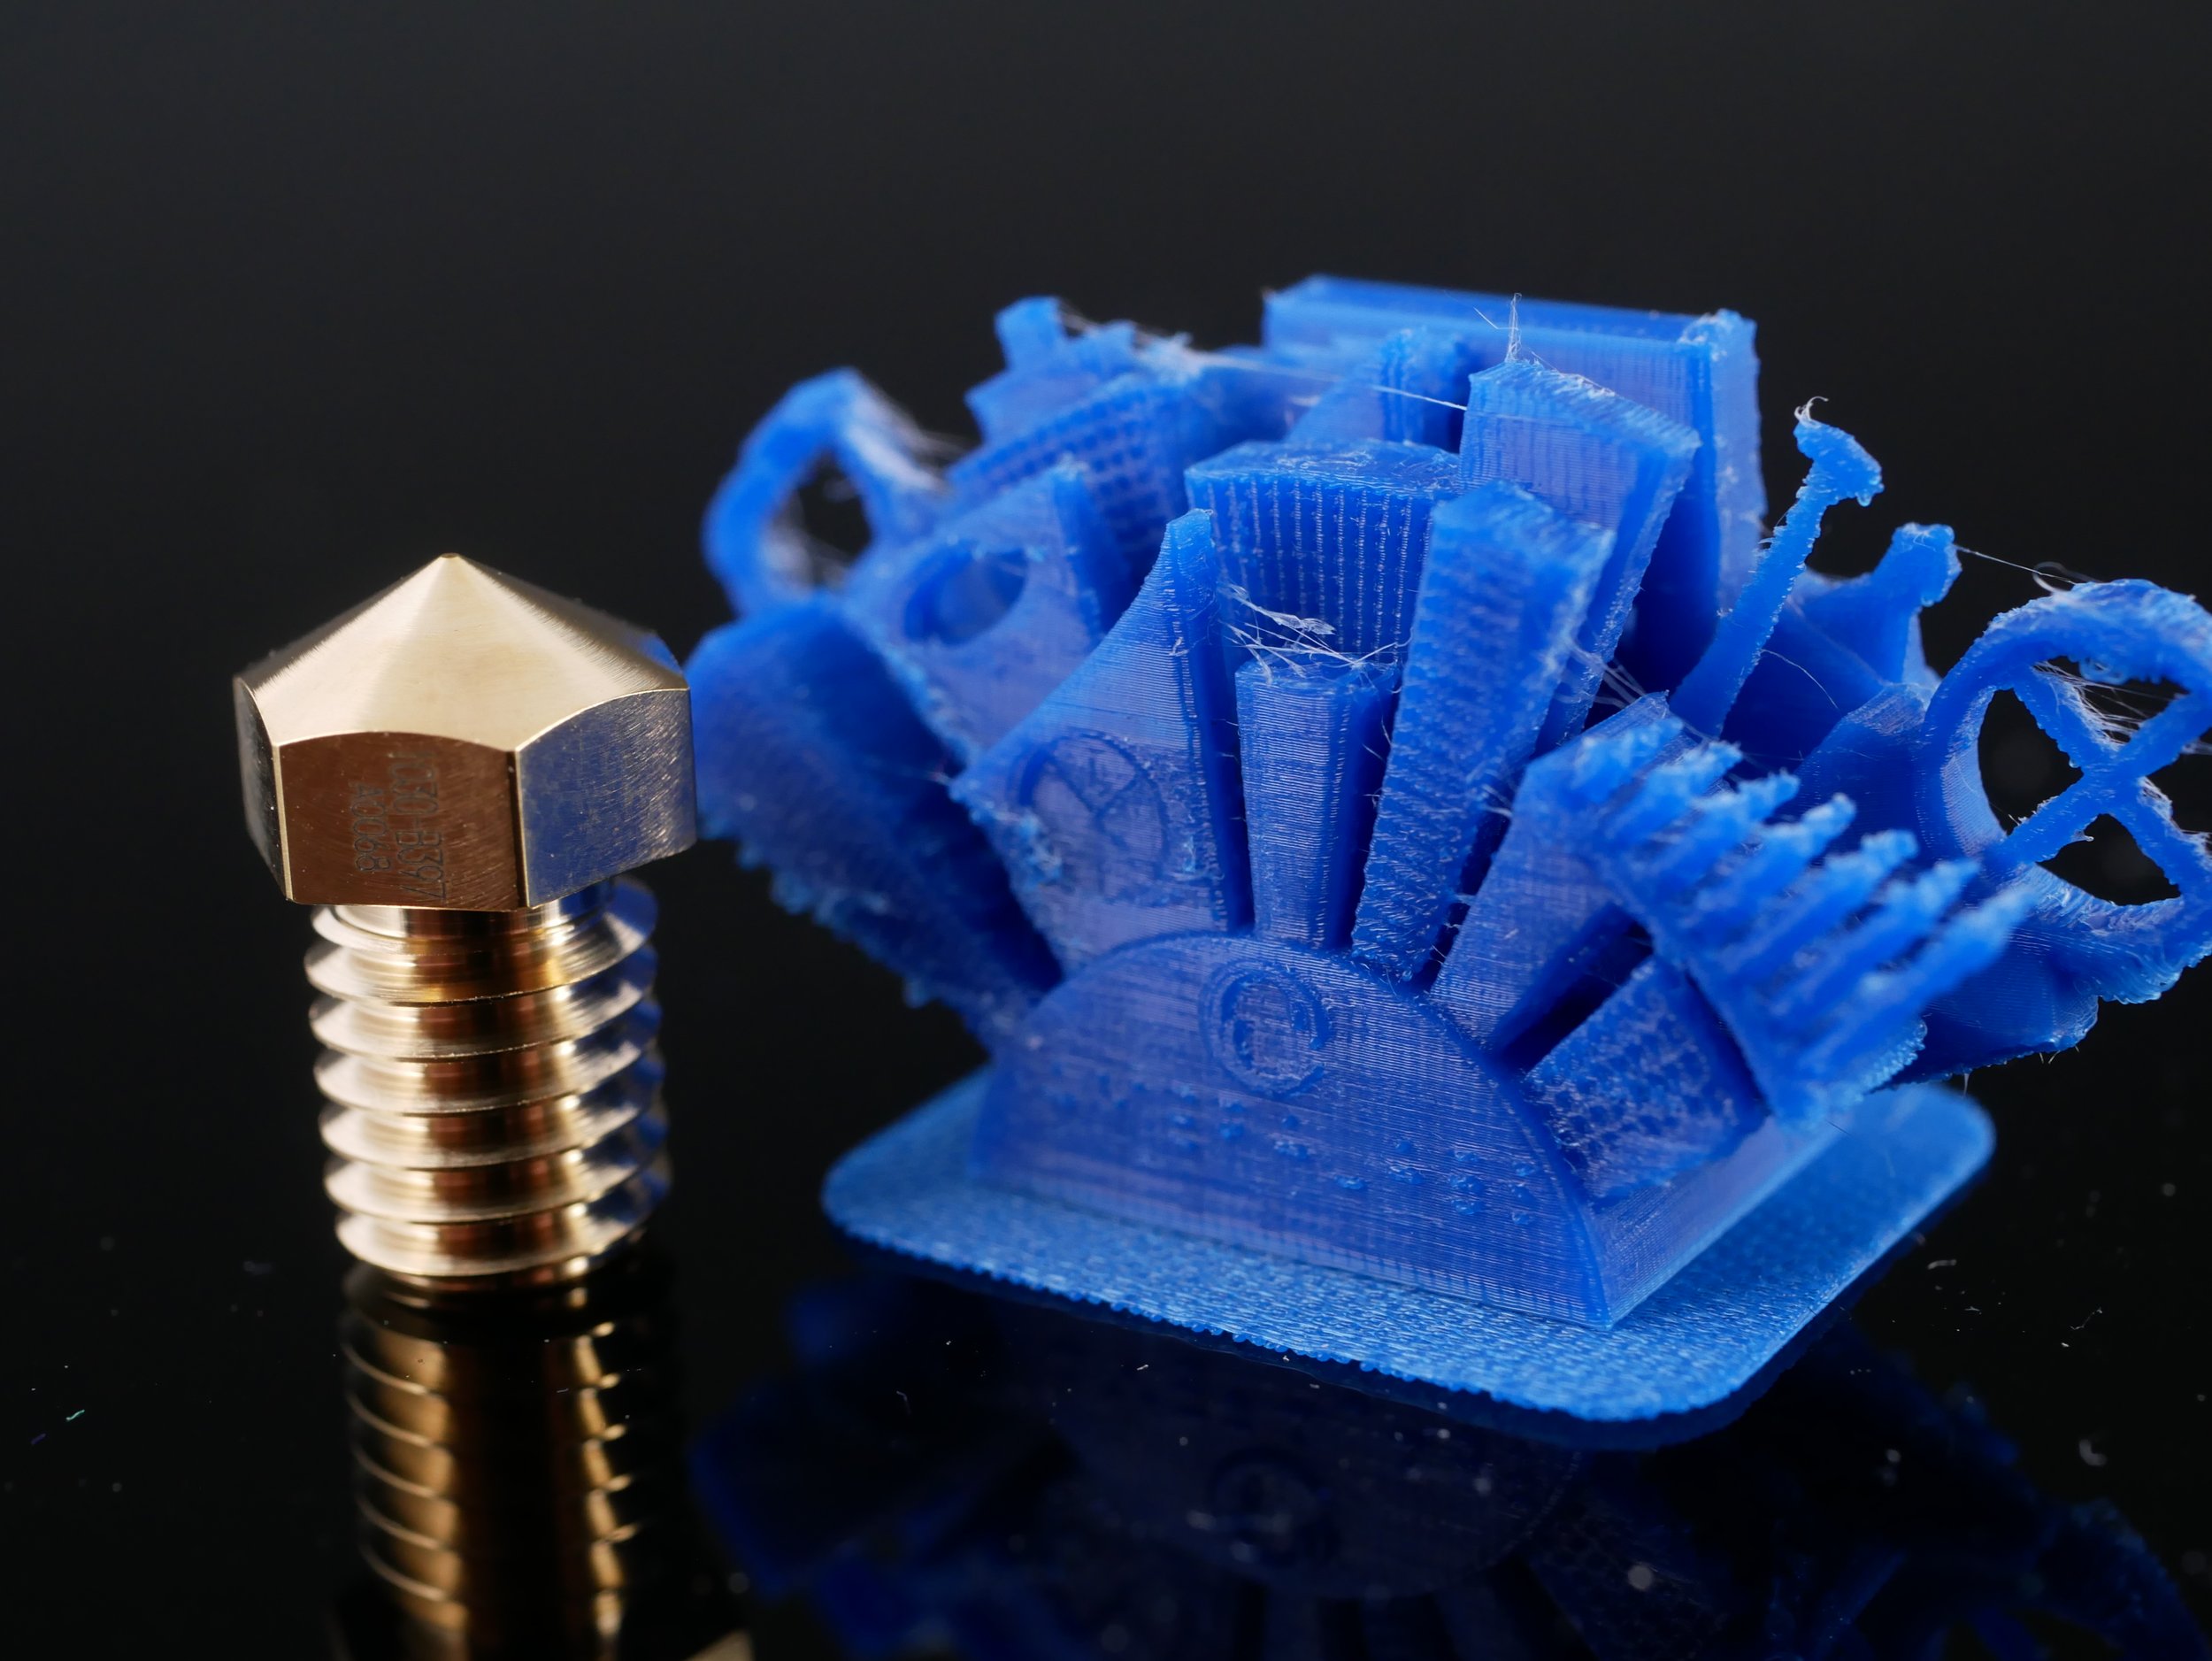
3D Benchy at 100%, 25% and 10% size, printed with the same nozzle
Because we’re not only scaling down layer heights and extrusion width but also printing slower, print times will skyrocket. Printing just a simple 3DBenchy with this setup will take more than a day. This means small nozzles are really just feasible if you also want to print small parts. You might even have problems printing a model designed for a 0.4mm nozzle, because small ledges are now big unsupported overhangs. I was really excited when seeing what amount of details I was able to produce on these small parts. Layers are practically invisible, and even small structures come out really well. I honestly expected way more printing problems but I think due to the combination of printer, nozzle and material, I had no notable fails and only one clogged nozzle. Clearing that clog wasn’t even that hard with a combination of the tiny acupuncture needles delivered with the nozzle, and some cold pulls that help clear out particles that block the nozzle. I know I was lucky here because I used cheap 0.25 mm nozzles in the past and had constant issues.

Cold-Pull
Unfortunately, I couldn’t tune in my support settings that well, partly because even CURA seems to have its problems at these sizes and PolyMax PLA is quite ductile and doesn’t snap off that easily. I’m sure I could do a better job, but that would require more tuning.

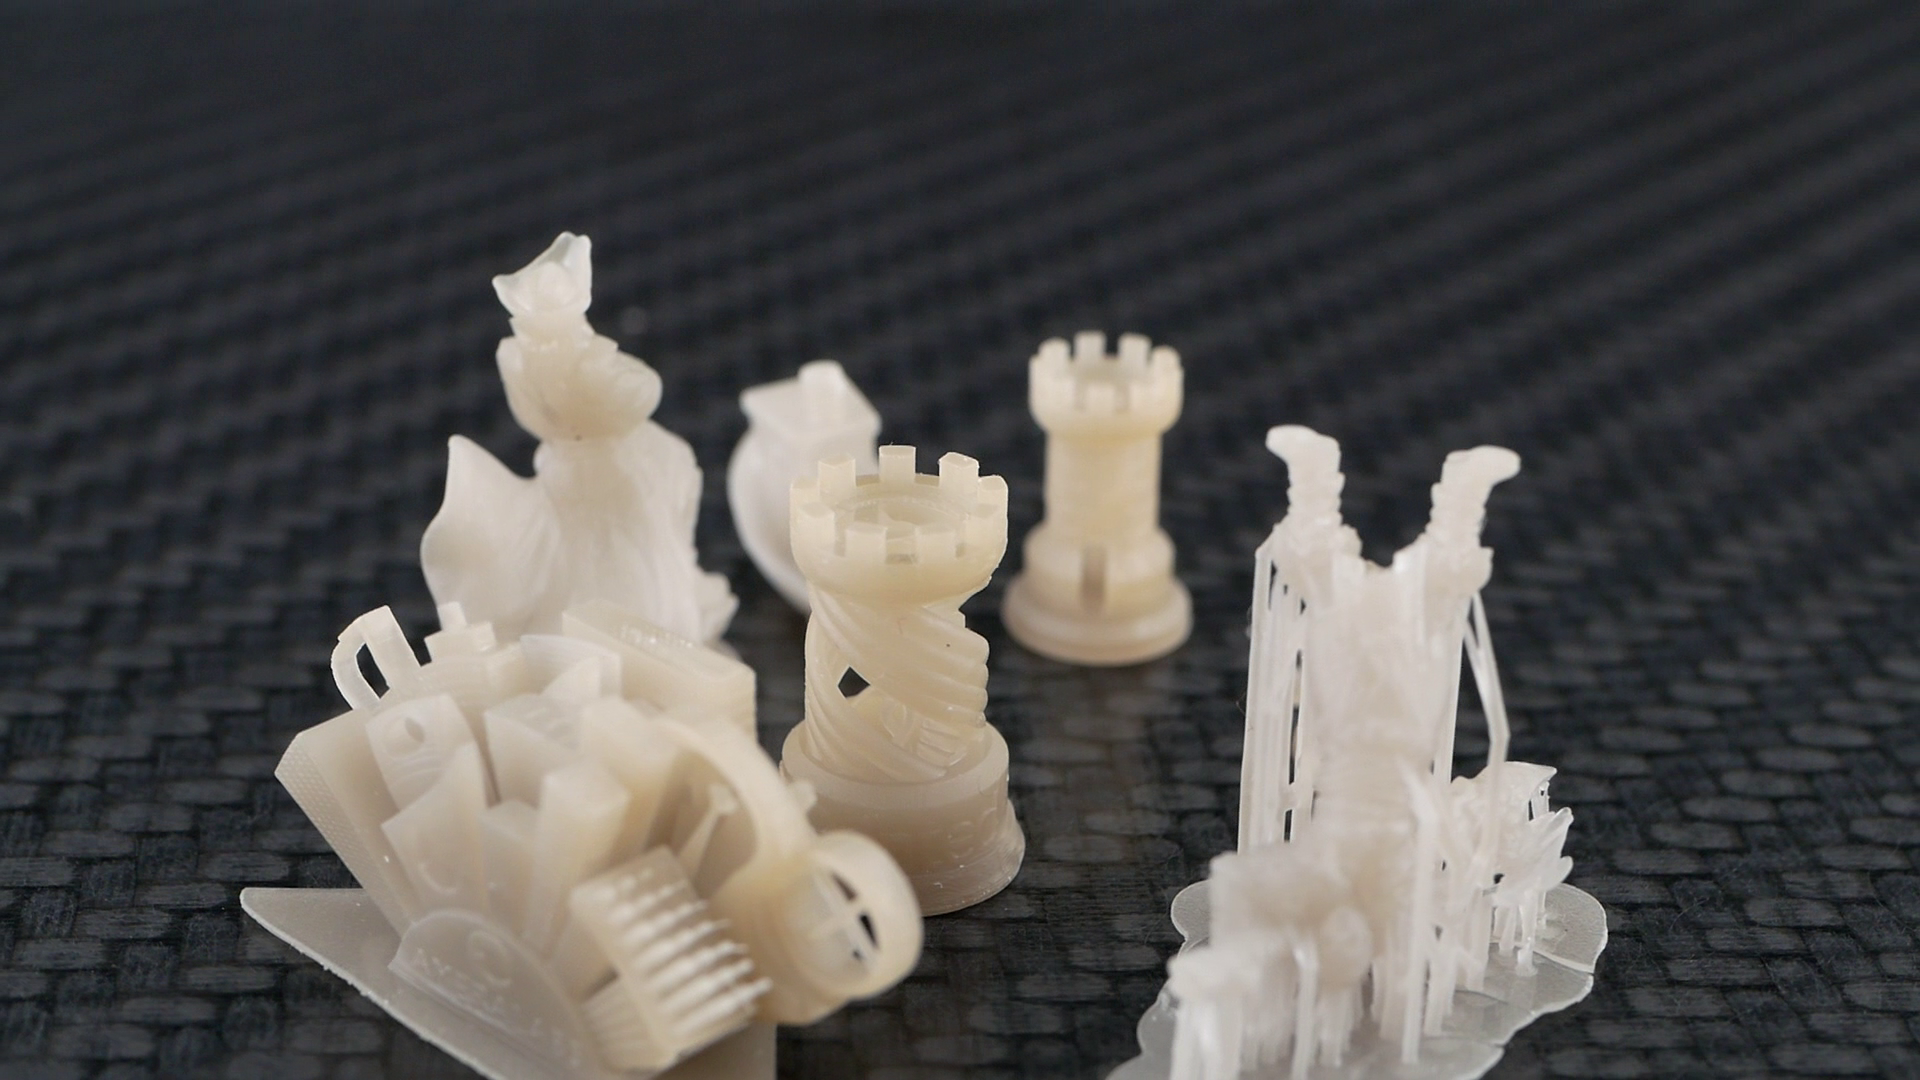
So the print results and details that I was able to get with such a tiny nozzle were amazing, but of course, we have to address the big elephant in the room. Doesn’t resin 3D printing make all my efforts irrelevant because even with my more than two years old Elegoo Mars, I can print small and even more detailed parts right out of the box. Current resin 3D printers have a pixel size of around 0.04 mm, plus or minus a little, and can therefore resolve details almost three times smaller than even with a 0.1 mm FDM nozzle, which shows on the parts. Even though print times on a single part are fairly equal because MSLA printers expose a layer at a time, printing an armada of tiny parts takes as long as just one. And I will totally agree that if you want to print miniatures and other highly detailed visual parts, resin printing has many benefits. Though, after printing the parts for this video, I again realized why I barely use my Elegoo Mars. The smell of the even “low odor” resin, even using a small fume hood, the mess and the sticky residue, the necessary post-processing and curing is just nothing I really enjoy. I don’t even want to start talking about the amount of waste I generated for just a handful of prints. What I want to say with this is that resin printing isn’t something for everyone and in my opinion way more unpleasant than filament printing with PLA or PETG thought at small scale definitely more challenging. Then there is the material choice. Of course, there are different property resins, but what they are really made of sometimes seems quite like a black box to me. What final, especially long-term properties, resin parts will have is, in my opinion, almost impossible to judge and is the reason why I wouldn’t want to use resin prints for critical, mechanical parts. The usual thermoplastic polymers we use in filament printing are way better characterized, diverse in properties, and therefore more predictable. And then there are niche applications like multi-material or just multi-color printing, which is possible in FDM and also with small nozzles but not with resins.

Waste from resin printing
In the end, you have to trade-off the advantages and disadvantages of both technologies to find out what’s best for your application. I’m definitely not recommending that everyone now buys one of these beautiful Japanese micro nozzles because using these can be really challenging, but if you have an application for high precision FDM prints and are not on a budget, I’m quite sure that the chance of success is way higher with these than with a sub 1 dollar Aliexpress part. I used quite a sophisticated setup, but I’m sure that if you don’t go all the way down to 0.1 mm, you can get small nozzles on a cheap Ender-3 working as well for small and detailed parts.