Testing the strength of 3D prints re-melted in salt
Remelting 3D prints in salt seems to be the new hype, and I see why. In comparison to my plaster annealing method, you simply embed your 3D prints in salt, put everything in the oven to remelt the plastic and end up with injection-molded strength 3D prints, or do you? After watching my video on plaster annealing, a viewer named "free spirit 1" posted a video on his salt remelting method that he had been working on in the past. Well, and it became kind of viral! In his video, he showed how the process basically works, though I started further investigating it, looking at salt grain sizes, treatment temperatures, dimensional accuracy, and, most importantly, strength. I'll also discuss to pros and cons of using table salt and what alternatives there could be. Have you already tried this method on your own? Then let us know how it worked down in the comments? What applications do you see and is it worth the effort?

Generic Test Part
Since I wanted to know how and if the process works with a broader range of materials, I printed samples in regular DasFilament PLA and PETG as well as ESUN ABS and their highly requested PLA+. My primary test specimen was a square block with threads on the top and a fitting nut. This gives me the possibility to check easily measurable dimensions and take a look at the fine details of the thread and if they are still working after the process. Of course, if you use this remelting process, you need to print your parts with 100% infill, if not, you'll end up with big holes in your part, and that doesn't only affect the look but will also makes the mechanical properties very unpredictable.
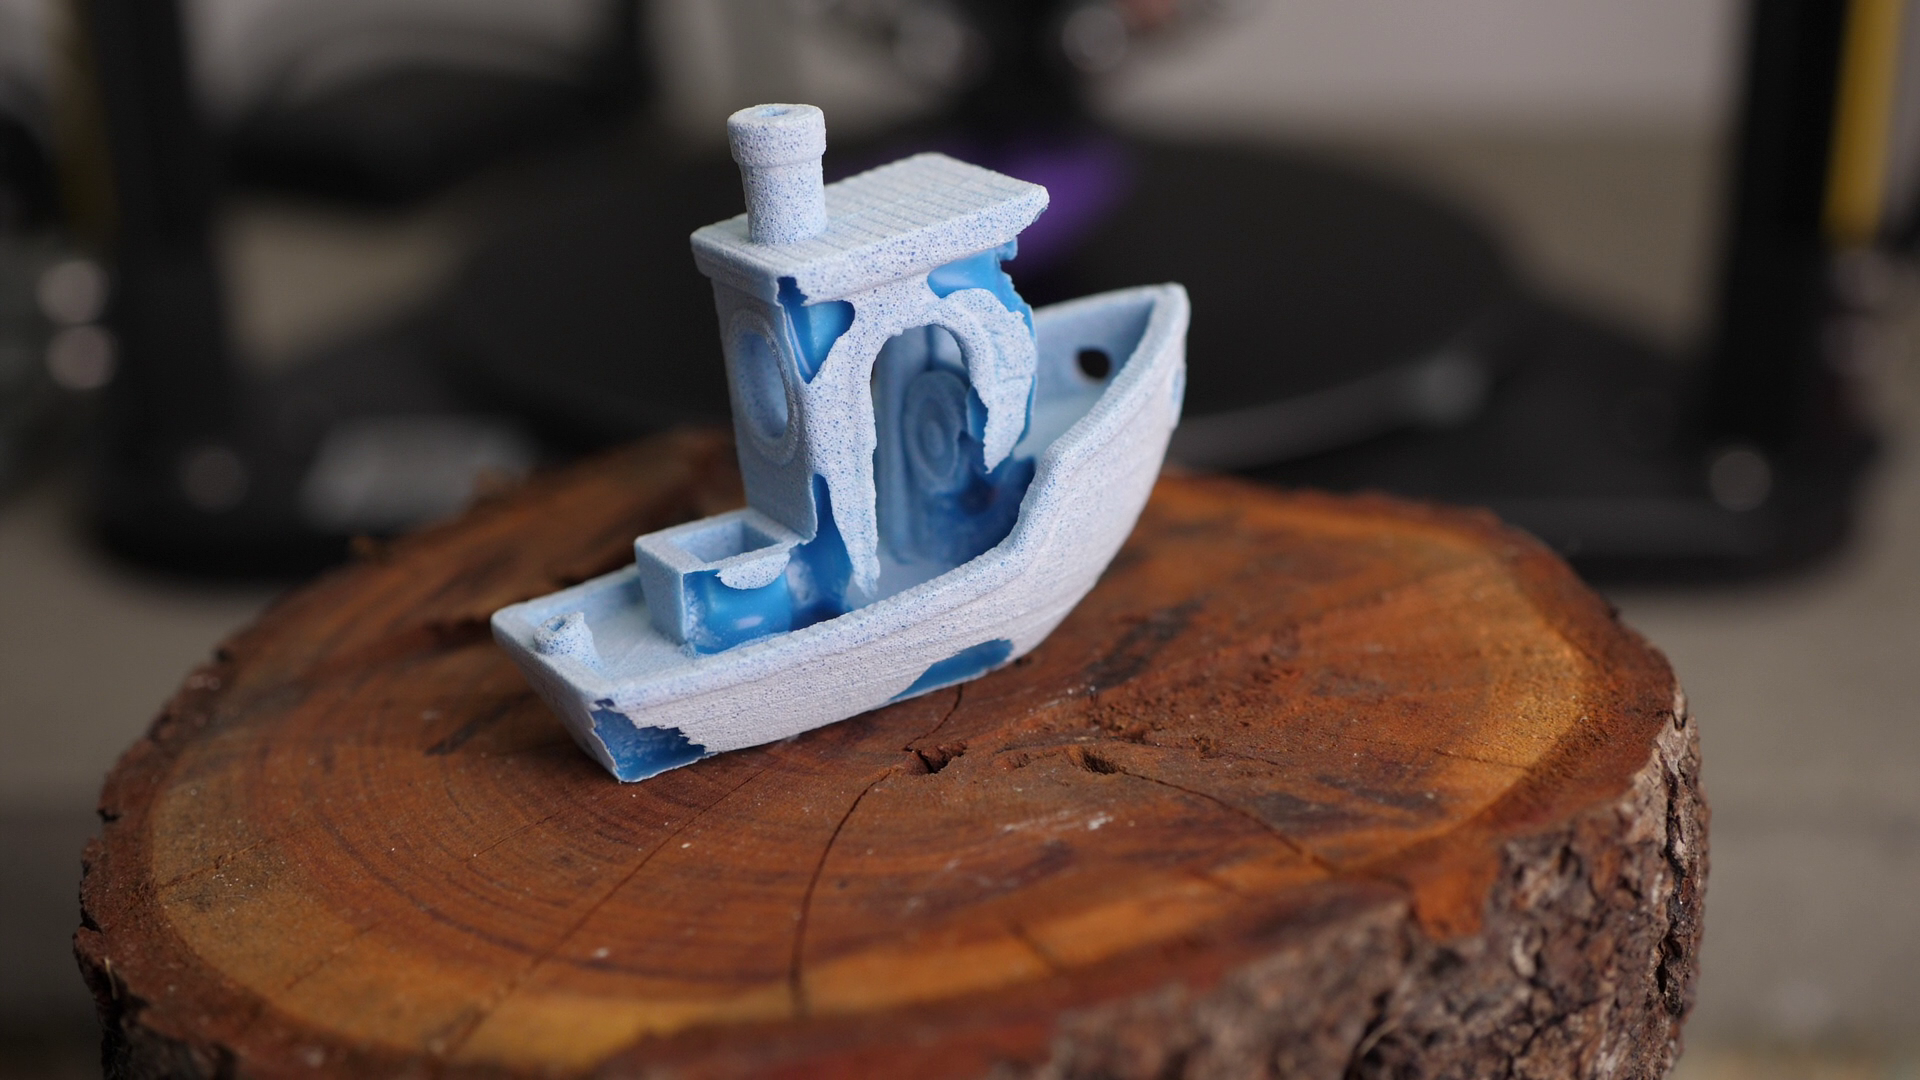
3DBenchy with 20% infill remelted in salt
Let's first take a look at the main component of this process, and this is the salt. Regular table salt is way too coarse and is not suitable in many ways, as I'll show you. What you want is powder salt. Unfortunately this isn't something you can buy in regular stores, at least not here in Germany. Powder salt, flour salt or popcorn salt is available on Amazon, though at ridiculous prices, costing more than 10 bucks per kilo and still might be too coarse to reproduce fine details. The thing is that your surface finish and also dimensional accuracy is directly dependent on the grain size that you use. The finer, the better. I bought a large bucket of salt and used my Thermomix, which is basically an expensive blender, to make my powder salt. Unfortunately, I quickly noticed that the salt starts to smear and clump up during this process, so I was only able to process batches of 300 to 400g at a time. If you also want to do this at home, pay attention because I've already read a couple of times or Reddit and Facebook that people destroyed their coffee grinder while trying to pulverize salt. Go in small batches and leave your machine time to cool down. For my first tests, I let my blender run for 15s at full speed, though after the first remelting run noticed that this was still too coarse and later let it run for 30s. That's what I used for most of my tests, though in hindsight, I should probably even go longer to remove the last bigger grains and end up with a really fine, flour-like consistency. After my first run, I also noticed that I needed to have a vacuum close by because you generate a nasty salt dust, that potentially starts rusting everything close by! Also wear gloves because the salt drys your hands out and you don’t want to look like an Egyptian mummy.

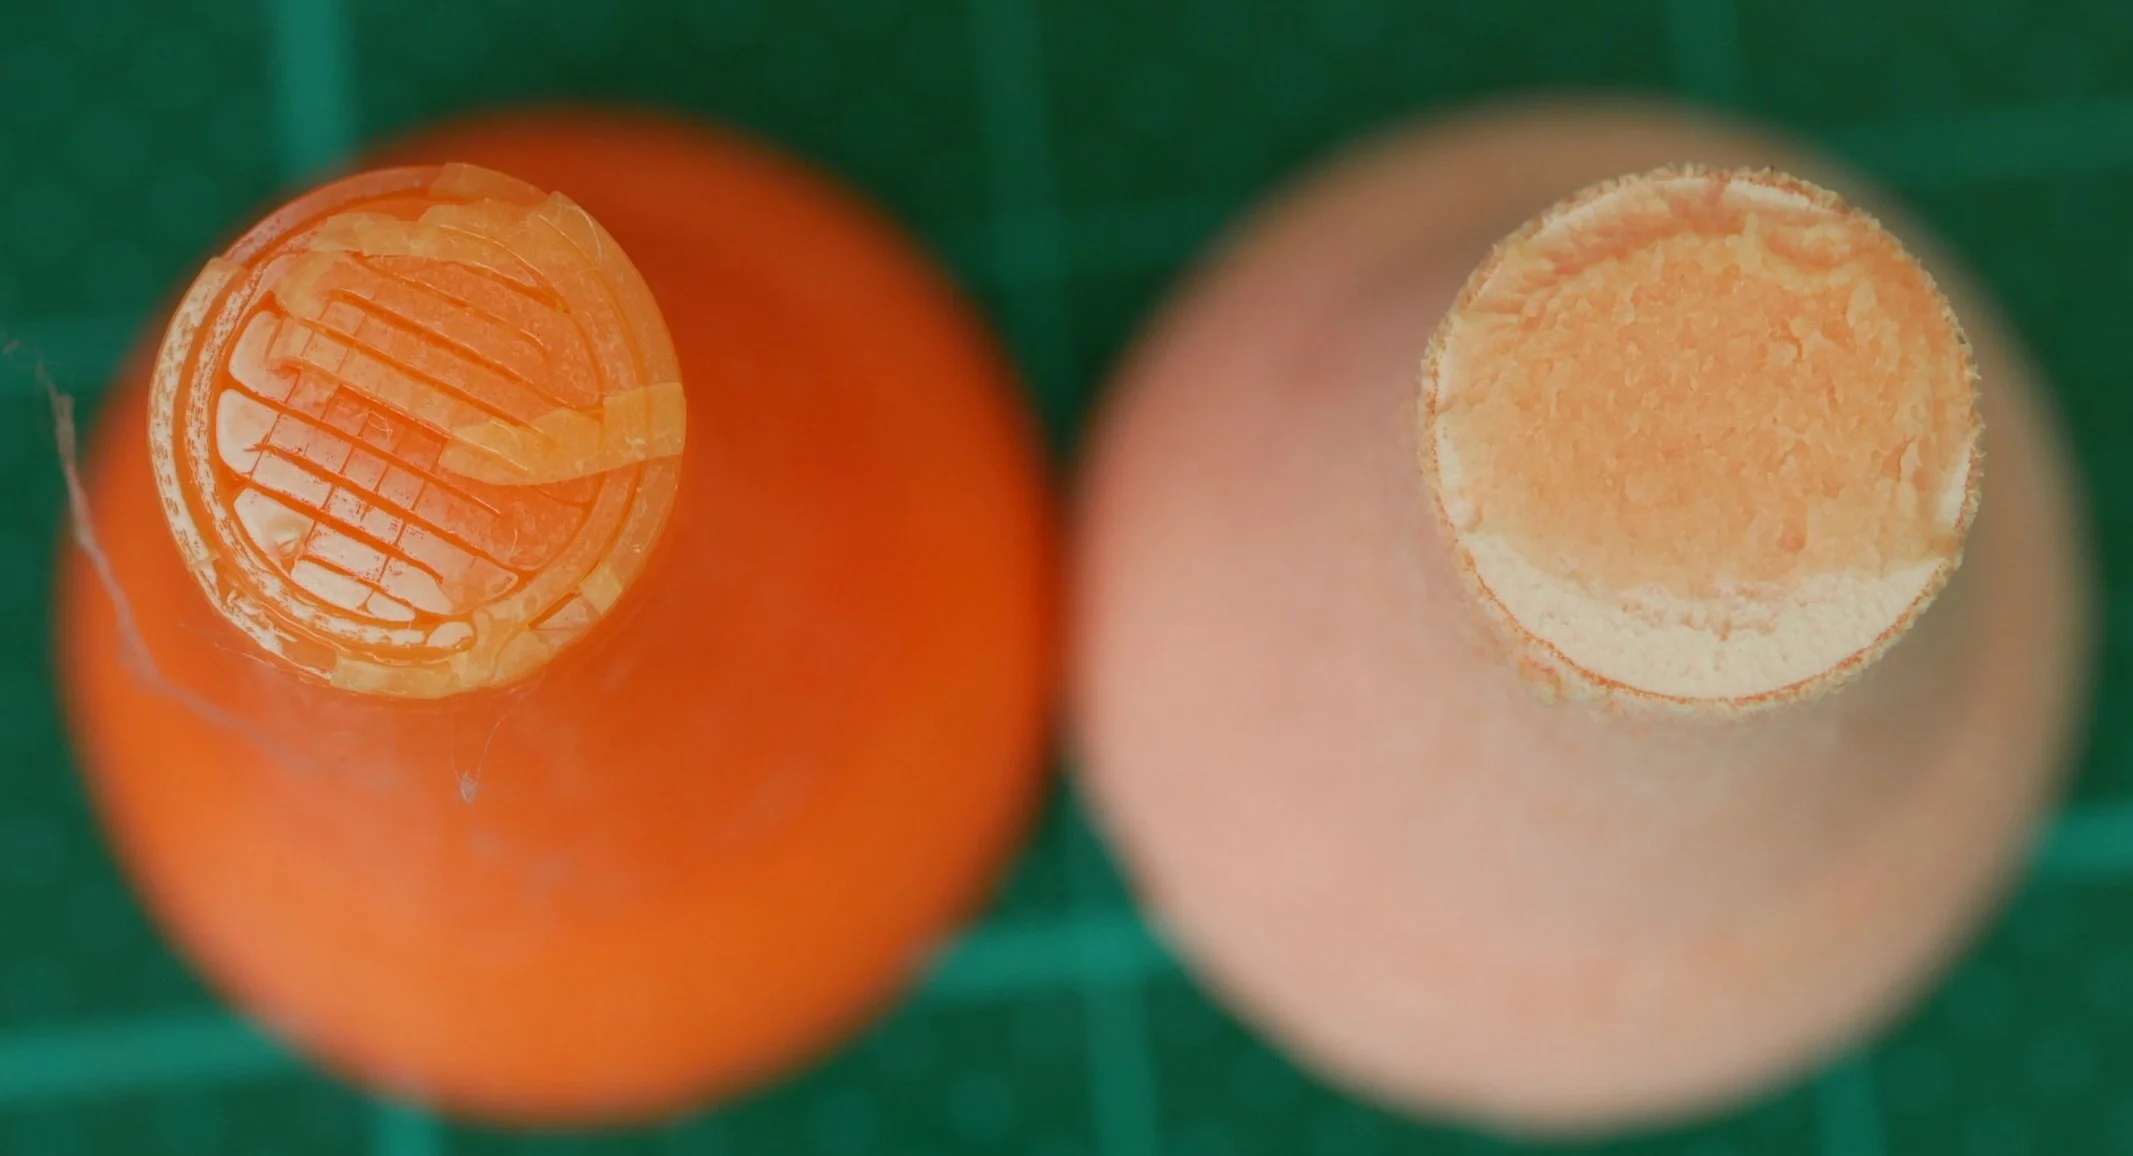
Normal Table Salt

DIY Powdersalt (30s in blender)
The next important thing is packing your parts in salt because that will determine if the material can flow away in voids that you created or if your prints nicely stay in shape, and you're able to reproduce all of the details. I used stainless steel GN containers that are relatively high. For the 1.5l I used around 2.2kg of salt. I broke up bigger clumps using a sieve to ensure that the salt is nice and fine. First I added a good layer on the bottom of the container and then added the parts, while making sure that they are properly spaced, to not melt together. Then I added more salt and tapped the container regularly so that the fine powder was able to flow into all cracks and details. I topped everything up with plenty more salt and then started compacting everything by just pressing everything together with a second container. This is also why the powder salt is essential. Regular table salt or sand can't be compacted, so that it holds it's shape. Powdersalt, with its fine and sharp crystals though forms quite a solid mass if compacted and compressed. Compacting will not only make sure that no voids are left, it will also ensure that the part can't deform anymore and therefore reduces warping to a minimum. I only compressed the salt right at the end, though looking at the fleshing that I got on some parts and some deformation, it might have been better to compact several times while adding more and more salt, as shown in "free spirit 1" s video. The height of the container is also important in my opinion, because that will give additional rigidity above the parts and will not require weighting the top surface during the heat treatment step. So if you only have a smaller pan, add something flat and heavy to weigh the top surface down.

Samples in GN Container
Let's next get to the heat treatment step. Suggested temperatures were 230°C for PLA and even more for PETG and ABS for at least 45 minutes. That seemed a bit weird to me because that's way above the melting points of these materials and even higher that you'd even print them. The thing is that long exposures to high heat will damage the polymer by hydrolysis, oxidation, additive evaporation and some other reasons more. So I thought that I start at lower temperatures but add a BBQ thermometer to see what temperature we really have in the core of our salt block. Salt is not a great conductor of heat, so it will take a considerable amount of time until you get to a kind of even temperature distribution. If you go with higher temperatures, the core will also heat up faster, but in the end, you'll have an overcooked outside and maybe even still too low temperatures in the core. My lab oven doesn't have forced air convection and in here, at a set temperature of 210°C, it took more than 4 hours to even get close to that on the inside. My forced convection kitchen oven speeds this process up a little but still takes a good 2h to get close to the target temperature. So if you want to take this method seriously, get a BBQ thermometer and put it into the salt to time the point at which you can turn the oven off. I usually did that when I was 10K below the set oven temperature because that was a reasonable temperature gradient I was comfortable with. For my part, I let the prints cool down in the salt overnight, roughly cleaned them from the powder remains, and then tossed them in water to dissolve the rest of the grains on the surface.

Temperature inside of the salt @200°C in the oven
In the end I tried 180°C, 190°C, 210°C, and at most, 230°C for the ABS part. 180°C up to 210°C was totally sufficient for PLA and also PETG. All parts showed noticeable signs of remelting with this very matte surface finish. The 3DBenchys that were only printed at 20% infill also illustrated why fully dense parts are necessary for the process. The 100% infill Benchy came out nice though, with great surface details. For ABS 180°C was just not enough. We're able to see that the part got soft, but not all the way, so that it melted. 190°C looked already better. If we go way higher, in my case, to 230°C the smell does not only get bad, but we can also spot severe discoloration and browning of the parts that also shows up in the salt. The tensile test parts will later tell us if this affected only the outer surface or, if we ruined the whole part. When comparing the different grain sizes that I tried, we can also see that the finer the salt is, the better the surface gets. Though with my salt, I wasn't able to reach the clarity of what "free spirit 1" showed in his video. Surface finish was very similar for all three materials and this cooling nozzle also illustrates that you're even able to treat small and thin-walled parts.

Small Cooling Nozzle Remelted in Salt
I checked the amount of warping and deformation first by simply screwing the nut on the thread. For PLA and PETG this only worked if I applied a significant amount of force. The overall dimensions didn't change hugely but still a litte and I rather think that the problem with screwing the parts together comes from the porous surface which makes both inner and outer thread slightly bigger. ABS worked better in that regard and I still was able to screw the parts together and overall dimensions didn't change a lot. My deformation analysis part also only showed dimensional changes below 1%, which is a bit but still, way less than if you would anneal without a medium that holds the part in shape.

Dimensional Changes of the Test Part
But let's now finally take a look at the most exciting part. How did the strength of our 3D printed parts change? Does this method fuse everything together and heal the layer adhesion deficiency that we usually have? With plaster annealing, I also noticed that probably the water in the plaster affected especially the PLA and made it very brittle, so does this method, where no water is involved, affect the polymers less? For this investigation I printed a bunch of my old layer adhesion samples, that have a bigger cross section as my mini sample. This way, surface porosity influences the results less. These are for judging layer adhesion. Raw material performance as a reference value was judged by simple dog-bone samples. Half of the samples got remelted in salt, the other half was left as-printed as the untreated reference. All the tested samples were remelted at 200°C set in the oven and I turned it off when it reached 190°C in the core of the salt block. The samples did look good with no major deformation and only some showed a bit of fleshing that I had to trim away. Unfortunately, some showed bigger porosity that might impact the results later.
Regular, untreated PLA had a tensile strength of the lying specimens of 61MPa; the untreated layer adhesion samples were only half as strong with 31MPa. PLA+ has a slightly lower ultimate tensile strength of 54MPa but yielded and didn't fail. The reference layer adhesion was 30MPa. The PETG samples were similarly strong, with 55MPa printed lying and an impressive 40MPa in the vertical orientation. ABS was the weakest with 40MPa of tensile strength in its optimal position and only 14MPa of layer adhesion, which is often a problem of this material, especially if it's not printed in a heated chamber.
Let's now take a look at PLA, remelted in salt. The samples broke quite violently and were able to reach almost the strength of the ideally printed parts, which is more than impressive! If we take a look at the fracture surface, the remelted sample is perfectly homogenic with only the porous seam around. The untreated sample clearly shows the print lines. So the porosity that we've seen on the part seems to be mostly only the first layer of salt that mixed with molten plastic and out of which we've then dissolved the salt crystals using the water. This is good because that means with a smaller grain size we should be able to reduce the porosity and also we didn't produce plastic foam.

PLA fracture surface - before (left) and after (right) salt remelting
Next, I tested PLA+. The material strength improved in a very similar way and we almost reach ideal part strength. Unfortunately, I think some ductility is lost because the material snaps without any significant necking, like we've seen it with the dog-bone sample. Still very impressive results with a really low scatter.
PLA+ fracture surface - before (left) and after (right) salt remelting
Then it was time for PETG. I've tested more samples and temperatures than I can fit in this video but here I’ll go into details on two where we can see something interesting. If you by the way want to get your hands on the complete results, they are accessible if you're a Patron or a YouTube member. During printing the samples I ran out of red PETG so I switched to a roll of grey one, also from DasFilament, that was already open for significantly longer. Both samples failed at around the same stress level, though the gray one simply snapped whereas the red one yielded and necked quite significantly. This might be due to the grey filament already absorbing more moisture and becoming brittle, though this would require deeper investigation for a definitive answer. The strength itself was remarkable, basically reaching the one of the ideally printed part which clearly says that salt remelting PETG fuses the layer perfectly together, creating a homogenous part with isotropic properties. Both PLA and PLA+ had a perfectly even fracture surface, PETG though, shows a significant amount of fine pores, where it failed. I don't know if they result from moisture or if they are the leftovers from the printing process that did not rise to the highest section during remelting. What do you think?

PETG fracture surface - before (left) and after (middle & right) salt remelting
Finally, let's take a look at ABS. Here, I was able to increase the layer adhesion by 150%, also reaching 90% of the strength of the dog-bone samples, impressive! The fracture surface doesn't look as even as the ones of PLA but still no layer lines or porosity are visible. Just for completeness – the browned samples treated at 230°C showed equal strength results, so probably only the most outer region is affected at those higher temperatures.

ABS fracture surface - before (left) and after (right) salt remelting

ABS remelted at 200°C (left) and 230°C (right)

Ultimate Strength Test Results
Those results again show the significance of this method to get 3D prints just as strong as injection molded parts. Of course, it's a lot of post-processing effort, but if you only need one or even 10, it's still way cheaper and efficient than investing in an injection mold that costs more than your car! I think we're still at the beginning of researching this method. I, for example, see the need to also take a look at impact strength, different oven temperatures, other printing materials like nylon or carbon fiber reinforced composites, how to design parts for this method, and how to get them as dense as possible in the first place and so much more. Is salt really the best material for this or can we use greensand, talcum or fine sand? But let me know what your verdict is, what applications you see and if you want to try it on your own. Please leave your thoughts in the comments!
🛒 Equipment used in this video (Affiliate Links):
Popcorn Salt: https://geni.us/KaXnPV
BBQ Thermometer: https://geni.us/doeDaL
GN 1/6-150 container: https://geni.us/FMj1E6
Original Prusa i3 Mk3S: https://geni.us/CNCKPrusaMk3