Recycling Old 3D Prints into New Filament
Recycling failed 3D prints, support structure and everything you don’t need anymore is one of the big dreams of many makers and 3D printer owners. It’s kind of sad that you often throw out quite a lot of material, only because you had a small layer shift or the dimensions were not spot on. For my 3D printing tests, I tend to print a ton of these 3D Benchys that are my benchmark models for printers and materials that tell me so much about the process. They look nice, but since they are horrible floaters, I can’t use them after print tests as bathtub toys for my daughter, and therefore they pile up in my office.

3DBenchys don’t float well
Since I currently have a desktop filament extruder and material shredder at my disposal, I thought – let’s recycle these and make new filament out of them! I know that the 3DEVO Desktop Filament Extruder I currently have is not maker equipment with a price tag starting at 5000 bucks. Still, due to its intended use in pre-production and labs, it’s the perfect tool to easily show you what needs to be done to make beautiful new material out of abandoned and failed 3D prints. In the end, this will still give you a great insight into the process that you could try to apply even with self-built equipment at home, similar as I’ve also been doing in the past with my Filastruder. This video will cover the recycling and extrusion process itself. In the following video, I want to discuss if such a system might be feasible at a larger scale and what the challenges and opportunities are. Please leave your ideas and opinions in the comments below.

Piles of old prints in the trash
Let’s start with our raw material. If we’d just grind up all of the parts and melt them down, our final material would have a color that is a mixture of everything and would probably not look too nice. For this reason, I first sort the parts for color. I separated red and blue ones from the rest because those colors were available in a significant amount. The leftovers that would not make sense to recycle separately will be ground up together as a mix.

Parts separated by color
One of the most important things during recycling is making sure that we only have one type of polymer or only compatible ones. I thought I only added PLA Benchys to the bag, but during sorting, I noticed that there were also a bit modified parts in there, like carbon fiber-filled and copper-plated boats that I directly separated out.

Separated out boats
These were easy to distinguish, but since a single PETG, ABS, or Polycarbonate part might ruin my recycled filament in the end, I thought about methods of how to make sure that I only have PLA. In industrial recycling, methods like infrared spectroscopy are used, but I don’t have the equipment for that. Gravimetric separation could be used, but since my boats do all have different infill ratios, I wouldn’t be able to tell them apart just by weight. The method I ended up using is the thermal properties of PLA because it’s the 3D printing material with the lowest temperature resistance. I put all of the boats in an oven at temperatures right above 60°C. When they were all heated through, I simply squeeze them with my fingers. The ones that became soft at that temperature are most certainly PLA, and I rejected at least one boat in the mix because it felt different.

PLA is noticeably soft at 60°C
Next, we need to grind up the material into small flakes that can then be fed into the extruder. We need to do two things before we start with the process and that’s cleaning the shredder that there are no leftovers of other polymer or different colors in the machine that could spoil our regrinds. Then we need to clean the parts from rough dust because everything that ends up in our regrinds will be embedded in the filament and can potentially clog the tiny 0.4mm nozzle later when printing. Spoiler: That’s harder than you think, but you’ll see in a bit. In this case, I simply use compressed air for that task. The SHR3D IT from 3DEVO combines a conventional shredder that slowly chews through materials and a granulator that uses sharp blades to grind down the smaller junks as consistently as possible in just one run. Since a consistent and small particle size is very important for the extrusion process, I sieve the regrinds with a mesh size of roughly 3mm and put everything that’s still bigger another time through the machine.

Tray of shredded material
The 3DEVO Shred IT is a compact machine and not super fast, so grinding up the 130 3DBenchys took me a good hour. In the end, I have three trays of very nice and consistent regrinds in red, different shades of blue, and everything else that was left. Even though I cleaned up the shredder thoroughly, I still end up with some particles of other colors, but this is something you’ll always have when working with recycled materials. Sorting that out would be too much hassle, so I just leave it as it is.

Blue and Red regrinds
Before I start with the extrusion process, I need to dry the material. It takes the material around 10 to 15 minutes to get from the hopper to the nozzle in such an extruder. Polymers degrade if they are kept at elevated temperatures or, in this case, even the molten state for more extended periods. One of these degradation processes is hydrolysis. The moisture in the material cracks up the polymer chains and, therefore, negatively impacts the melt and extruded filament properties. Removing the moisture minimizes that effect. Therefore, I put my regrinds on trays for a couple of hours to dry at around 80°C and stir the material regularly to release its moisture content evenly. Then I fill the regrinds into air-tight boxes.

Shredded material in air-tight box
Let’s finally get to extruding and start with our red regrinds. If you extrude regular industrial pellets, they are nice and round and flow well in the hopper. The ground-up 3D prints, on the other hand, have very sharp corners and irregular shapes, which causes them to lock up and not properly flow. For this reason, I add this vibration spider into that hopper that has a small vibration motor inside. Every couple of seconds, it vibrates for a short period and potentially releases blockades. It’s not vibrating constantly because that might lead to a separation of small and big particles, which is something we don’t want. I heat up the extruder to around 180°C. As soon as the temperature is reached, the screw starts turning and slowly feeds the material into the compression and metering zone, where the material gets molten and thoroughly mixed. It takes some minutes until the leftover material from the last extrusion process is purged out, but at some point, we’re able to see the nice transition from clear to a bright red. After the molten material comes out of the nozzle, it gets cooled by two blower fans, runs through a filament thickness sensor, and then passes the puller wheels: the puller and the diameter sensor form a closed-loop control system. When the diameter is too high, it pulls faster, and the filament gets more stretched. When it’s too thin, it pulls less.
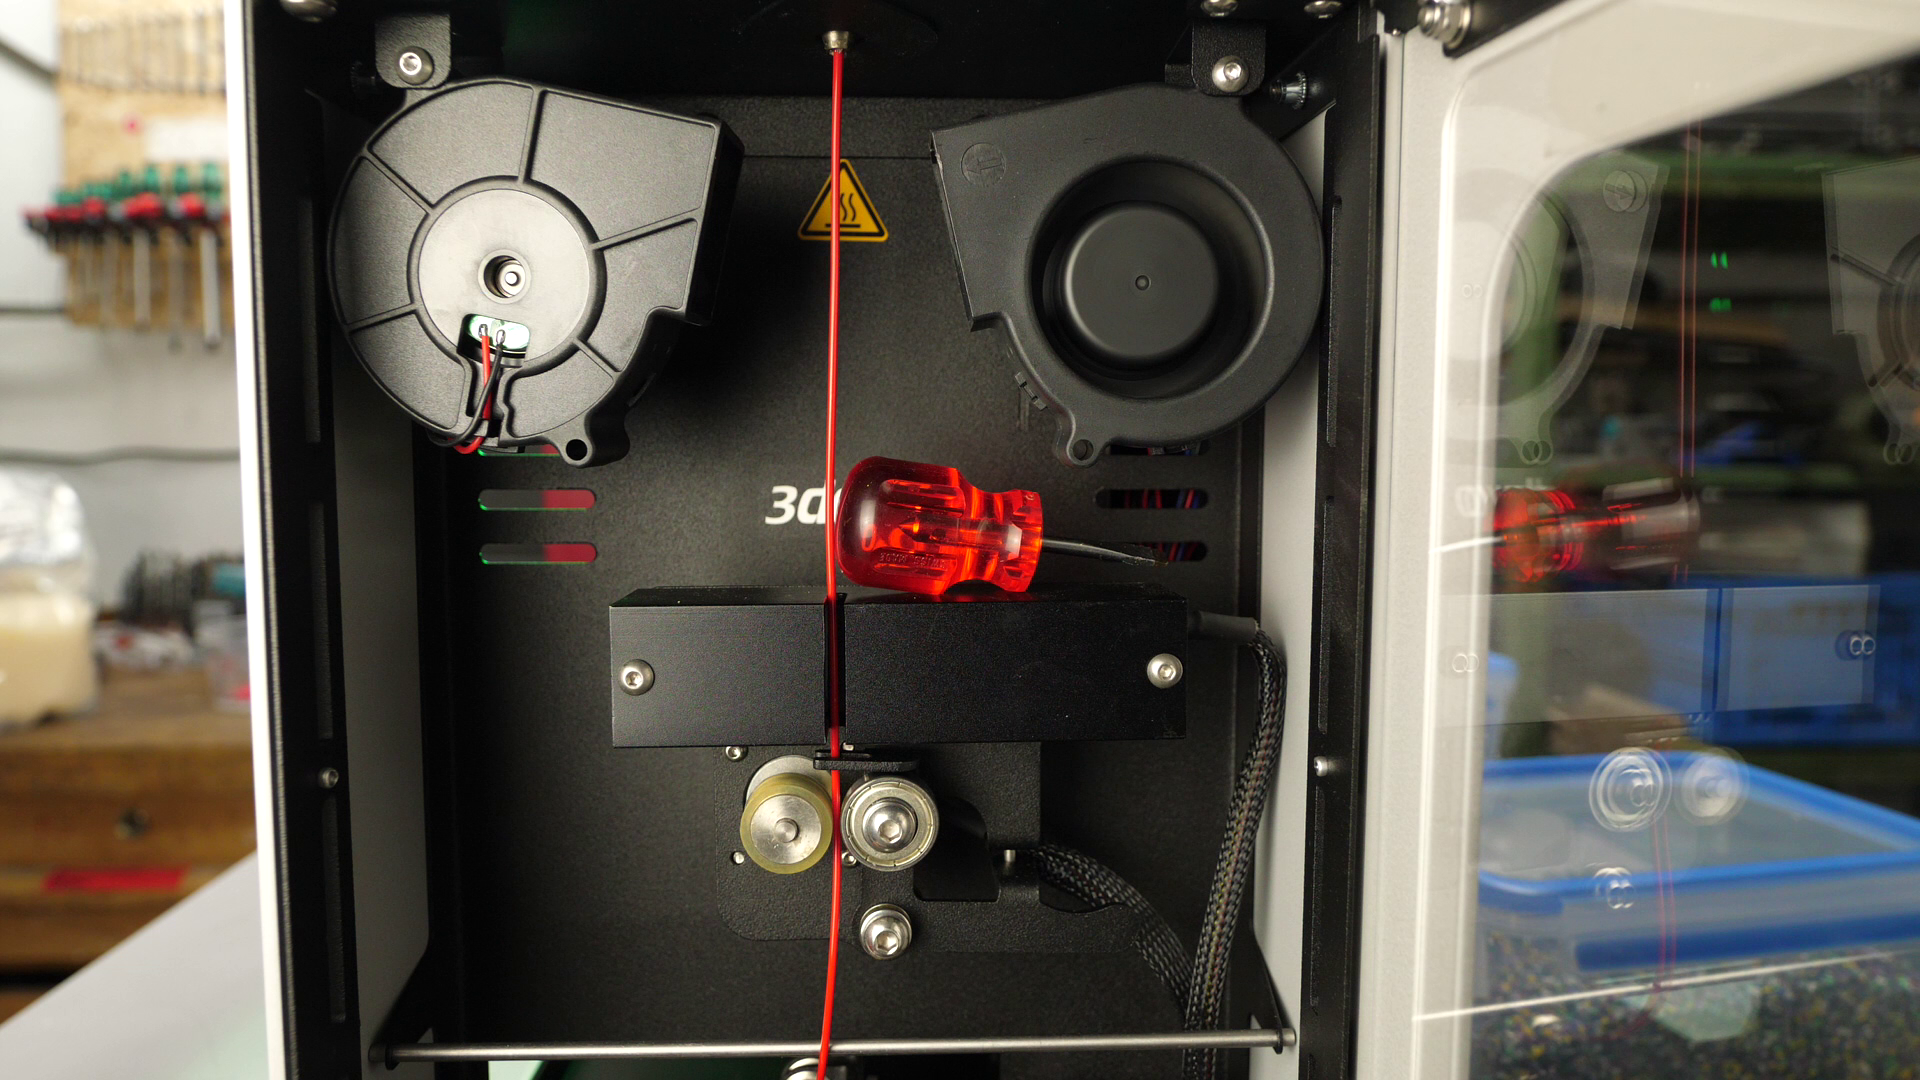
Extrusion Path (from top to bottom): Nozzle - Cooling fans - Thickness Sensor - Puller
As soon as the filament diameter stabilizes, we feed the end of the filament through the positioning lugs, then through the spool, and start the winding process. We would have the possibility now to tweak the settings further, but that’s something I already did before, so if everything is well, it’s time to wait until all of our regrinds have been converted into new filament.

3DEVO Composer extruding and winding the filament
In the two hours I left the machine running, I extruded around 300g of material. The result looks really nice with very consistent color and no major flaws that are directly obvious. The only thing I noticed is a slightly rough surface texture. If that’s due to unmolten particles or even a different polymer, I can’t tell, though the material still prints great.

Extruded filament with slightly rough texture
Extruding the blue regrinds went very similarly. Once added to the hopper, I wait until the red material is purged out and again start spooling. The melt looks really nice due to some sparkly particles that were in some of the Benchys we ground up. If I connect the 3DEVO Extruder to my laptop, I can also track all the extrusion parameters, like temperatures, motor currents, and of course, most importantly, in the end, the filament diameter. The machine was mostly able to keep the filament diameter between +- 0.05 mm but sometimes showed more major deviations from the 1.75 mm we intent to have.This seems to be due to some melt-inconsistencies, where something appears to be stuck and then releases. This is an issue I’m currently working on with the 3DEVO team. I even sent them a sample of my regrinds, that did extrude much better on their machine so now we need to figure out what’s wrong with mine. This could be due to residues in the extruder from other experiments that I didn’t purge out properly and maybe party block the barrel, but we’ll see.

Filament thickness graph
After another two hours we are greeted with another spool of PLA filament, made from 100% recycled 3D prints. Due to the mixing screw of the extruder, the color turned out really nice and even, and we don’t see any gradients if we print with it.
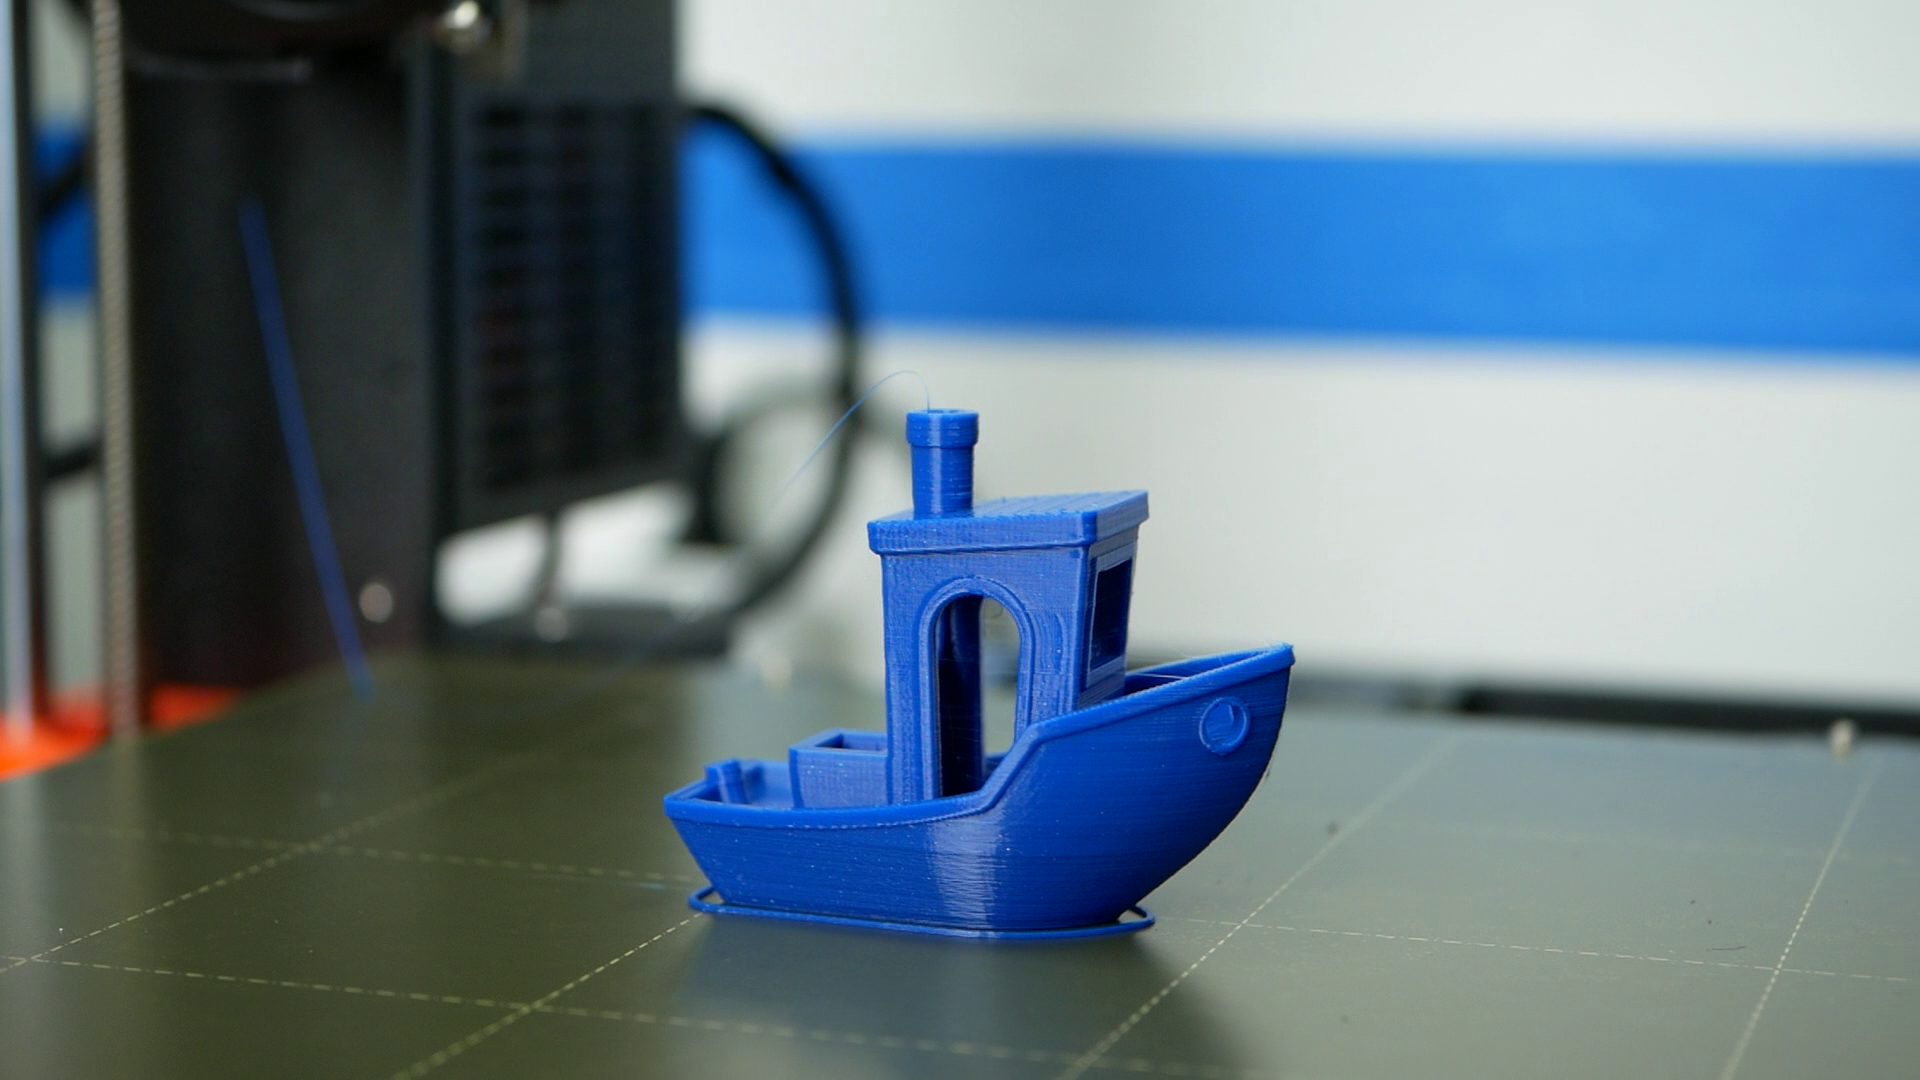
3DBenchy printed from 100% recycled filament
And finally, let’s extrude all of the leftover regrinds of various colors and grades. This one will probably be more challenging than the rest because of the different brands and potentially different processing parameters. The mixed-up color turned out quite a bit darker than I expected but still gorgeous with a nice sparkle. A dark trashbag khaki 2.0, and you’ll know what I mean if you’ve watched my first filament recycling experience.
This material interestingly had the highest throughput with 158 g/h, so I was left with a nice spool of material in the end. Unfortunately, looking at the spool and also the statistics showed that there were even more extrusion inconsistencies that might require removing some pieces during printing. Even though there were some issues with the full mix, this was still a great learning experience and shows that the more diverse the mixture of materials you recycle, the more effort the recycling process might be. In the future, I want to try mixing a portion of virgin material to the regrinds to hopefully make the process more reliable, just as it’s also almost always done in the industry.
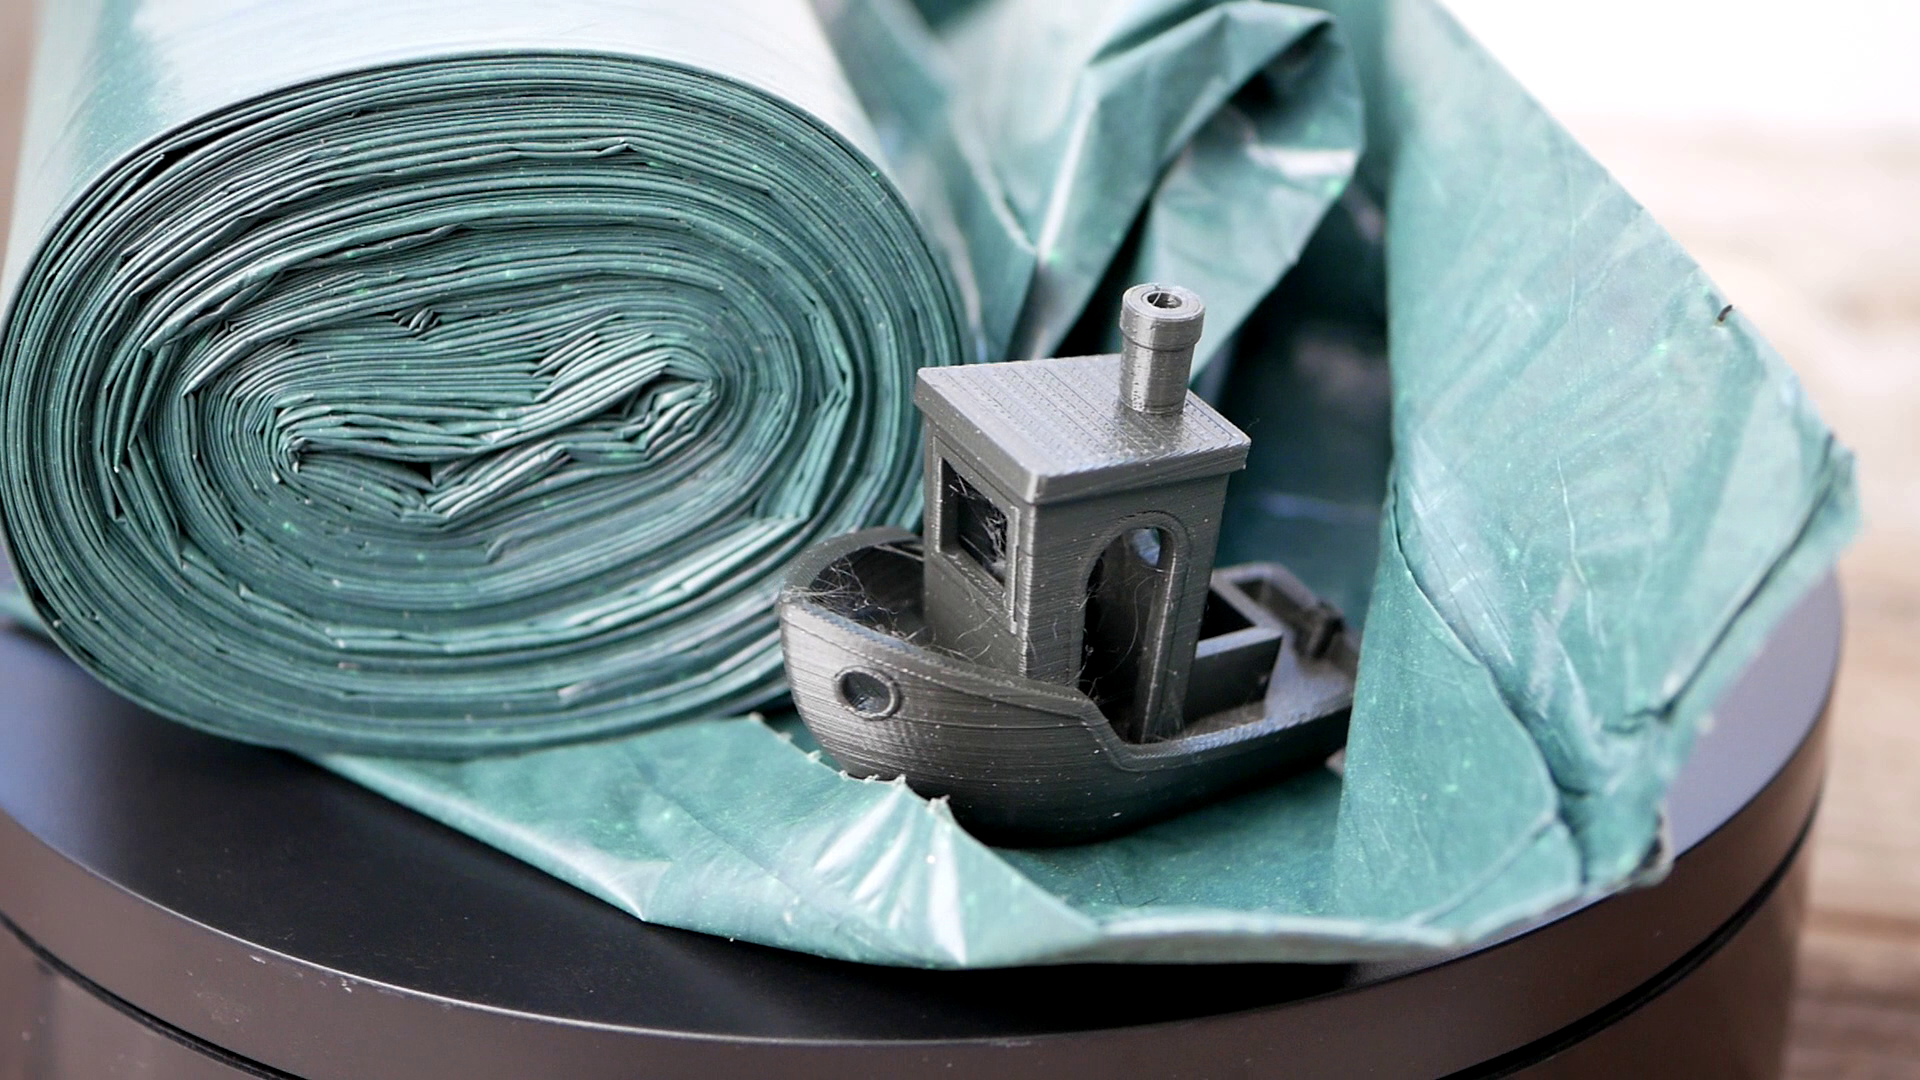
3DBenchy from the mix of materials
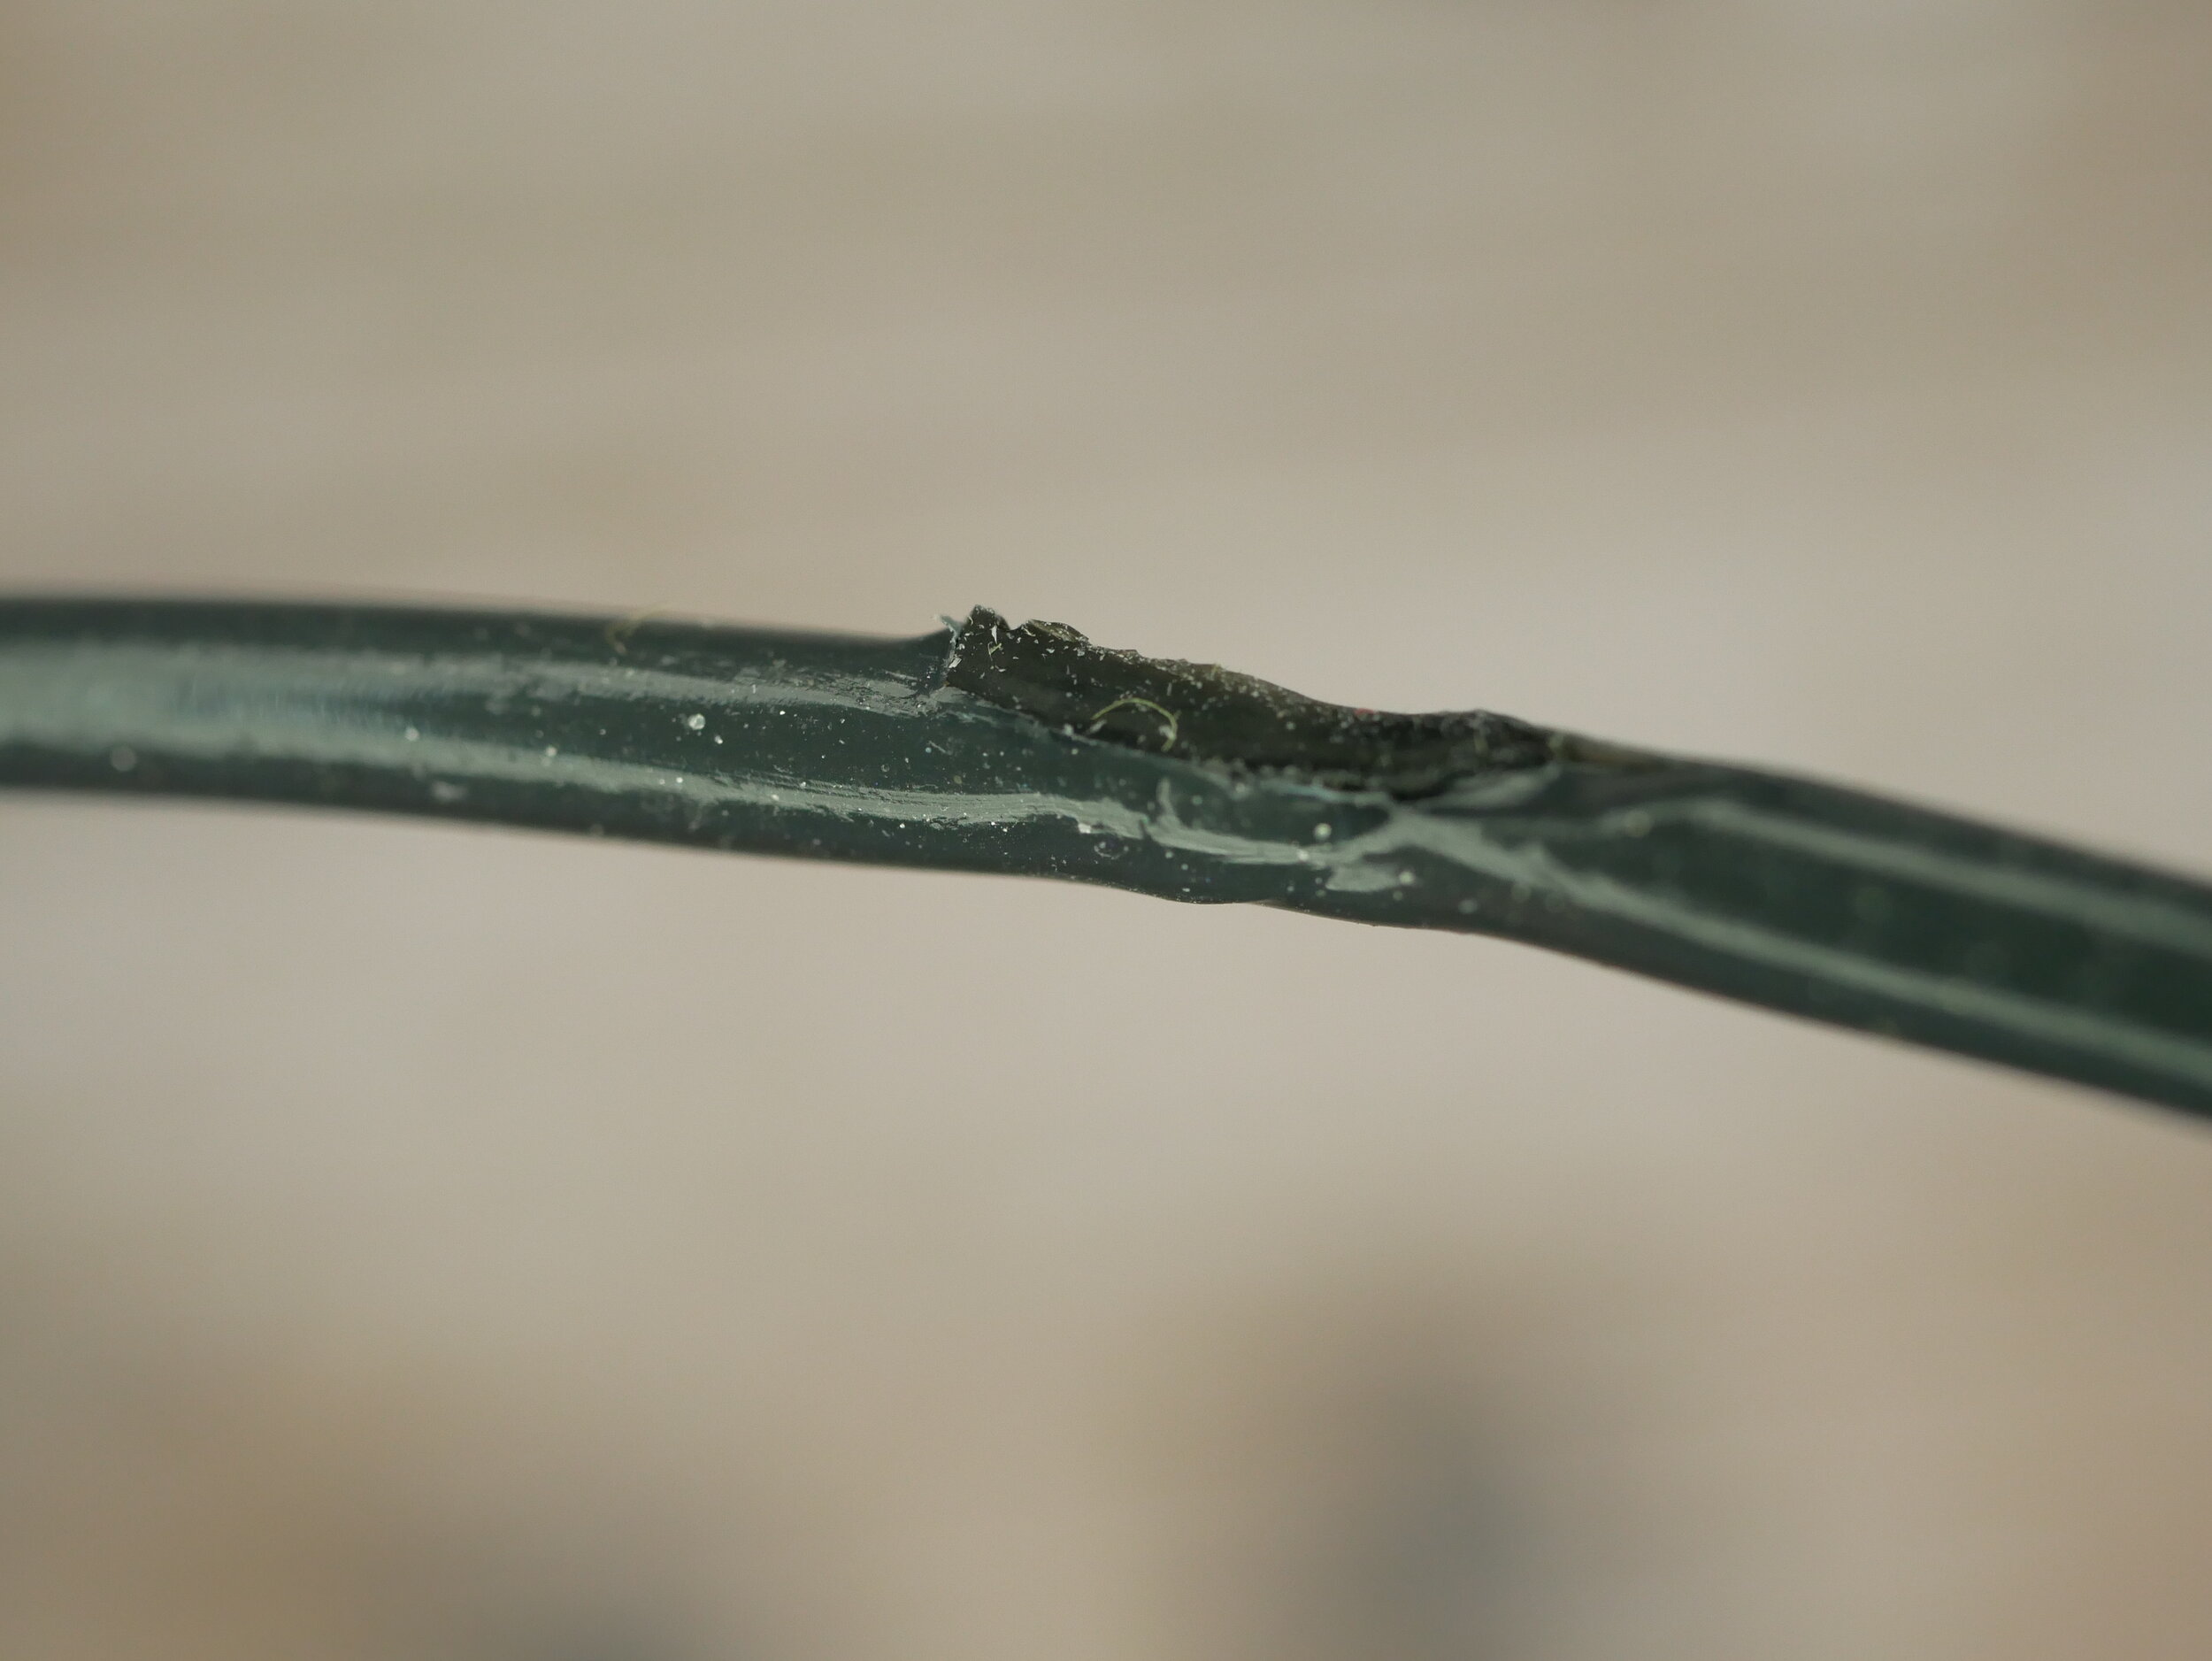
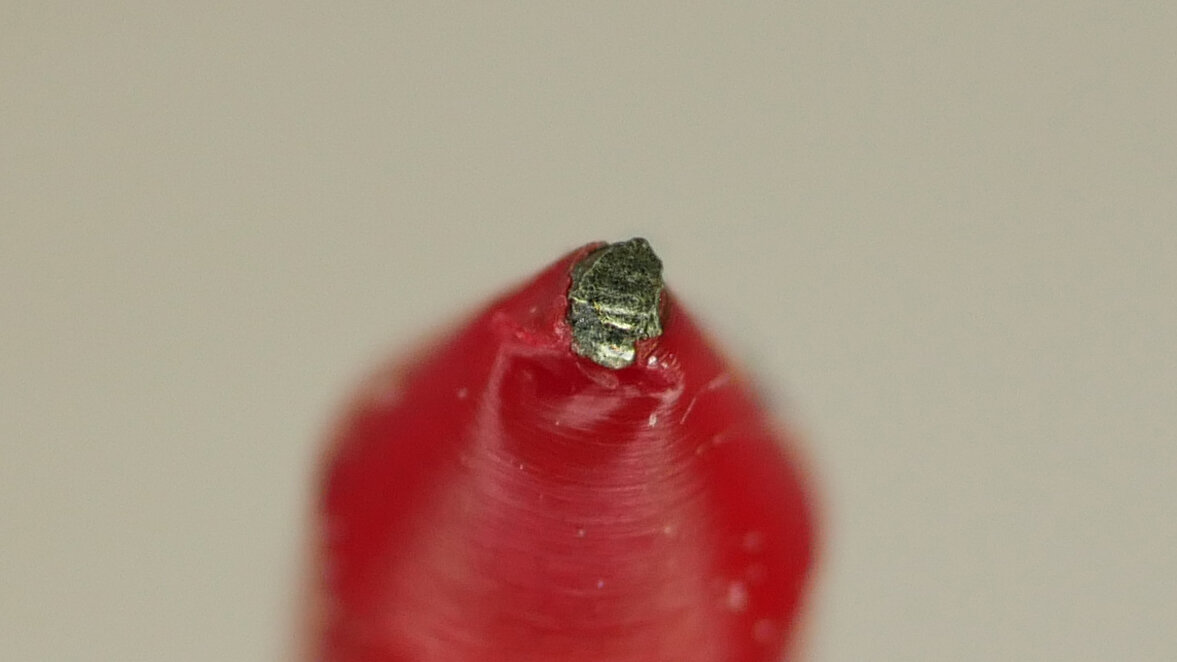
Still, the material printed quite nicely, and there is not much to complain about. Of course, I wanted to go full circle and print a big 3D Benchy out of the mass of recycled ones. This one is made at 300% scale and printed great… until I had a jam at some point. It turns out there was a small metal shaving in the filament, probably because I didn’t clean the parts well enough. This shows another challenge of recycling and might make it necessary to use a melt filter, so a small metal mesh in the extrusion path that filters these particles out. In other recycling experiments, I even found a piece of silicone sock in the filament. Also, not optimal.

I recovered the print with some Gcode trickery and decided to use the blue spool of 100% recycled material for the rest, which worked flawlessly. There are some tiny inconsistencies on the final part that result from the diameter variation, but in the end, if I’m able to get rid of the impurities and make extrusion even more consistent, this 100% recycled material might be great for prototyping, where quality doesn’t need to be totally perfect.

300% 3DBenchy
Well, and because you’re watching CNC Kitchen, I also had to test the strength of my recycled filaments to find out if this process severely degraded the mechanical properties. For that reason, I printed mini tensile specimens in my three different recycled filaments and as a reference from a spool of DasFilament Cherry Red PLA. Then I mounted them in my DIY Universal test machine and loaded them in tension until they broke.
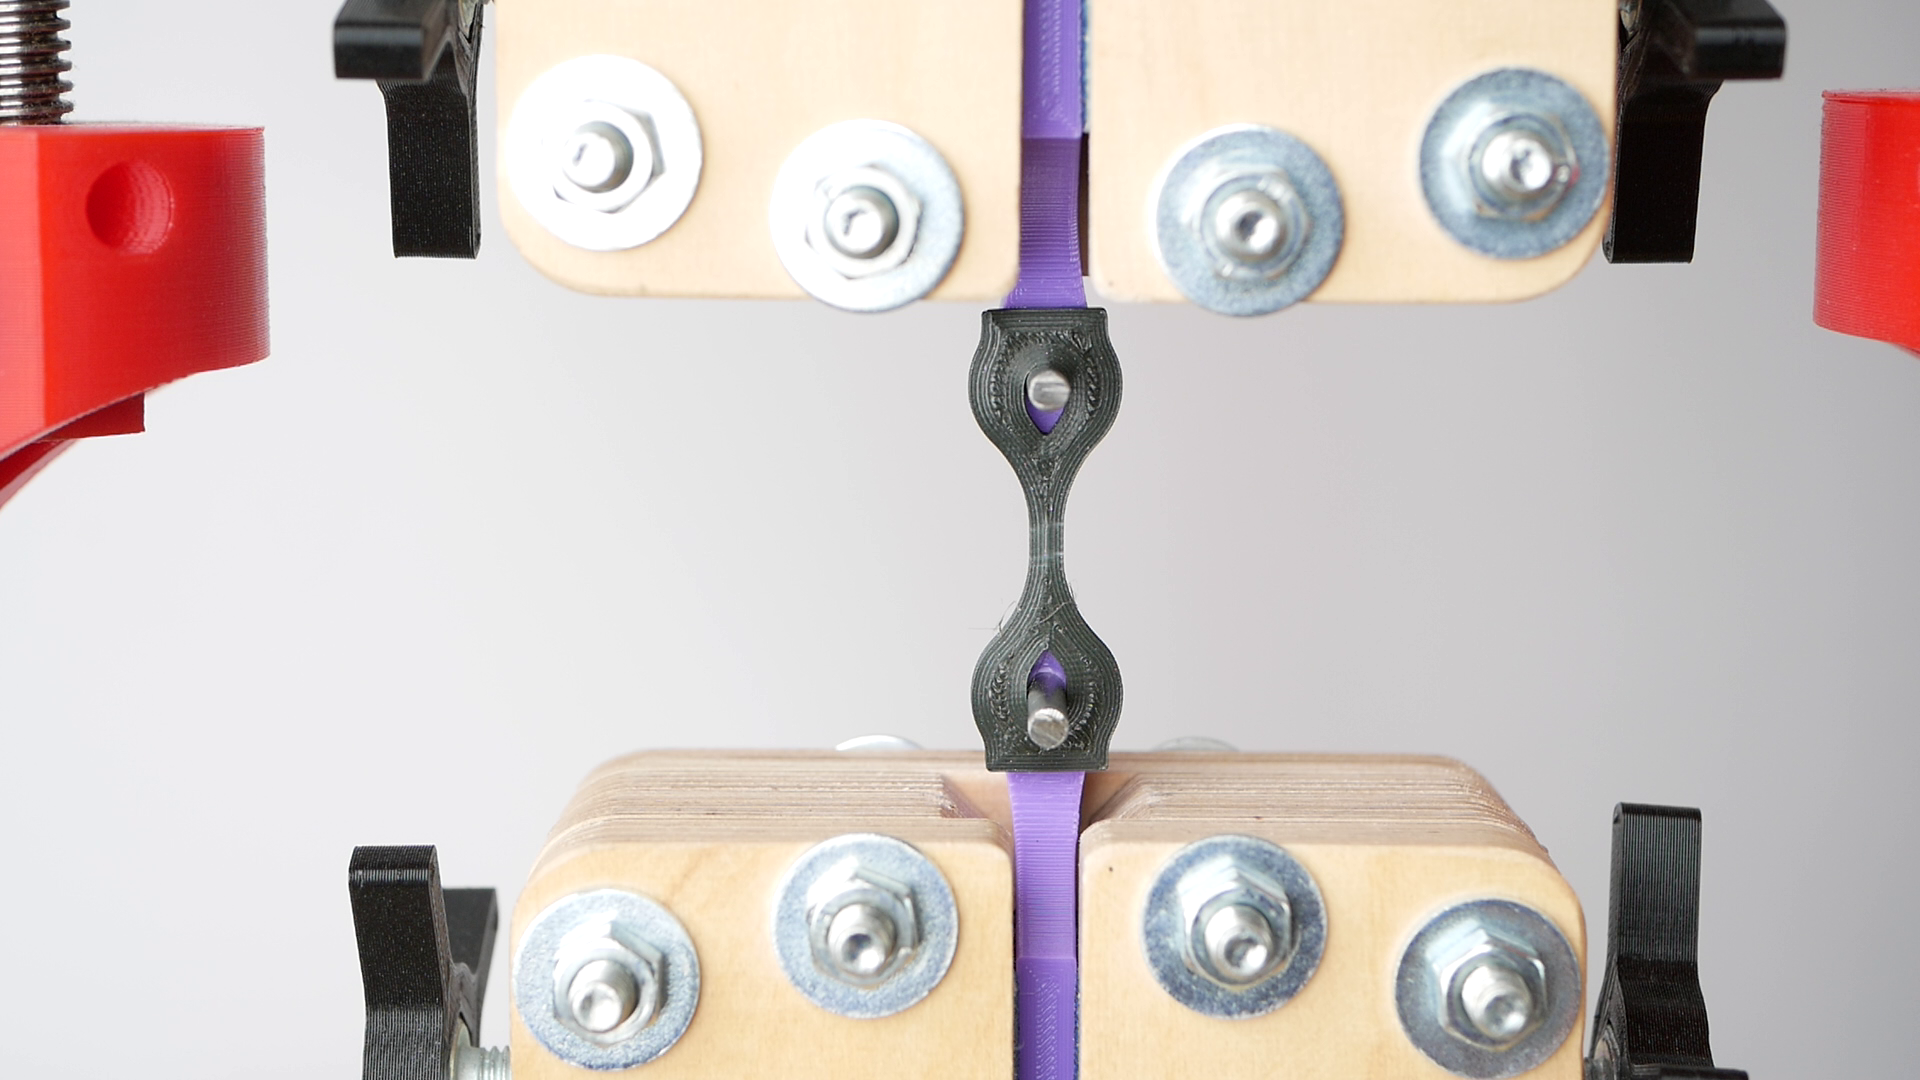
Tensile sample right before failure
The reference samples were the strongest, though the recycled specimens only slightly decreased in strength. Our red mixture was 6% weaker, blue 11%, and the mix 12%.

Tensile Test results
None of the samples got brittle, and the decrease in strength might only result from the fact, that the materials I recycled were already weaker in the first place. A thorough degeneration study is though definitely on my list. The only hint of degradation I noticed so far is that my recycled PLA is significantly more stringy than regular PLA even though it should be bone-dry.

Recycled Material seems slightly stringy
So there we have it, we’ve successfully created 100% recycled filament and gave more than 100 3D Benchys a new life. The material wasn’t perfect, just because the process itself with all of the variables and steps is complex, which also showed up in my extrusion inconsistencies that I’m currently working on fixing together with 3DEVO. Still, it was a great proof of concept to show that truly recycled filaments might be possible. I don’t think that recycling at home will be a thing in the near future though maybe there might be services that could do that for us more economically and ecologically. But’s what your take on recycling 3D prints? Not worth your while or essential in the future to avoid plastic waste? Let’s discuss this in the comments!
🛒 Equipment used in this video
3DEVO Composer 450: https://geni.us/3DEVO-FilamentMaker
3DEVO Shredder: https://geni.us/3DEVO-Shredder
Original Prusa MK3 (Affiliate): https://geni.us/CNCKPrusa