High-Temperature Resin Curing for More Strength
I honestly don’t print a ton with resin, yet when I do I’m always impressed with the amount of details this process can achieve. Resin prints are often ill-famed for their brittleness and low durability, yet if you select the right photopolymer, these parts are not only strong but more significantly have a similar strength regardless of the printing orientation and I tested that quite a while back.
Resin 3D Print
Resin 3D printing is a multi-step process. The UV curable resin itself is really interesting. It’s a mixture of monomers which are small molecules, oligomers with is bascially already some of the monomers combined and the magic compound, the photoinitiators. Once UV light hits the substance, the photoinitiators help the Monomers and Oligomers to connect and form a Polymer, so basically hardening it. During the initial printing process, the resin is only cured very briefly, which results in a solid structure but still leaves part of the resin uncured. This is the reason why after washing the parts on the outside, they are post-cured either outside in the sun or in special curing chambers where the print is rotated and blasted with UV LEDs. This way the part gets fully hardened and ends up with its final properties.

Resin Curing Process
Well, this is what many think. If you ever worked with composites and epoxy resin, you’ll know that if you want to get the most strength and temperature resistance from your carbon fiber parts, you need to temperature-cure them. This means that you put your parts in an oven for a bunch of hours to fully harden the parts. Only at these elevated temperatures the resin properly cures giving you the best part quality. Yet temperature curing is something that I have rarely seen with 3D printing, at least with consumer equipment and curing stations. Let me know in the comments how you actually cure your resin prints!

Printing Samples in Siraya Blu
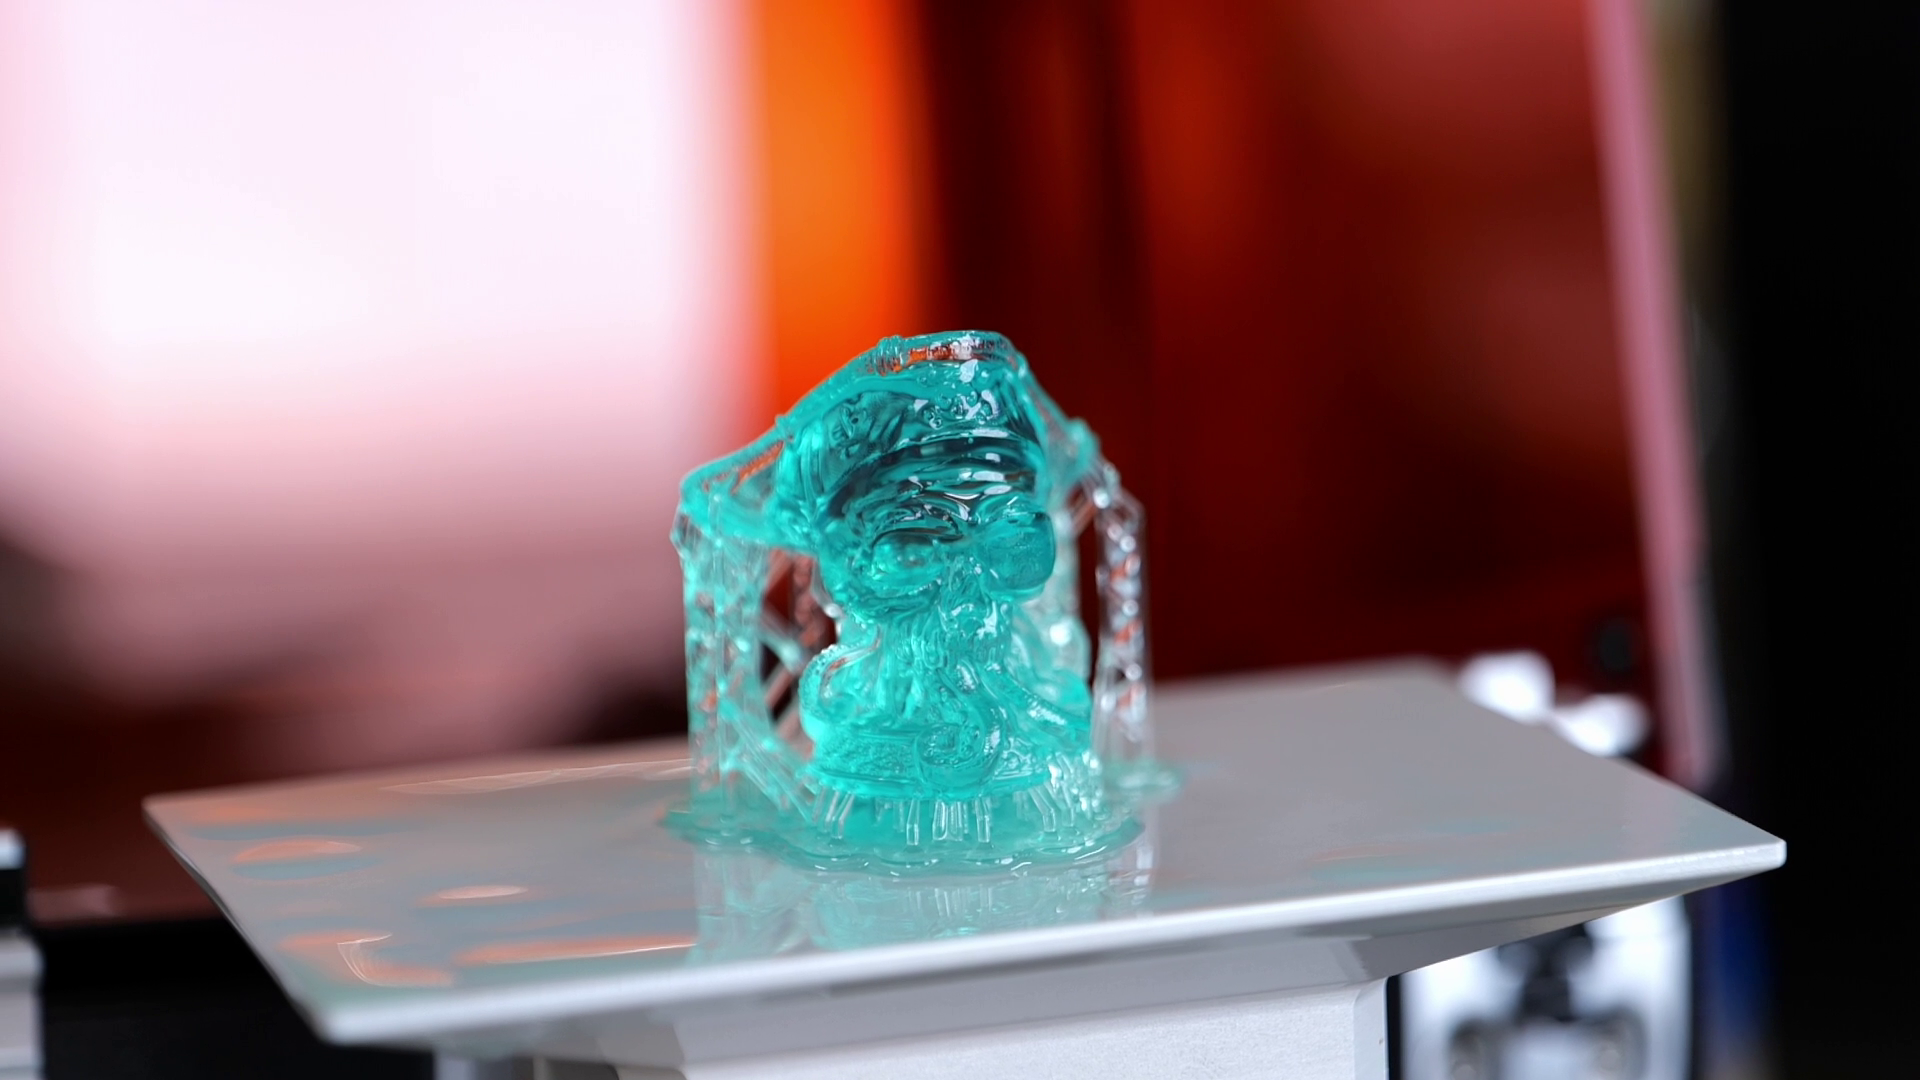
So I just had to try out, if we can also increase the strength of our UV resin prints, if we temperature-cure them. That’s why I printed a number of tensile samples, then cured them at different temperatures, and finally broke them on my self-built tensile testing machine. Different resins will have different compositions and, therefore will also behave differently. Since I can’t test every resin I decided to try out my theory with the OG tough resin, which is Siraya Tech’s Blu. Link in the description, by the way. I thoroughly mixed the bottle and then poured the emerald-colored resin into my Prusa SL1S. I initially wanted to test three different conditions: curing at ambient temperatures, and then 40°C and 60°C with three samples each. Resin prints have the convenient property that they have approximately the same strength, regardless of the printing orientation, so I didn’t bother and just printed standing parts.
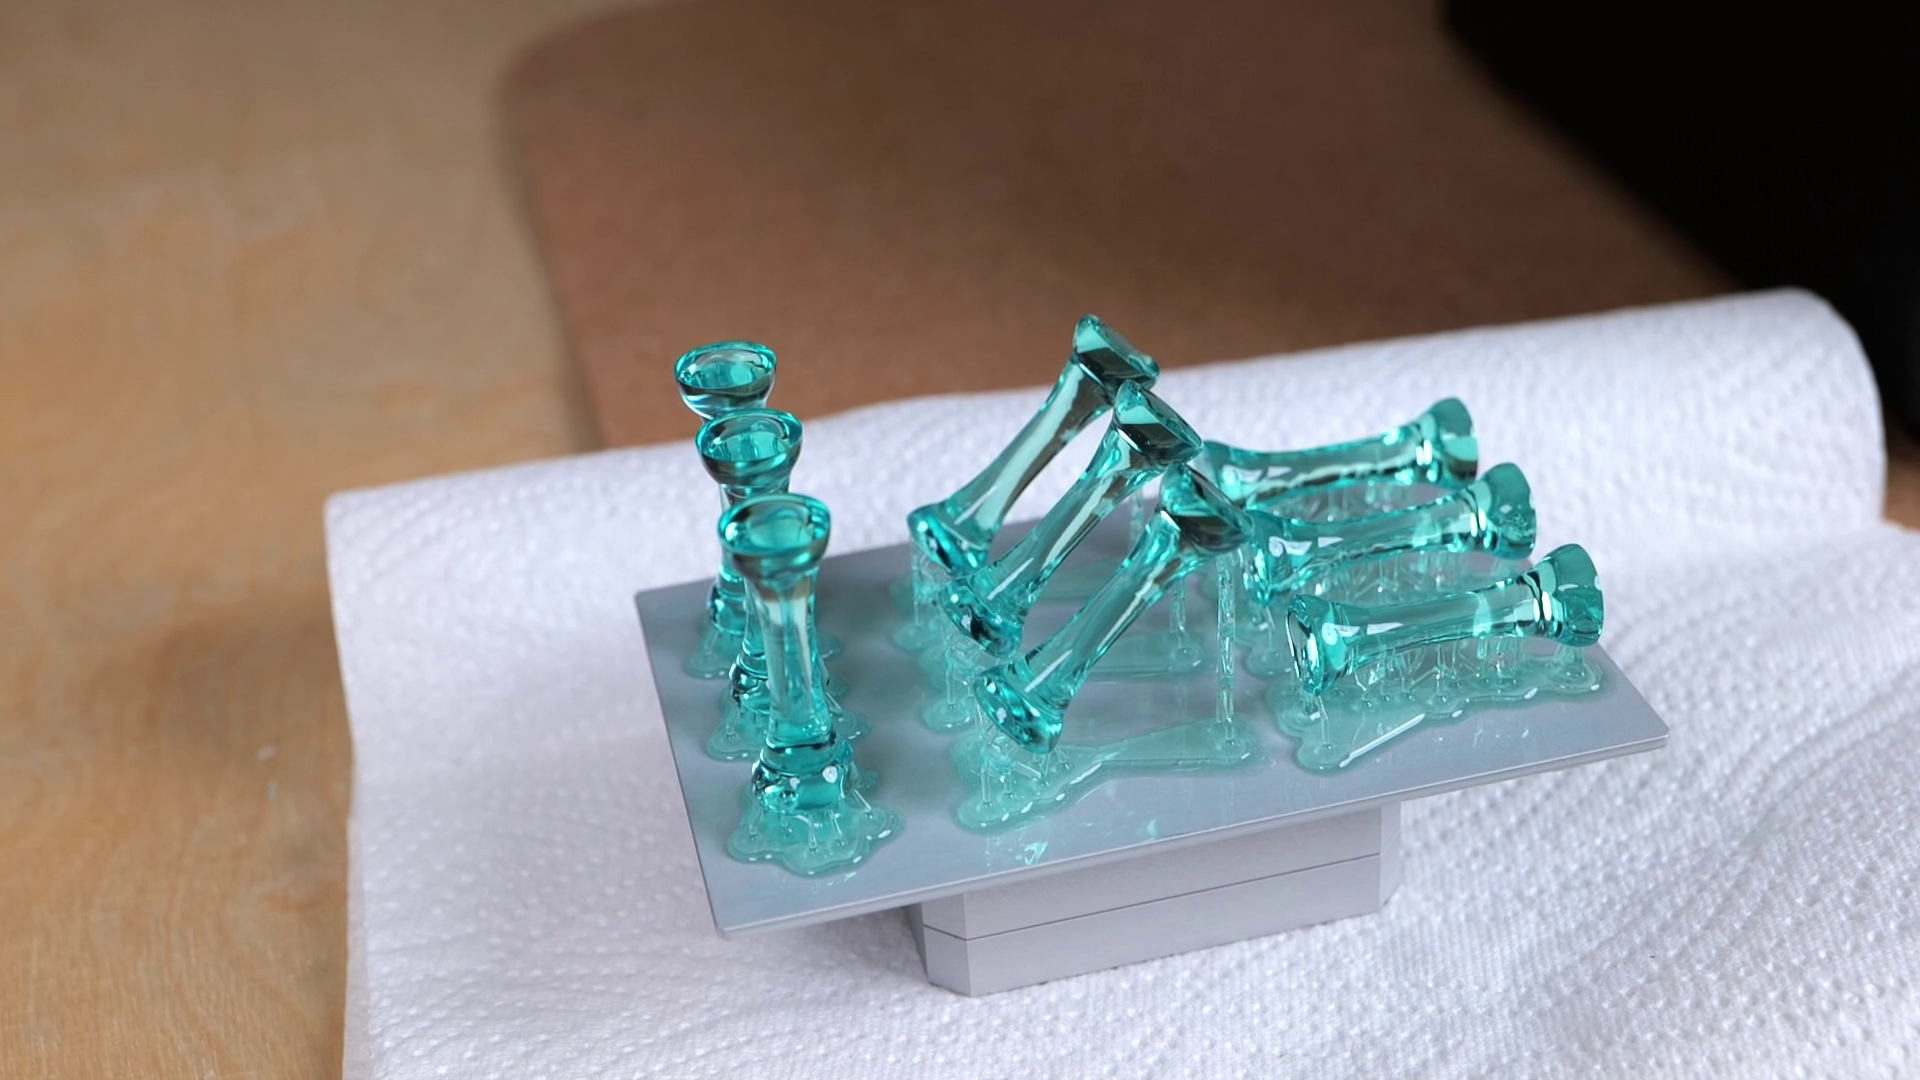
Printed Samples
After the print was finished I let some of the remaining resin drip off and then transferred them into Prusas Washing station, which is a bath of 99% isopropyl alcohol. I washed them for 3 minutes and then quickly put them in a second washing container which is filled with very fresh IPA, to make them really clean.
Then, it was time for the curing experiment. Most inexpensive curing stations only have a UV light and a turntable, so nothing to actively heat the parts. On the other side of the spectrum, you have, for example, Formlabs Curing Station, which is designed to go all the way to 80°C and if we look at their material data sheets, none of their resins is cured at less than 60°C, so there must be something to curing at elevated temperatures! My Prusa CW1S Washing and Curing Station also has an integrated heater that can increase the temperature in the chamber up to 60°C. So, I initially thought this was going to be easy, and I could do all of my tests with this accessory. Unfortunately, I quickly learned that you can only set the temperature for the initial drying step, yet once curing with the UV LEDs starts, the heater will be turned off. This will, of course, mean that the temperature is going drop during the curing process which might reduce the heat curing effect. I still wanted to give it a try and started with curing the first set that I didn’t preheat at all. I set the curing time to the recommended 15 minutes that I found in the datasheet and added an additional thermocouple to get an idea about the temperature close to the samples. Since the chamber was closed, it self-heated and the ambient parts ended up at roughly 26°C. For the other two sets of samples, I set a drying time of 20 minutes to properly heat them through and drying temperatures of 45°C and 60°C. Since the CW1S has its temperature sensor next to the heater, there will be a slight temperature difference to the chamber itself. With my set values I landed at 42°C and around 58°C during drying, though as said before, they dropped quickly once UV curing started and the heater turned off. I was a bit bummed about that, but I had an idea of how I could get stable temperatures in another test. Yet I still was curious, if we could already see an effect, so I went on to test these samples on my DIY universal test machine.

Curing at elevated Temperatures
So, I took the three sets of samples and mounted them one after the other into my tensile tester. Already the samples that were printed without any preheating showed a very impressive strength of 52 MPa on average, with a lot of yielding before failure. This is well in the range of what I usually measure for PETG prints, for example. The neat thing here is that we get this strength in any printing orientation. The samples that I preheated to 42°C were slightly stronger on average with 54 MPa but a bit of scatter. The samples that I preheated up to 54°C were the strongest, with 10% more load required to break them. We can already see a trend in the right direction, yet I honestly expected a bit more and was wondering if that was due to the heat not being properly kept at the higher temperature.

First Results
I looked around my studio and realized that I have a precision drying oven that not only goes up all to way to over 200°C, but it was big enough to fit a UV curing light and a battery-powered turn-table. So, I printed another set of samples and prepared five more tests. No post-curing, curing at ambient temperatures, simply with an open door, then curing at 40°C, 65°C, and finally 80°C. I would have loved to go even higher, yet I wasn’t sure how happy the LED light and the turn-table would have been.
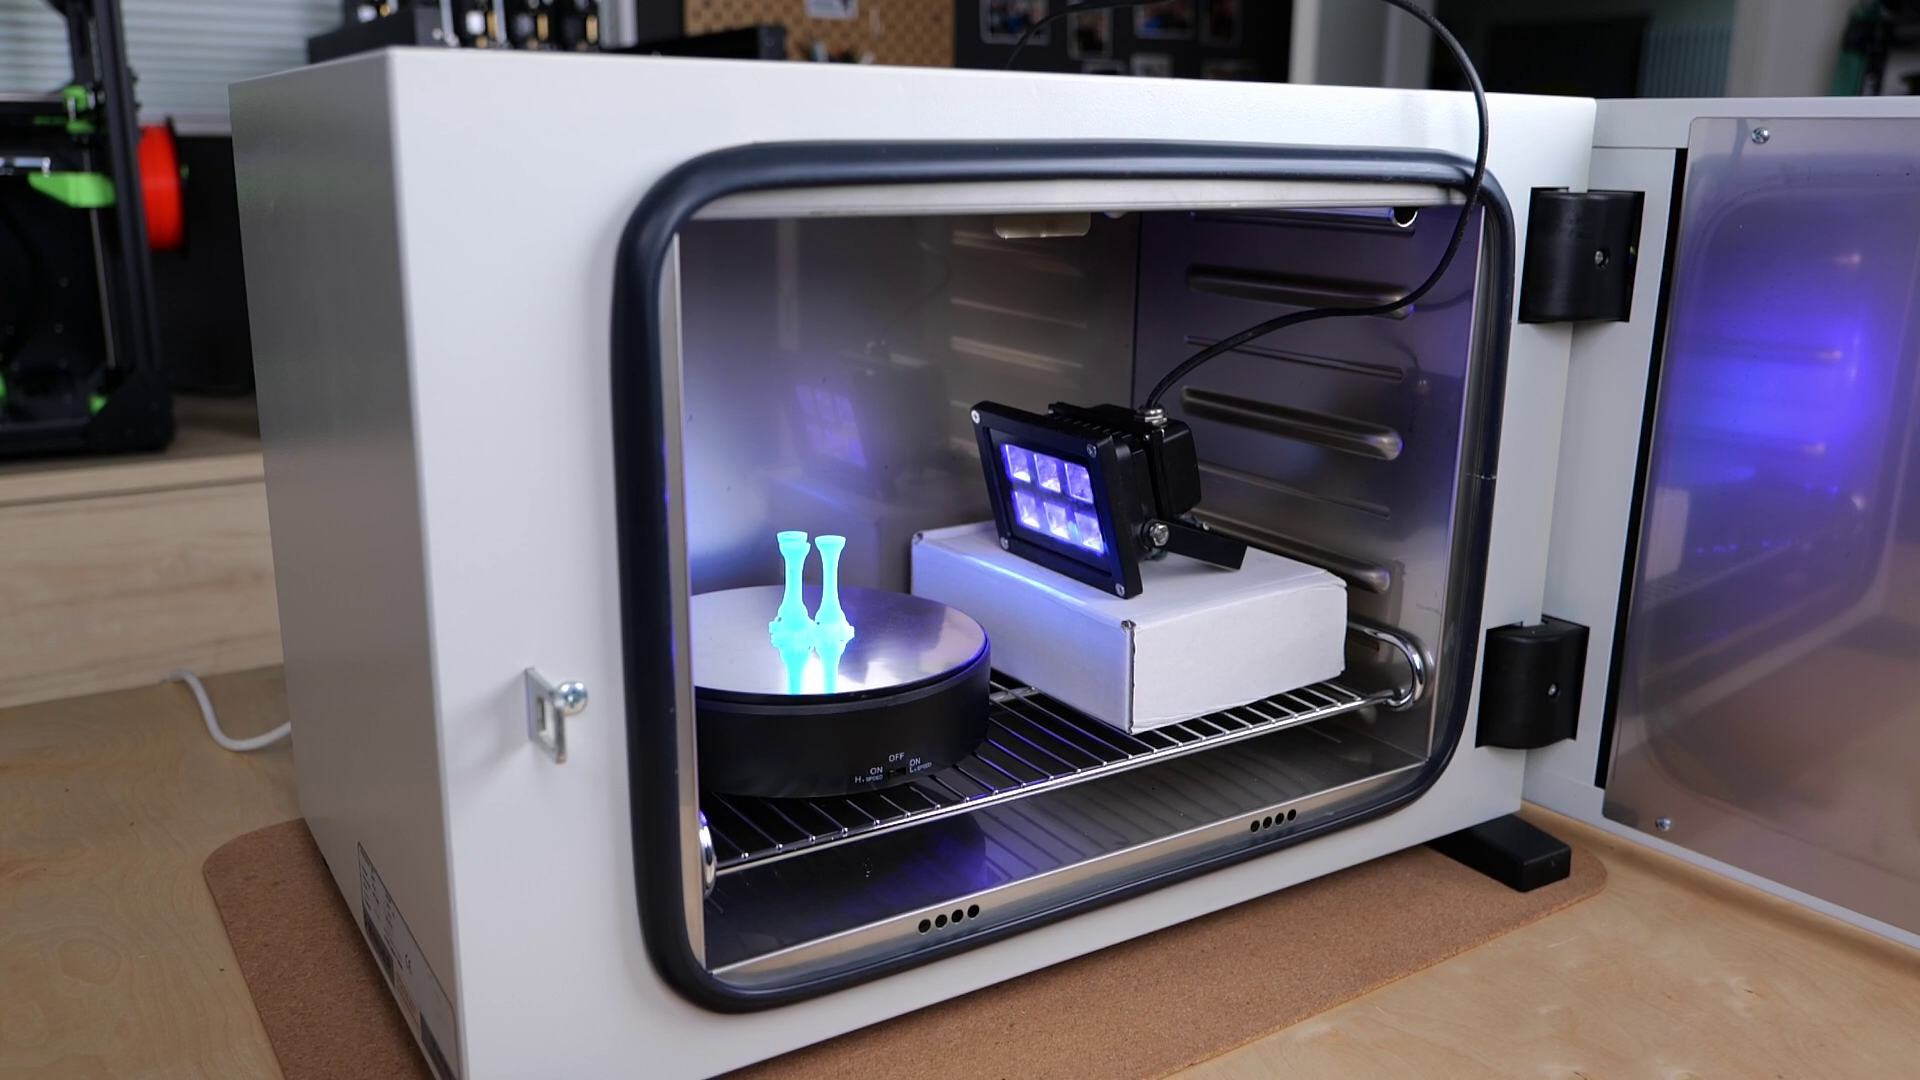
Curing in the Drying Oven
So let’s get to testing the second set of samples. I first started testing the parts right from the printer without any post-curing. They were stronger than I expected and ended up at 46 MPa of average strength. The ones cured at ambient temperature were only slightly stronger with 48 MPa of failure stress. This was a really interesting result because that’s slightly lower than the samples that were cured without heating in Prusas CW1S. This could be due to a difference in LED power or that the Curing Station self-heated more due to the enclosure. Then it became really interesting. The samples cured at 40°C failed, on average, at 56 MPa, which is almost as much as the maximum strength we got in the CW1S at maximum temperature. The 65°C coupons were already subjectively harder to remove from the supports, which also showed in the results. These samples were 1/3rd stronger than the ones cured at ambient temperature, failing at 64 MPa on average. Even the fracture surface started looking differently. Whereas the ones on the previous samples were all very flat, these parts now had a bit of a rugged surface. The final samples that I had were the ones post-cured at 80°C. Despite the fear of ruining my LED light and turn table, I also noticed that these samples felt really soft when I took them out of the oven, so depending on the size of your parts, there might be the risk of a bit of deformation. I couldn’t measure any real warping on my parts at the highest post-curing temperature and they became hard again once they cooled down. This setting really led to the absolutely strongest parts, failing at 68 MPa on average with minimum scatter, which is 41% stronger than the reference. This is way in the range of what I usually measure on PLA or even Polycarbonate FDM 3D prints! The samples lost a bit of their ductility, which means that they didn’t yield as much anymore before they failed compared to the samples cured at ambient temperatures, yet they didn’t feel brittle in any way.

High Temperature Curing Results
I also check this with two sets of impact samples. These are struck by a swinging hammer and the more energy they absorb during the impact, the less far the hammer swings up and the tougher they are. I was able to see a slight reduction in impact strength, yet again, nothing serious and the impact strength itself is still over the one of regular PLA and even PETG. This again shows that if you use the right SLA resin, these parts are not only strong but also tough.

Impact Testing
I thought I was finished and started writing the script, when I stumbled over something I would not have expected and which could change all of this again! I wanted to make the argument that you need both heat and the UV light at the same time to get the curing advantage. To substantiate that claim I quickly tried it out and put one set of samples that I previously cured without heating in the curing station into my 80°C oven for an hour and then let it cool down. This time, I just put the samples on a box, so they just set in there without any UV light. When testing these samples, I almost reached the strength of the parts that I UV-cured with heat. So it seems that you even get a strength advantage if you basically anneal the part in the oven after post-curing, even though the mechanism is probably different from what you know from annealing FDM prints. When annealing PLA for example, you usually reduce the internal stresses as well as increase the crystallinity of the polymer. On SLA prints you seem to further cure the part and form as many bonds as possible between the polymer chains. Interestingly, Formlabs also gives thermal curing recommendations for some of their materials, which kind of confirms the results that I have seen as well. You still need to take this with a grain of salt because even though I’ve seen an effect with Siraya Tech’s Blu resin, this doesn’t necessarily work with every other resin on the market. Yet, if you have experience with this, please let us know, and if you’re curious if your standard resin could benefit from this method, try it out or maybe contact the manufacturer!

Complete Results
It was really impressive to see that there is still so much untapped potential in resin 3D prints that we can squeeze out of them if just cure them properly. Of course, not all resins will behave similarly, and if you print miniatures, you might prefer toughness over maximum strength. Yet if you do anything functional with your SLA 3D prints, consider setting up a heated chamber for the post-curing step or even put them in an oven after you post-cured a part. This could be as simple as a box on your FDM 3D printer's heated bed. But what about you? Have you ever experimented with different curing techniques, and what do you think might be interesting to investigate further? Leave a comment down below!