CR-6 SE - Crealitys NEW $4,400,000 (over)hyped Kickstarter 3D printer
This is the Creality CR-6 SE that was launched for their 6th anniversary on Kickstarter and was a huge success with over $4 Million in pledges. I also received one of the beta units, just, when the Kickstarter ended and am honestly quite happy that I didn’t contribute to the hype there was around this new machine because Kickstarters can sometimes go way into the wrong direction. The reason why Creality chose Kickstarter probably wasn’t because they needed the funding, but they used this as a big marketing campaign, which did work out very well for them. You’ve probably already heard a lot about it from other sources but I’ll give you a bit more critical thoughts on it.
Kickstarter link: https://www.kickstarter.com/projects/1001939425/creality-cr-6-se-leveling-free-diy-3d-printer-kit
Buy the CR-6 SE after the Kickstarter (affiliate): https://www.creality3dofficial.com/products/creality-cr-6-se-3d-printer?sca_ref=226147.pzoO8FTNCI
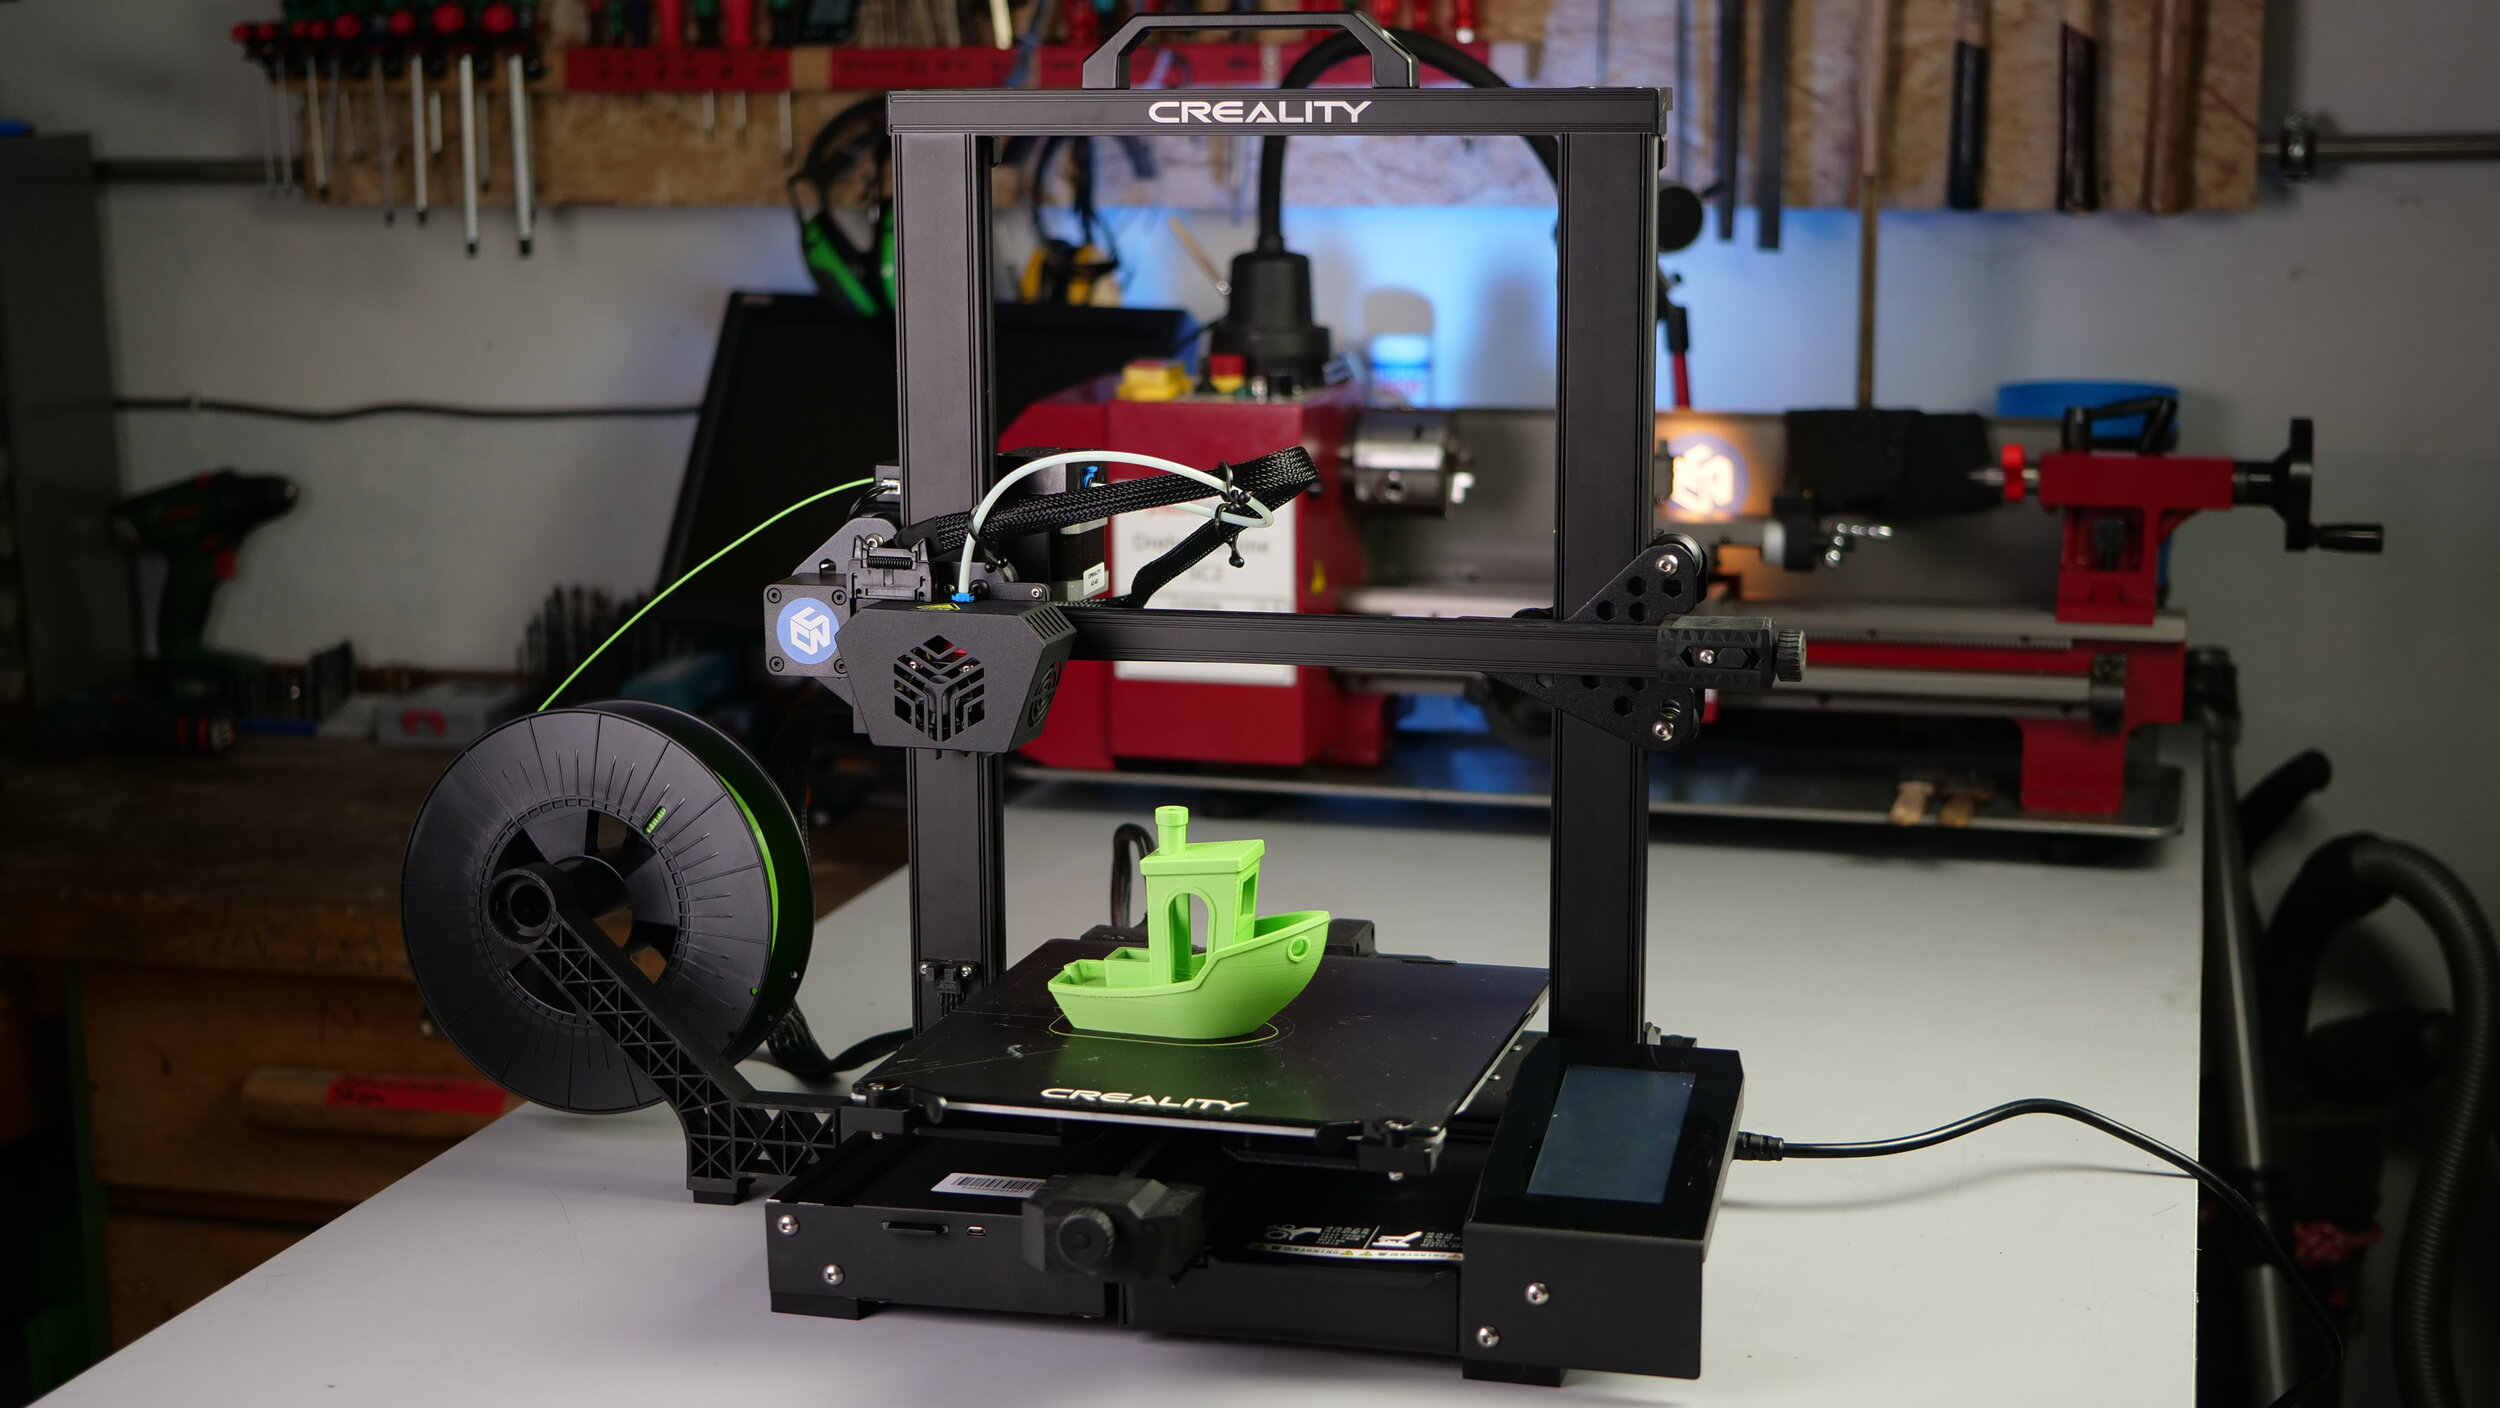
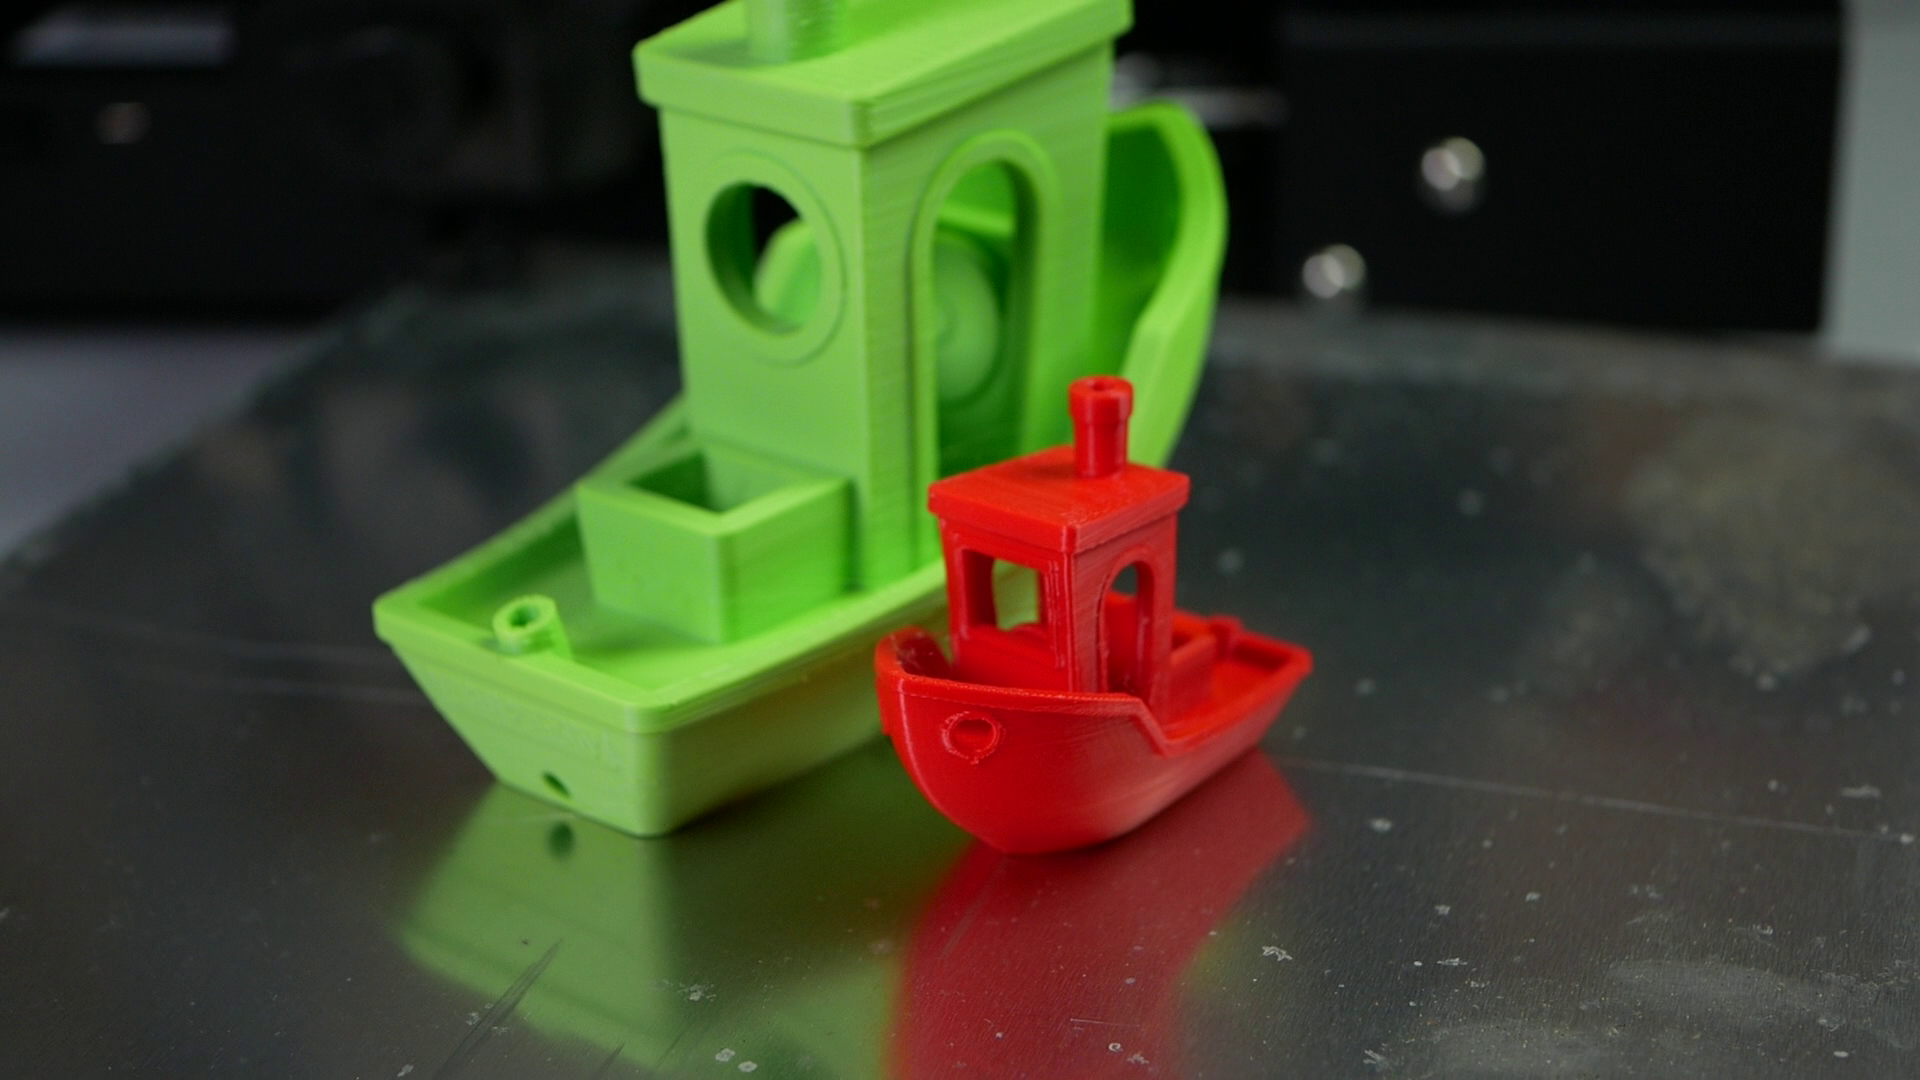
Creality CR-6 with 200% 3DBenchy
The CR-6 SE has a print volume of 235x235x250mm, so a bit bigger that an Ender-3 and a bit smaller that the bigger brother, the CR-10. In comparison to an Ender-3, it comes almost fully assembled, and you only need to attach the gantry with four screws, attach the screen and plug in some wires. It uses well-known aluminum V-slot extrusions, we already know from so many other printers, though switched to a more custom and closed design for a nicer look. One thing to note, is that it has milled slots in the extrusions to precisely locate the gantry in order to make sure that everything is square. A good design choice that I haven’t seen on any other machine yet. We have two Z-axis motors that are synced with a belt on the top. The spool holder moved from the top to the side, which is a plus for stability and a straighter filament path but will increase the footprint of the printer. Both belts for the X- and Y-axis are tightened with a small knob, which is a great addition. There is a small tool drawer in the front of the printer that seems simple but is, in my opinion, a great idea to keep your bench tidy and your tools together.

Easy Belt Tensioning
The printbed is directly fixed to the carrier and is not manually leveled anymore. The hotend now has an integrated bed leveling sensor, which is the most outstanding feature for me that I wanted to see more on 3D printers ever since I saw the SmartEffector with Strain Gauges integrated on the PCB on a Delta Printer a while ago. The CR-6 SE uses it’s own nozzle for leveling and senses the moment, when it touches the build plate using a strain gauge sensor, which works very similarily to a kitchen scale. The pressure on the nozzle causes the sheet metal to bend and a strain gauge senses the deformation due to bending and at a specific threshold signals that to the control board. This way of leveling has the advantage that you don’t have to worry about all of the offsets from the sensor to the nozzle and should make it more reliable in comparison to most other methods also especially at different printing temperatures. This integrated sensor is also used to perform mesh bed leveling, where the whole print plate is probed in a pattern, and the un-evenness of the print plate is compensated for during printing, which results in beautiful first layers every time. This new sensor did work mostly well for me though sometimes remaining filament on the nozzle can cause pre-mature triggering, resulting in too much distance to the bed. I think if they would adjust the trigger point to a higher level of force, this might be less of a problem. The hotend itself looks a little different to older models and less generic, though it’s still PTFE lined down to the nozzle, which limits printing temperatures to really a maximum of 260°C. The material is fed from the side of the frame, so no direct drive system.

CR-6 SE Hot End with Strain Gauge Sensor
Let’s remain at the print surface. Creality are using a ceramics coated sheet of glass, which does work really well to hold PLA, but even in its cooled-down state, it can make the removal of prints quite challenging. I printed a bunch of different materials on it, and most of them stuck reasonably well. Since it’s removable, you can turn it around and apply your favorite build plate adhesion product to it. Still, I would have liked to see a removable spring steel print bed, with a PEI sheet as a stretch goal instead of for example the TMC2209 upgrade. Let’s just hope that with the TMC2209 upgrade, they will also implement a stall guard, because otherwise this stretch goal is just pretentious nonsense. Due to the heavy glass bed, heat-up times are also a bit slow, and I would like to see a bit more powerful heater. Mine still has the 8bit board; the later units will be shipped with 32bit microcontrollers, which won’t make a huge change but will leave more memory for future features. Though it still has power loss recovery and also thermal runaway protection is activated. It’s also nice to have a full-size SD card slot in the front, finally.

Removable Glass Print Bed
The color touchscreen is really nice and responsive and lets you navigate through the menus very quickly. Most functions are there, though I would like to see some features added like flow adjustment or fan speed control. Loading filament through the run-out sensor into the feeder is also a bit fiddly, so a wizard for quick loading would be helpful. Since the firmware of the screen is easily upgradable via a MicroSD slot on the back, there is the potential that we see updates in the future, especially because this is still a beta unit and object to change.

Color Touchscreen
Next, let’s get to the point that annoyed me the most and where I’d like to know if I’m just too spoiled by my Prusa MK3. It’s great that the CR-6 SE uses a MeanWell power supply, but first, I’m not 100% sure if it’s legal to use this particular model in the EU for this application, and second, as soon as the cooling fan in it starts to turn on the machine gets annoyingly loud. The selected hotend and part cooling fan are pretty quiet and the stepper motors are basically silent, but as soon as the power supply fan turns on and this happens even at low loads during printing PLA it’s all for nothing! I hoped so much that this is finally a printer that I can put next to my Mk3 in the office, but as soon as I noticed that behavior, I had to put it into the basement. Please, Creality, please think about a quieter solution here, it would make the whole experience SO MUCH BETTER!

Electronics and PSU
Print quality overall was good, and some visible artifacts are probably a result of my minimally-tuned PrusaSlicer profile. Surfaces are mostly smooth, and ringing artifacts are quite little. I printed PLA, PETG, ABS, ASA, TPU, Polymax PC, and Polymaker COPA on it, and it seems to handle the materials that are printable up to the maximum hotend temperature of 260°C quite okay. Some filaments stuck well to the stock print plate, for some others, you can turn it around and apply products like Magigoo or similar. Even flexible materials like the Medium hardness TPU seem to work well with the new extruder design.

Tested Materials
So the CR-6 SE ticks many boxes that are important for a good 3D printer, and I especially enjoy seeing a bit of innovation in terms of the strain gauge bed leveling sensor. Build volume is plenty and it’s great to see decent electronics, wiring and custom-designed and injection molded components on such a machine. The software and interface are already good but I hope to see some more updates until it’s release. The only things that I’m really missing is a quiet power supply and a flexible print bed. If that would happen, I’d give it a big thumbs up; if not, it’s still okay but again just another one of these products that were engineered 90% of the way, and it was then decided that this would be enough. Creality, take this chance and make a great out of a good 3D printer, please!
PLA prints
If you got it for $320 on Kickstarter, I think it’s a pretty reasonable price for what you’re getting. Though the retail price, which is $100 higher, is a bit too high, in my opinion, because an Ender-3 with a silent board that sells for a good $200 will give you almost the same value minus a bit of print volume and not automatic leveling.
Kickstarter link: https://www.kickstarter.com/projects/1001939425/creality-cr-6-se-leveling-free-diy-3d-printer-kit
Buy the CR-6 SE after the Kickstarter (affiliate): https://www.creality3dofficial.com/products/creality-cr-6-se-3d-printer?sca_ref=226147.pzoO8FTNCI